It’s hard to believe we’ve already weathered our first snowstorm of the season and now a second one is rolling in – and it’s only November! Being snowed in for the last few days wasn’t so bad, though. It gave me a nice excuse to get my Christmas decor out and to start planning holiday gifts. This year, I wanted to make something simple yet meaningful for our friends, and these personalized stocking name tags felt just right. There’s something so thoughtful about a handmade gift, don’t you think?
I have been planning on getting our stockings embroidered for quite sometime now but I always forget by the time the holiday rolls around. We can never remember whose stocking is whose, so this year I decided to create some stocking name tags so there wasn’t any confusion. These ended up being the perfect inspiration for our holiday gifts this year! Not to mention, these tags were so fun to make and turned out very pretty. They feel both expensive and personal which makes for a great handmade gift.
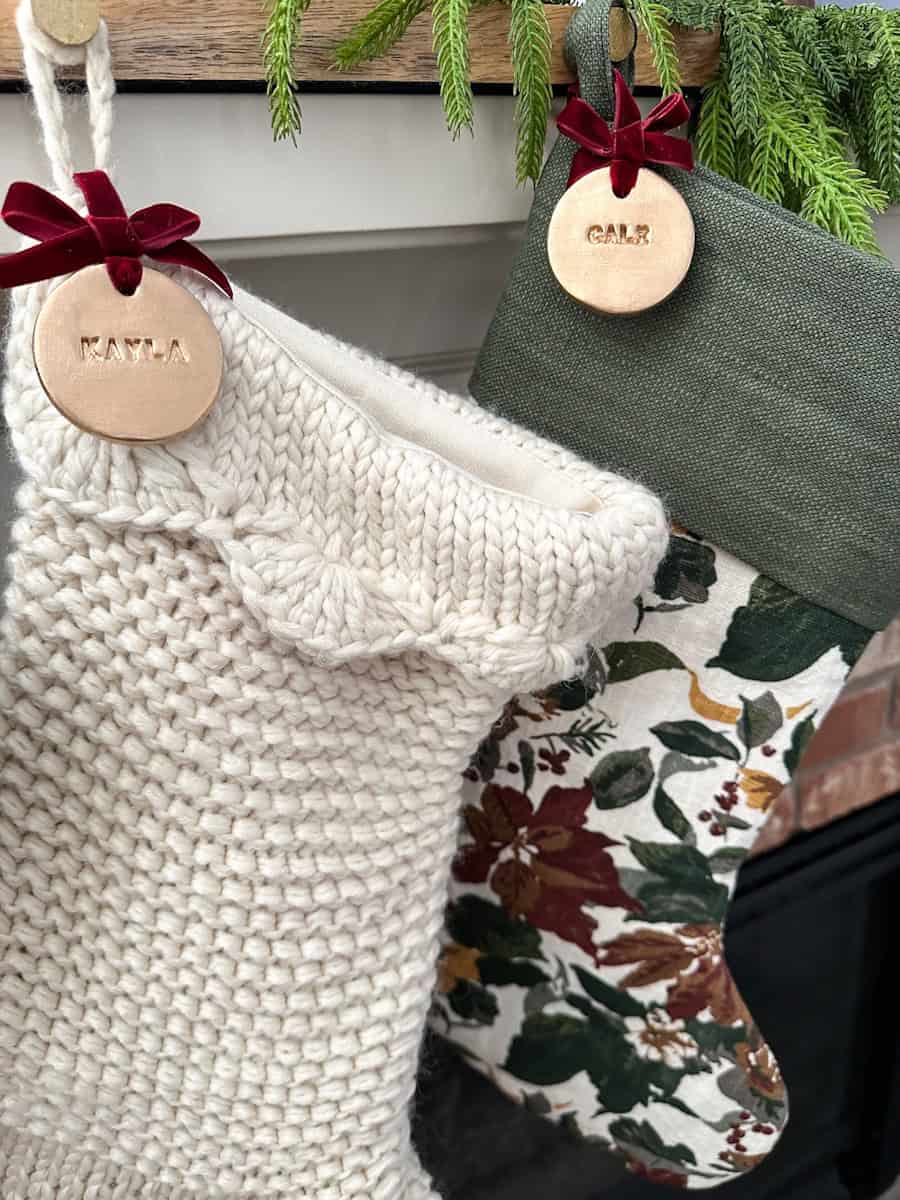
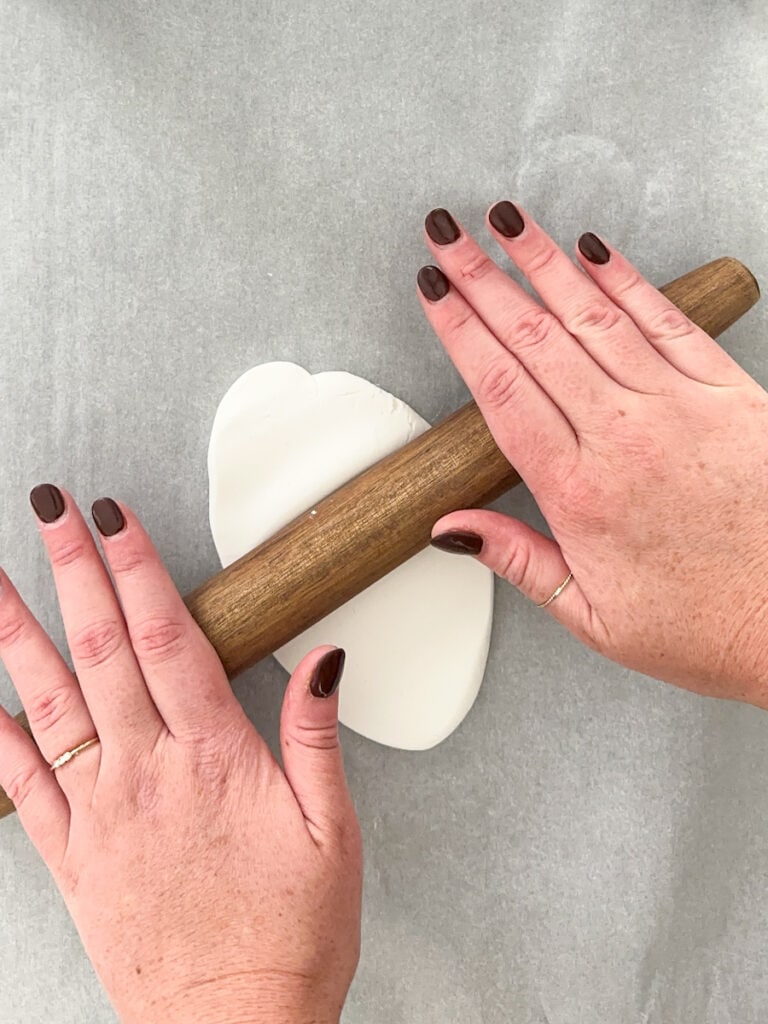
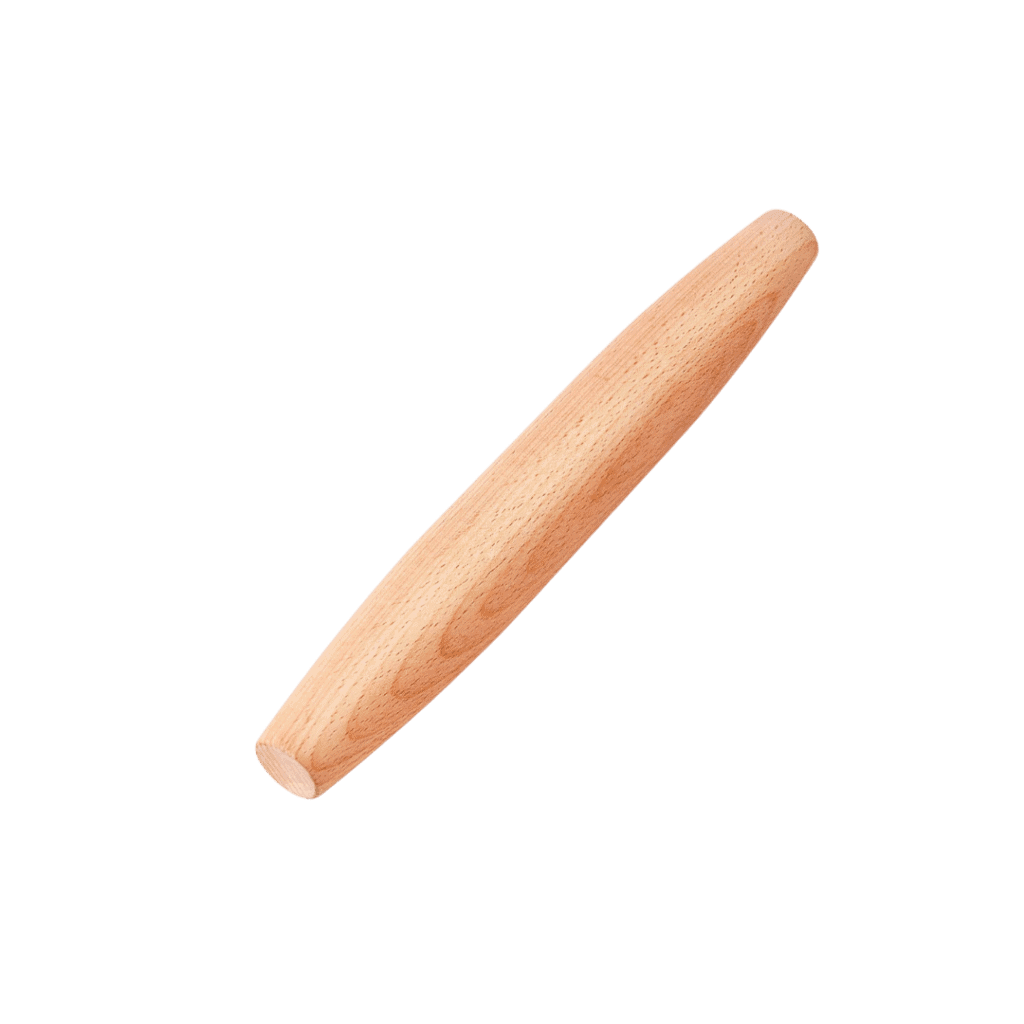
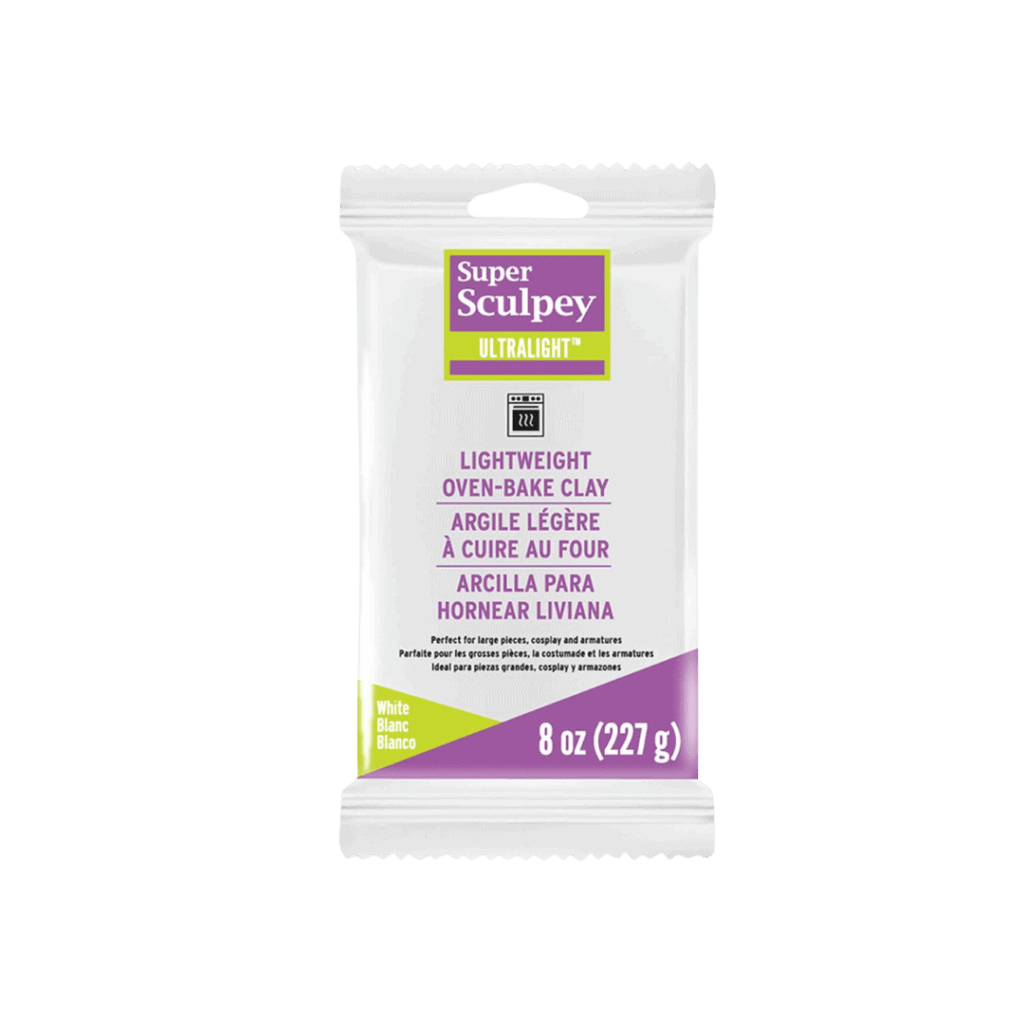
I chose a lightweight modeling clay for these tags as it won’t weigh down the stockings. This clay worked beautifully and kept the tags light and easy to hang. Before you get started, be sure to wash your hands and dry them really well. Clay will pick up everything, so if you have any extra oils or lint on your hands you will find it molded into the clay base. Once your hands are completely dry, lay down some parchment paper and roll the clay out into an even layer.
Stamping The Clay For Your Stocking Name Tags
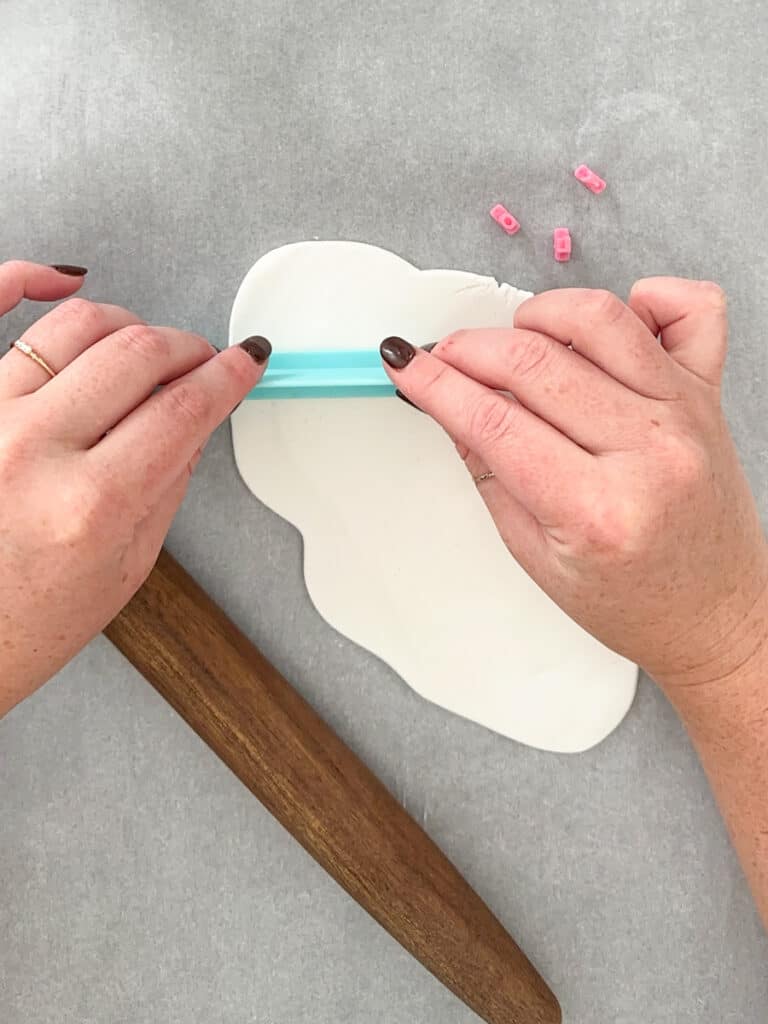
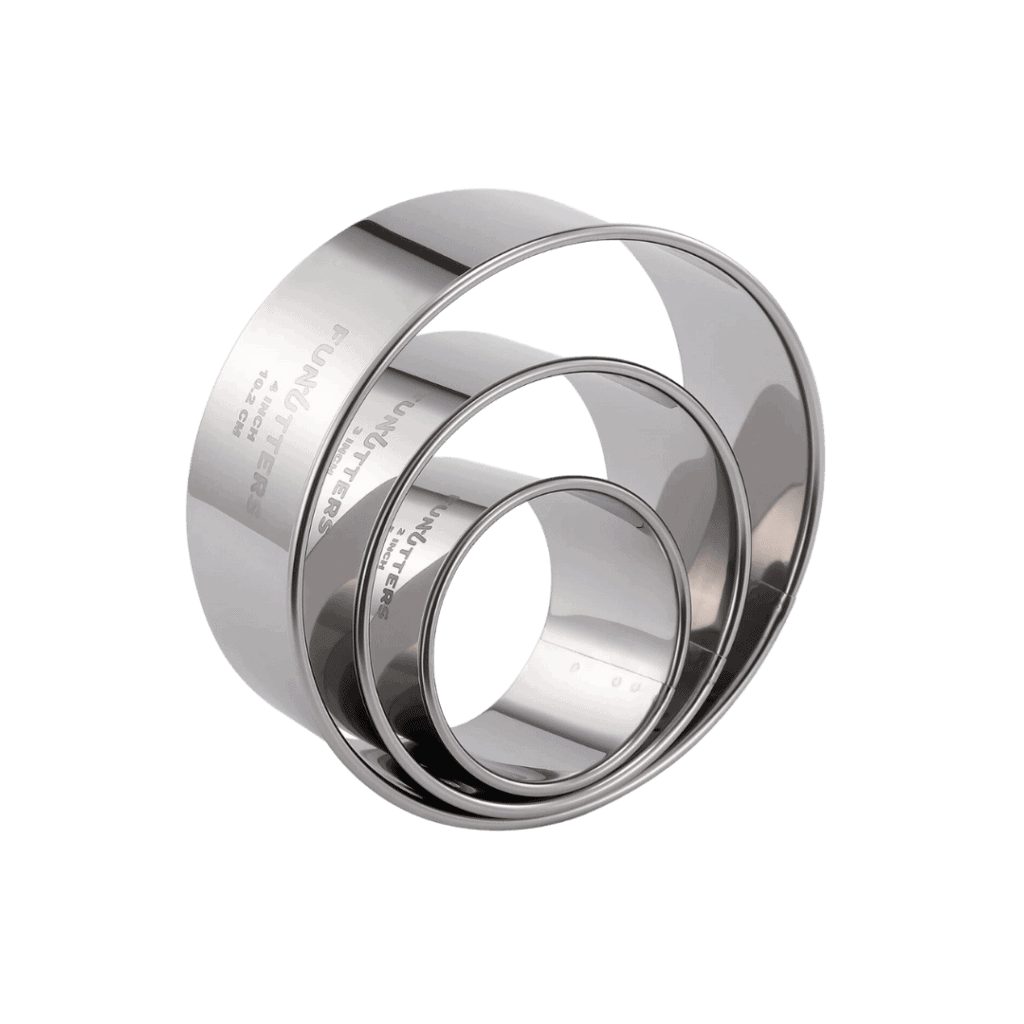
For the best results, start by stamping your name or phrase first. It makes centering the letters so much easier when it’s time to cut. Gently press the stamp into the clay and apply even pressure for a clean, crisp imprint. I found that gently rolling the stamp in a circular motion also really helped. Once you’re happy with it, grab your cookie cutter and position it over the stamped area. I chose a classic circle shape to keep things timeless and versatile, but feel free to get creative! Any shape you love will work beautifully.
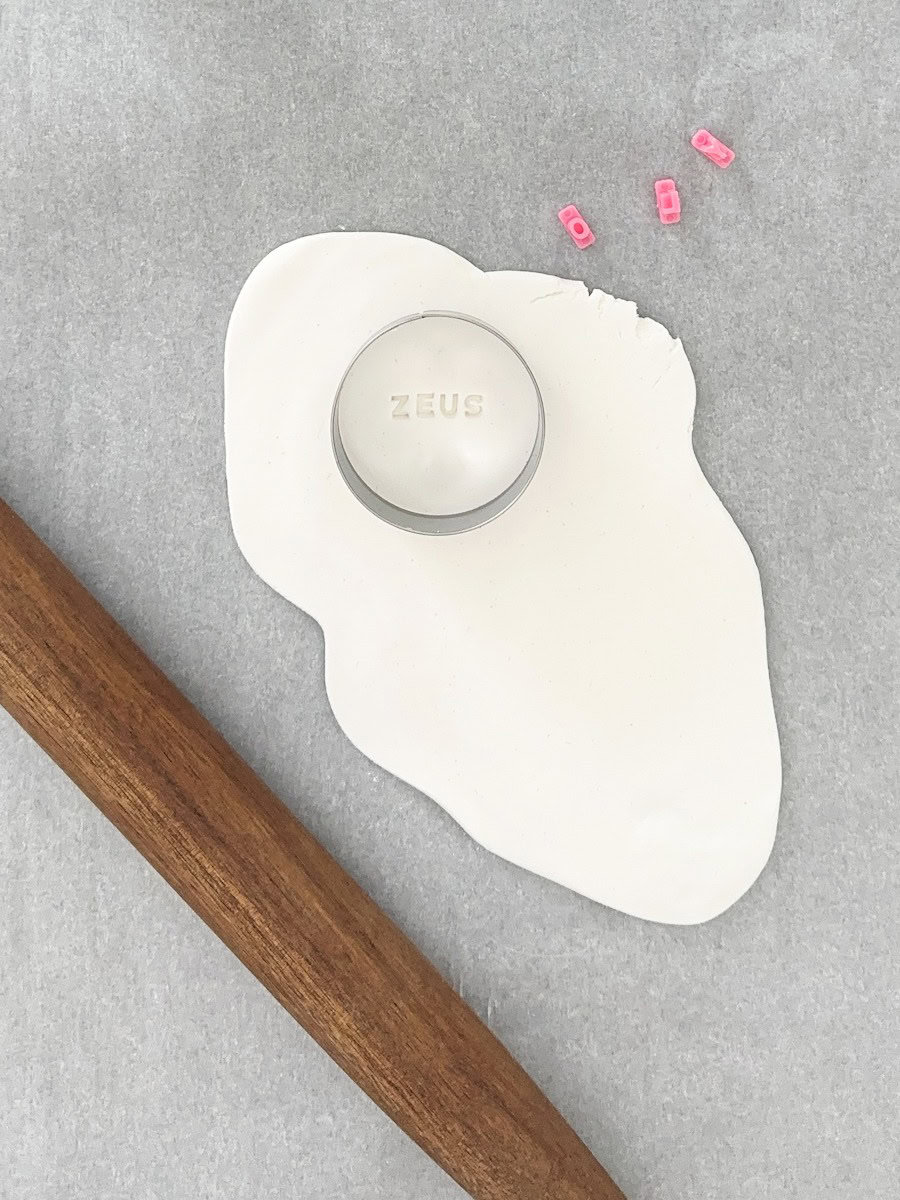
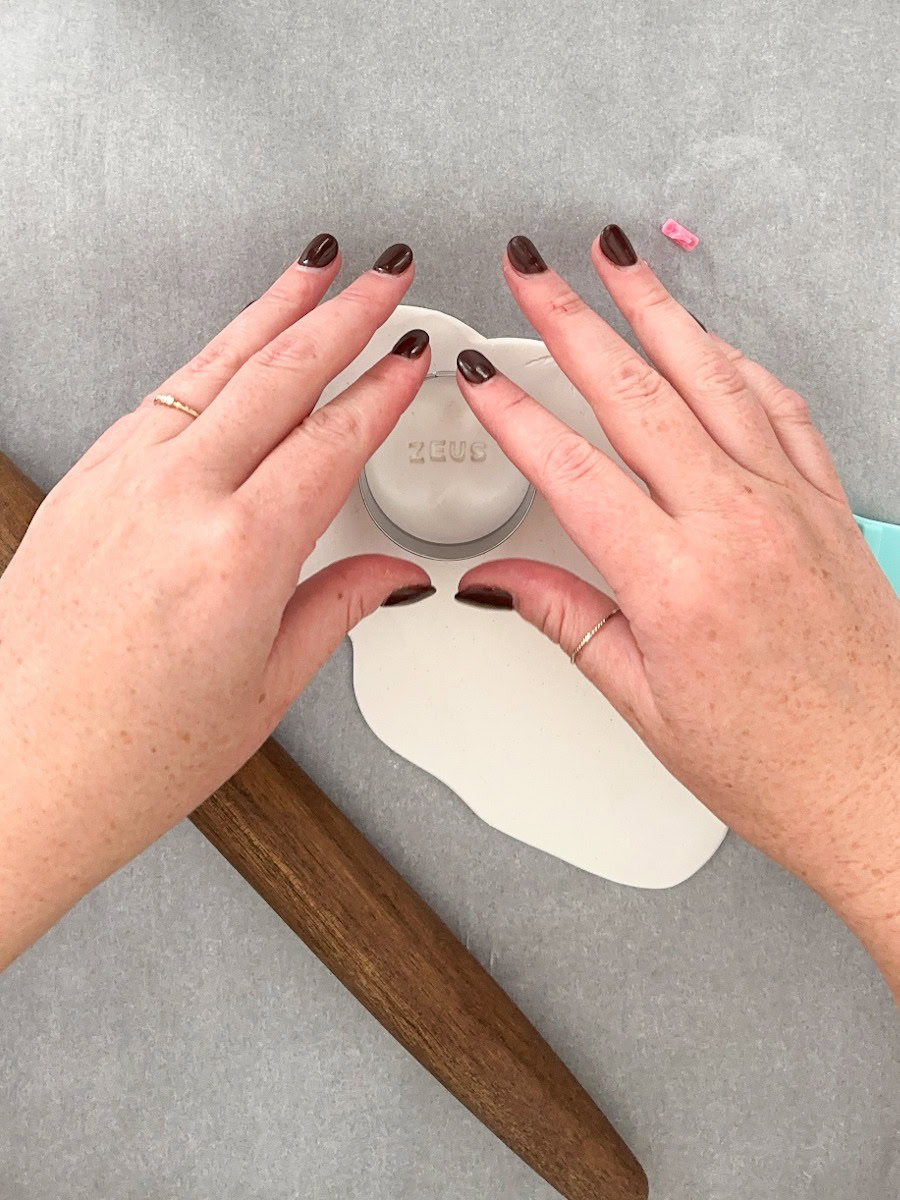
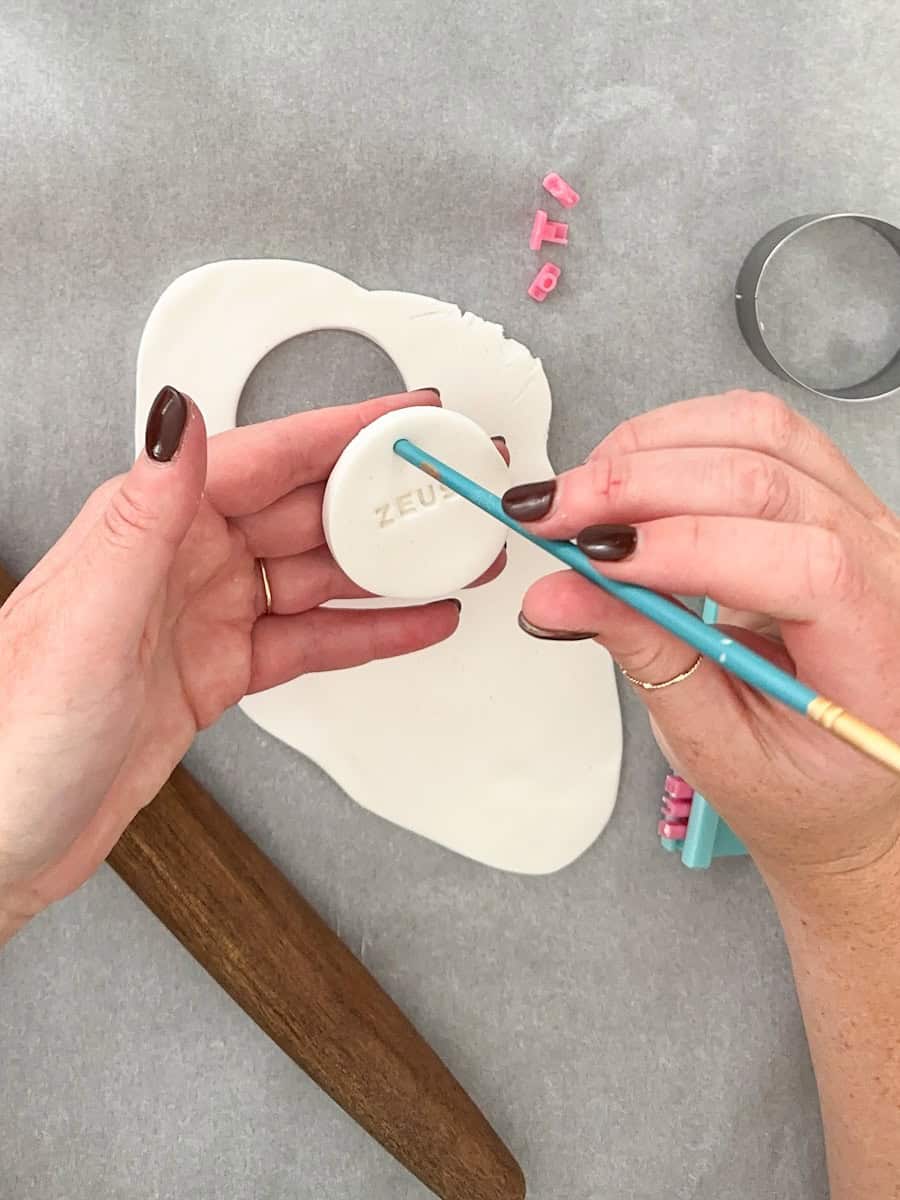
Once you’ve cut your shape, gently peel the clay off of the parchment paper. Don’t forget to add a small hole at the top – this is where you will string the ribbon through. I used one of my paint brushes to make these and it worked perfectly.
Baking The Clay
Don’t worry if your clay turns out a little uneven as that’s part of the charm! I personally love when handmade items have those little imperfections – it gives the piece its unique, “made with love” feel. Some areas on my tags were a little bit bumpy, but they were super easy to fix. The warmth of your hands is enough to mold the clay and you can rub the messy areas smooth. Just be careful not to knick the clay with your nails – I found out the hard way that this is less easy to fix!
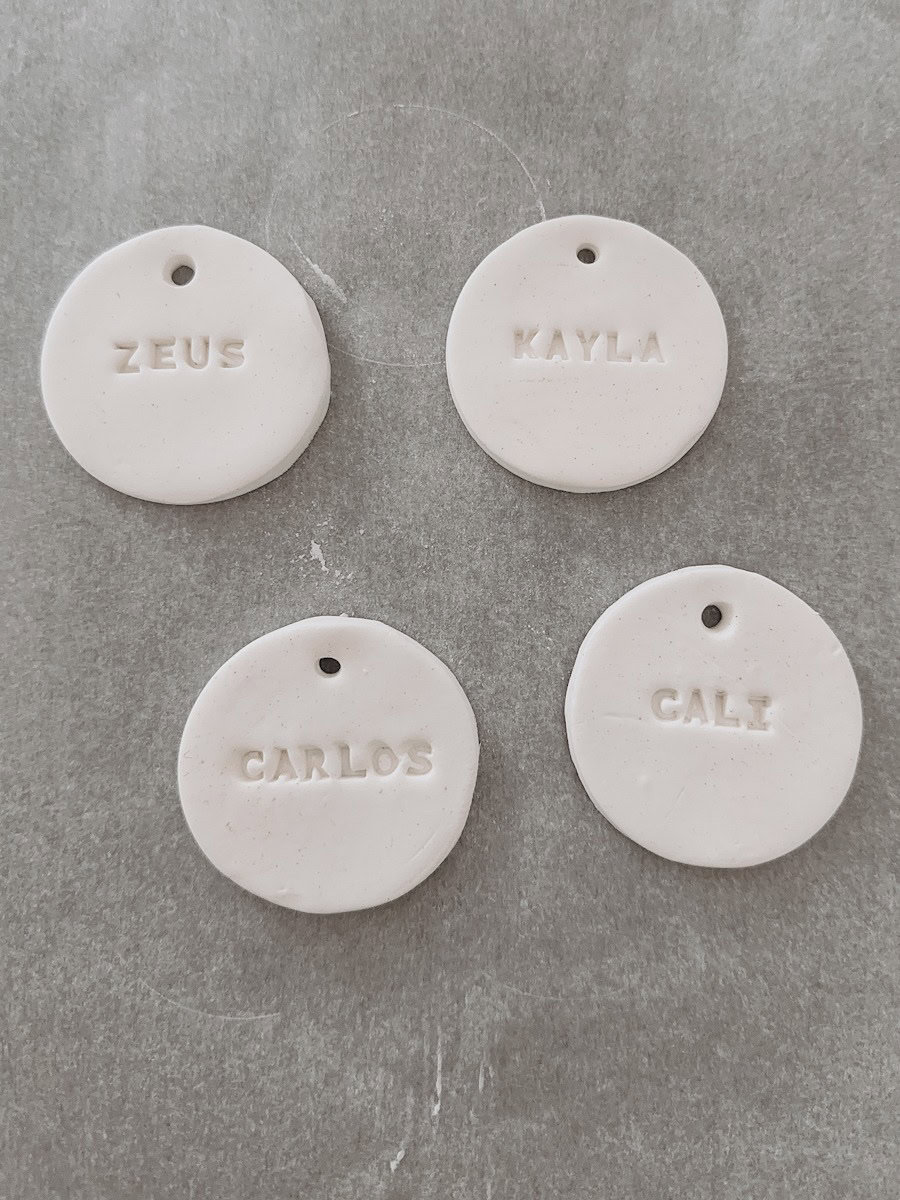
Once you have each of the tags created, preheat the oven to 275 degrees. I found that using a glass baking dish gave the best results. If you’re making a lot, you may need to bake in batches or use multiple dishes. Bake for about 15 minutes and then remove from the oven. Be careful not to over-bake them as they may start to crack. When they are cool to the touch, the tags should feel hard. If they’re still soft, simply return them to the oven – but keep a close eye on them so they don’t burn.
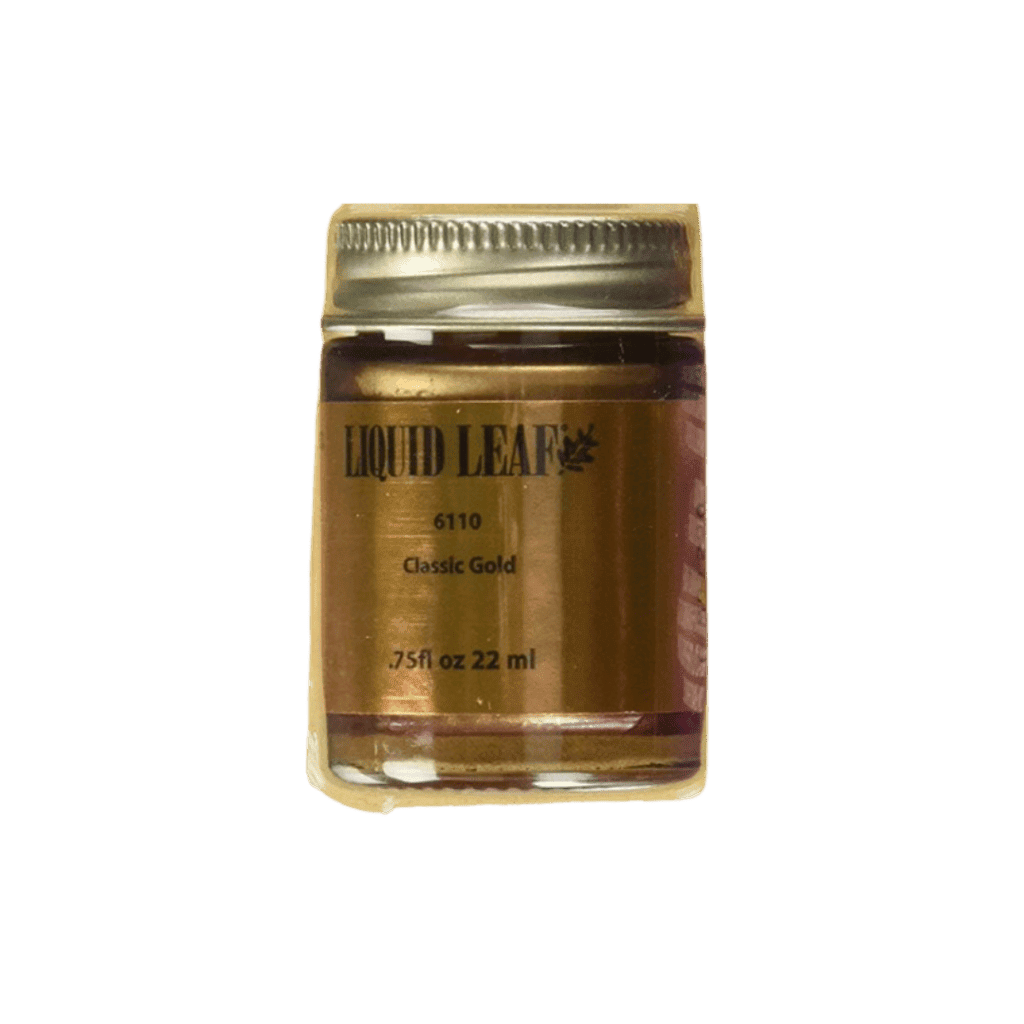
After they cool completely, add a thin layer of Mod Podge to protect the clay surface. Then, let them dry for at least an hour before starting the most satisfying part – adding the gold leaf.
Adding The Gold Leaf To Your Stocking Name Tags
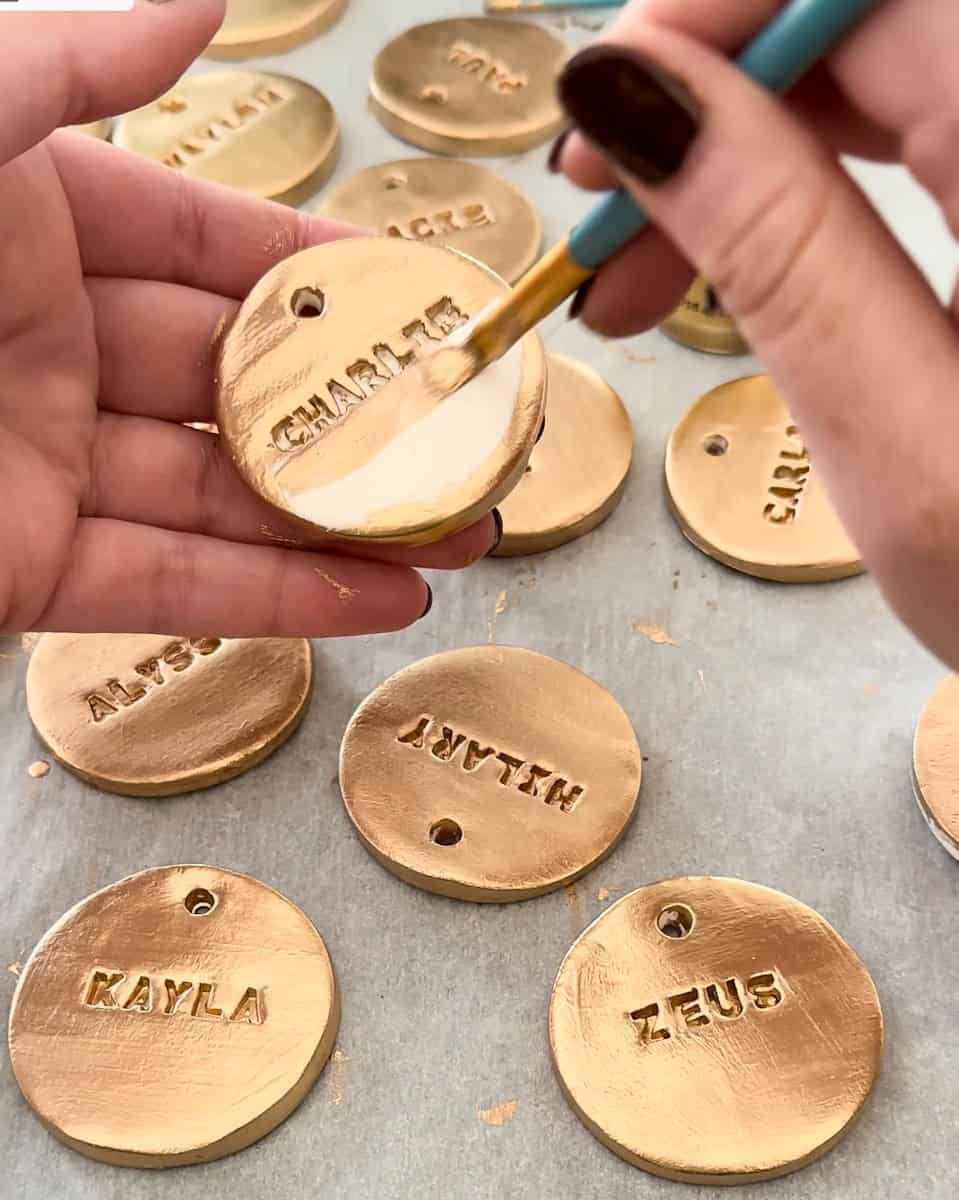
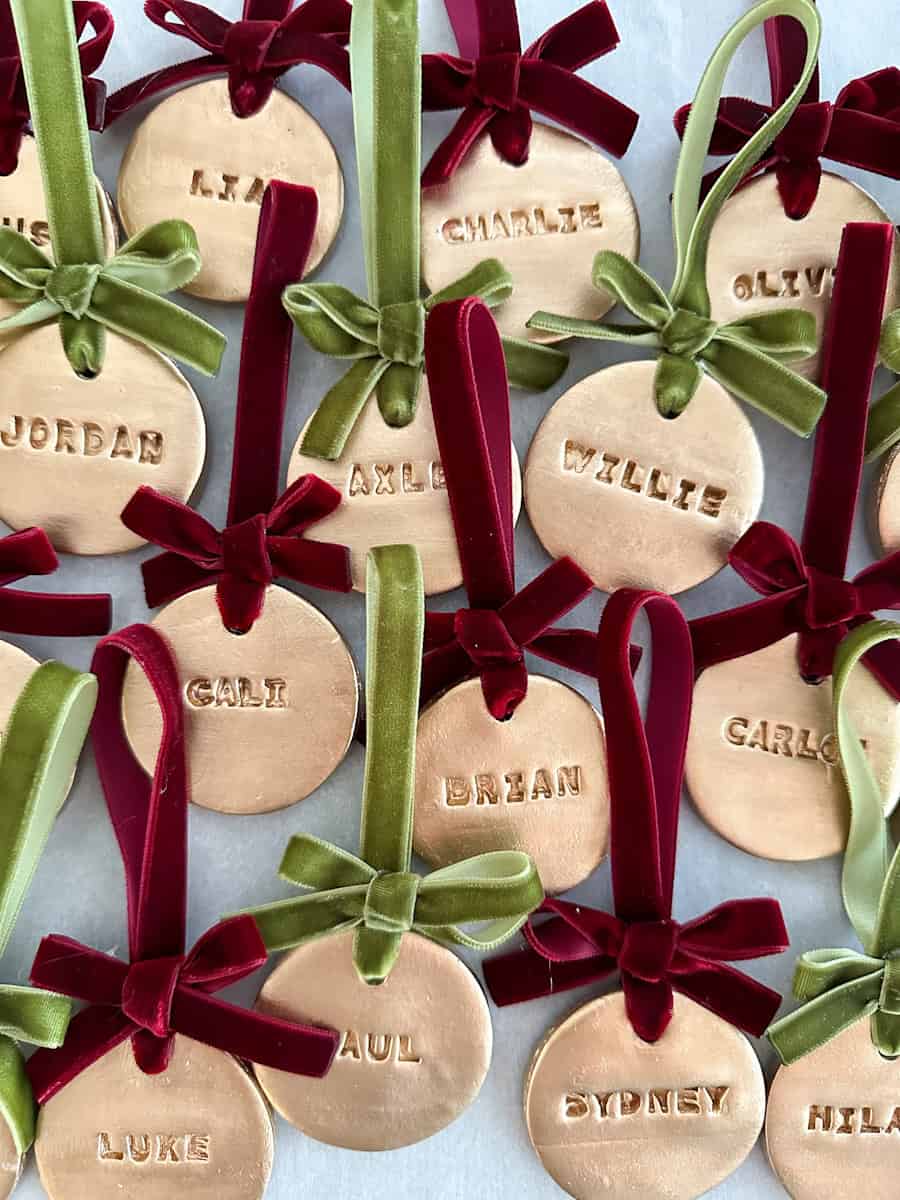
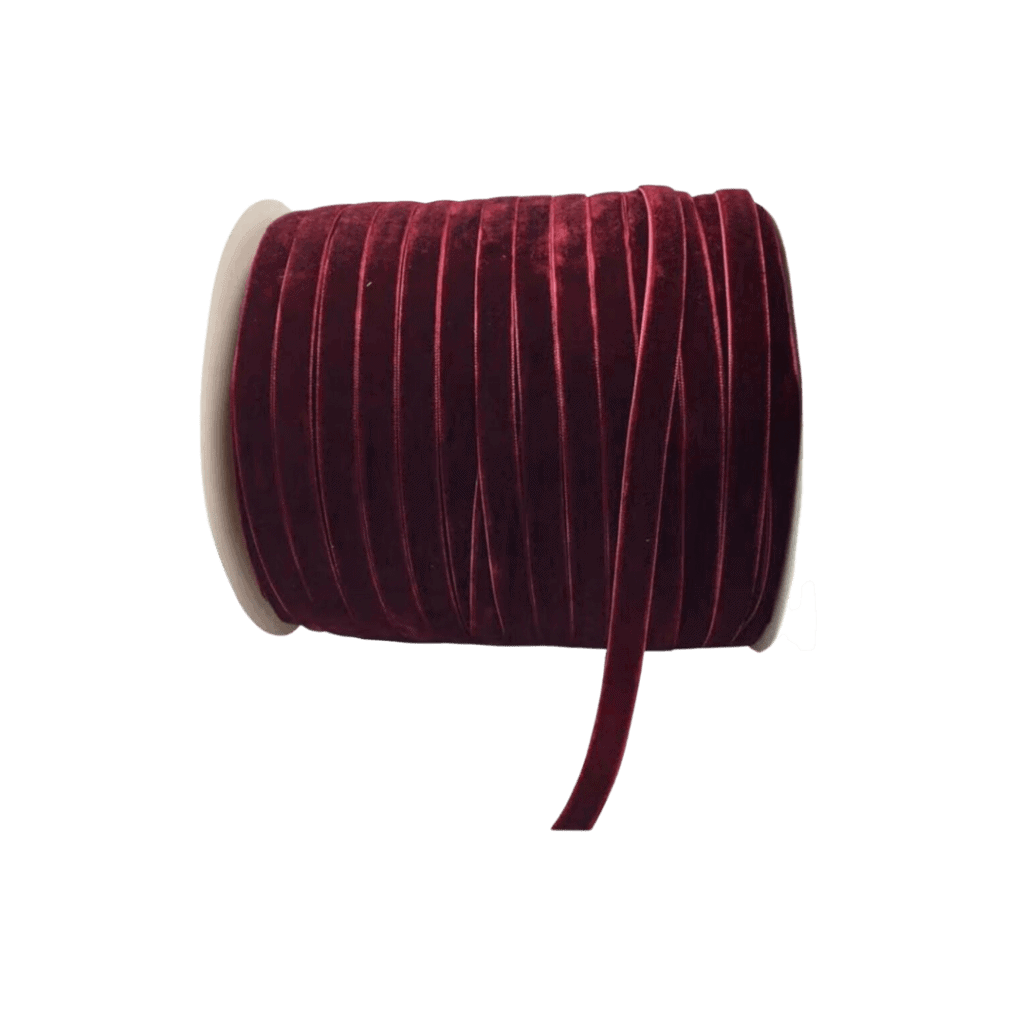
Gold leafing will tarnish with the oils on your hands, so it is very important to not touch these for at least 2 hours after applying the leaf. Even if they feel dry to the touch, resist the urge to handle them. Once they are completely dry, you can begin adding the ribbon ties. For mine, I selected burgundy and green velvet ribbon, but you could use any color or type of ribbon you want. Carefully thread the ribbon through the hole and knot as you see fit. To keep everything neat and polished, I added a small stitch to hold the ribbon together.
The Finishing Touches
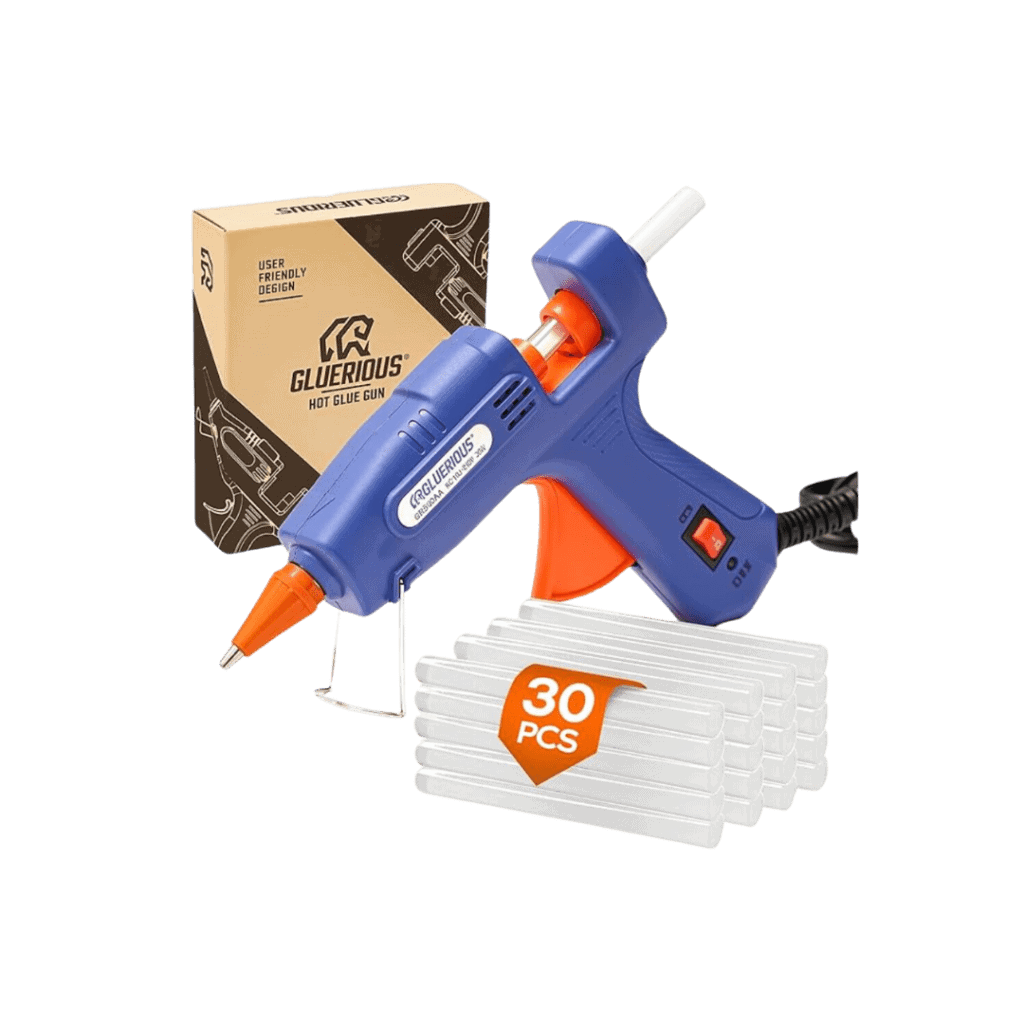
As a sweet finishing touch, I created little bows for each tag. This step is optional and the tags look beautiful without them – but, you know I can’t resist adding bows to everything right now! I found that hot glue worked best for securing the bows in place and gave these stocking name tags that perfect little top-off.
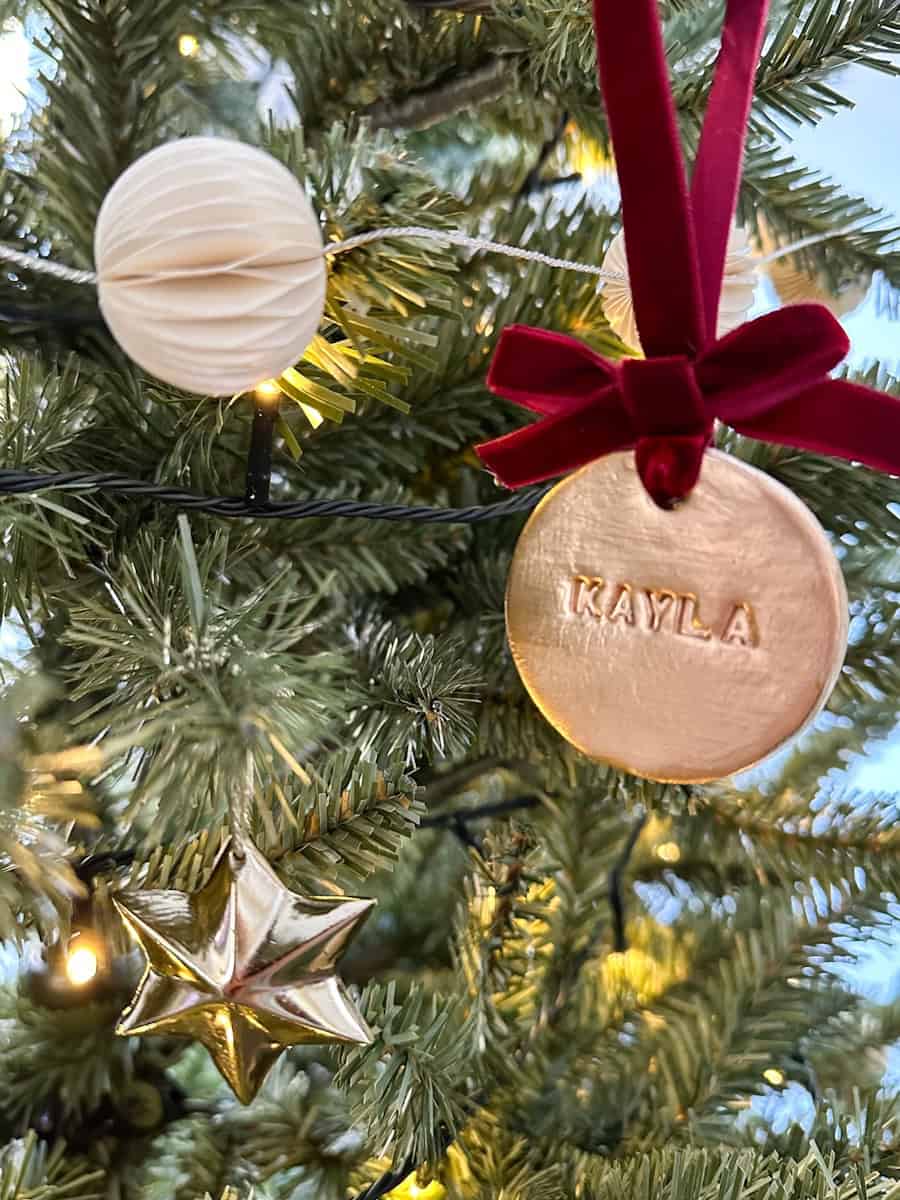
What’s so great about these stocking name tags is how versatile they are. They’re not just for stockings – these tags can double as ornaments, be draped around candlesticks, hung from garlands or wreaths, or even used as place cards for dinner settings.
As I mentioned before, the finish on these will tarnish over time and they will take on an antiqued look. If you prefer to keep them from tarnishing, consider creating a tester tag sealed with Mod Podge. This will help you see how sealing the gold leaf will affect the final finish.
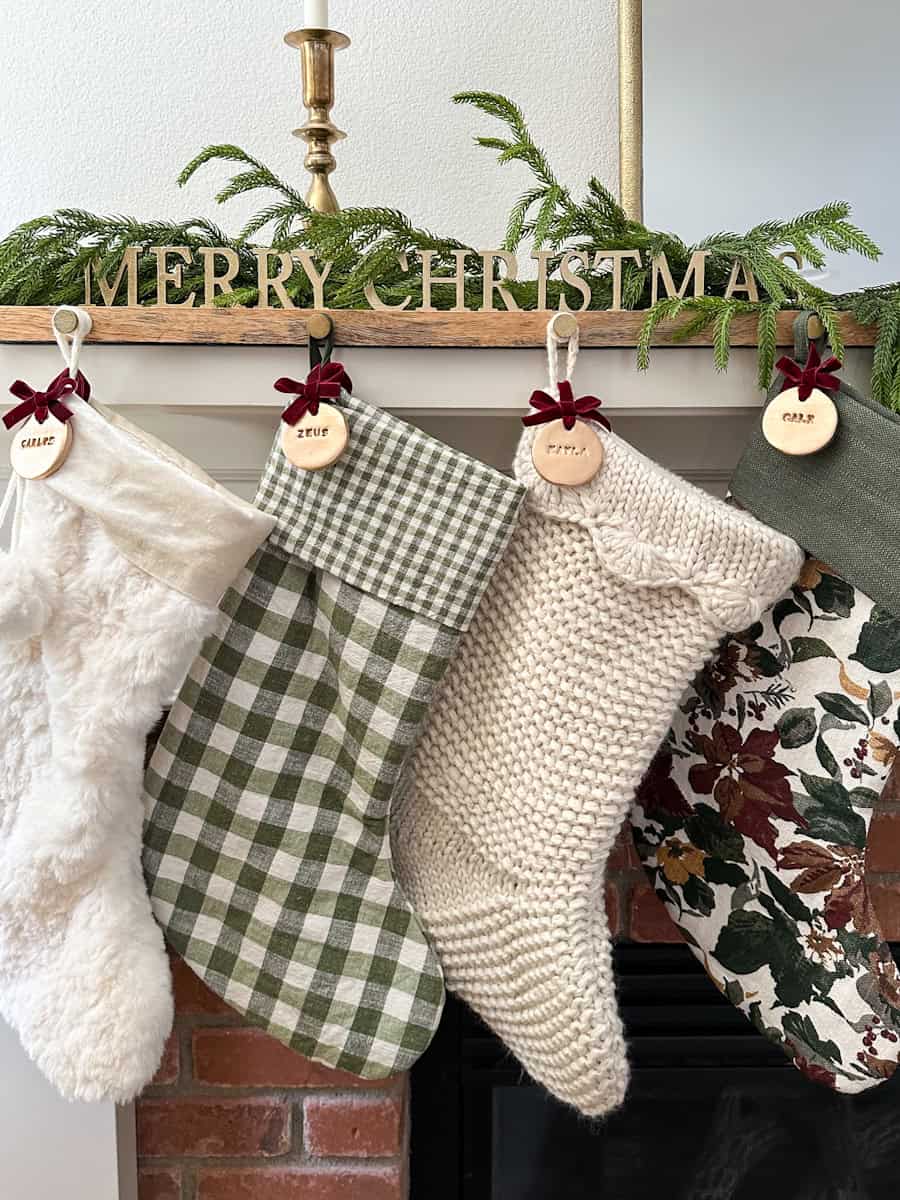
I hope this simple yet thoughtful project inspires you to create your own personalized stocking name tags! No matter how you decide to use them, they’re sure to add a special touch to your Christmas celebrations. Don’t forget to share your creations with me – I’d love to see how what you do with them! Send me an email, message me on TikTok, or tag me on Instagram.




+ Show / Hide Comments
Share to: