


Recently, I shared a progress update about our new hardwood floors. And today I’m sharing an even bigger reveal..our custom plans for the family room built-ins! I haven’t been this excited since the kitchen redesign at the Great Falls project. This one feels personal as it’s going to completely change how we use and enjoy our family room.
Whenever I approach designing an interior, my guiding principle is always the same: honor the architecture of the home. My goal with every project is to enhance and add character while still making something feel fresh. And, this is the perfect project to showcase what an intentional transformation can look like if done right!
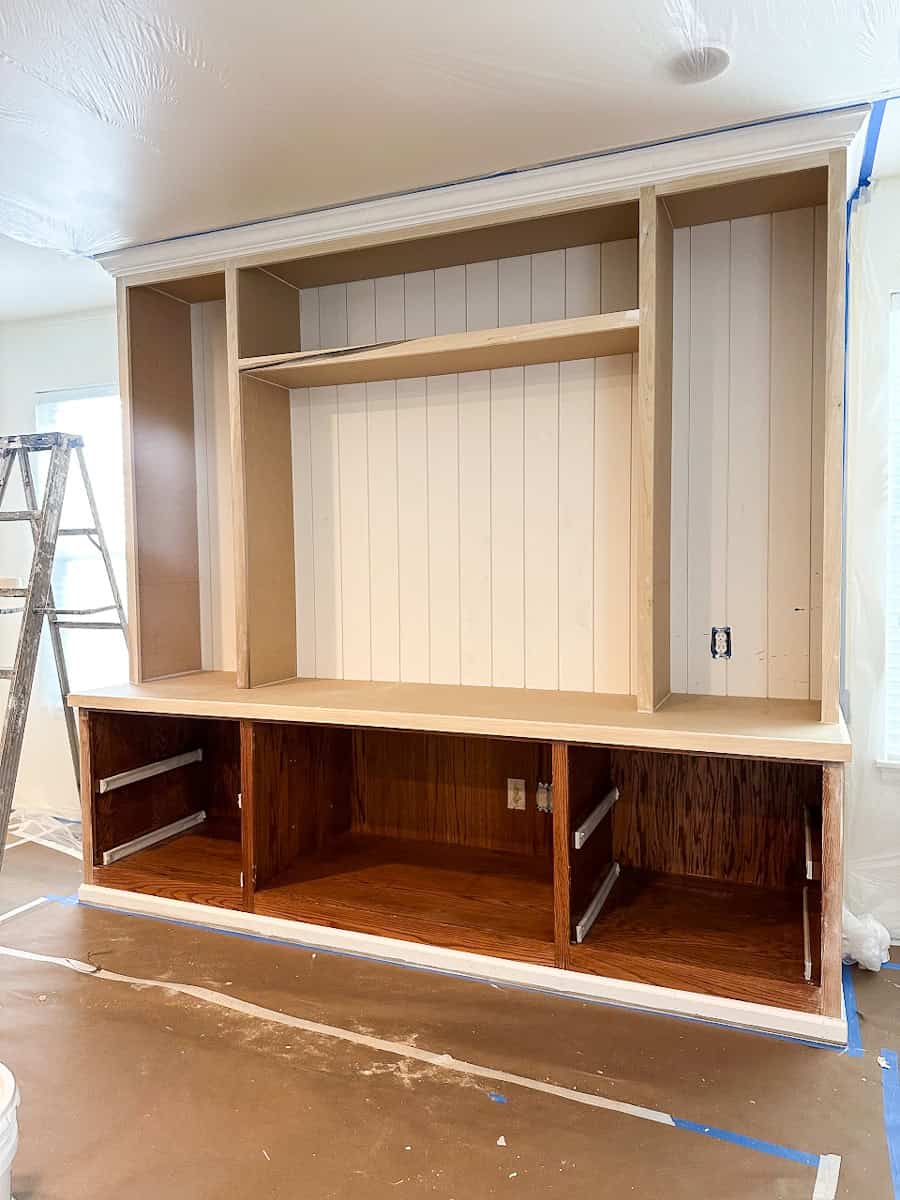
The Before
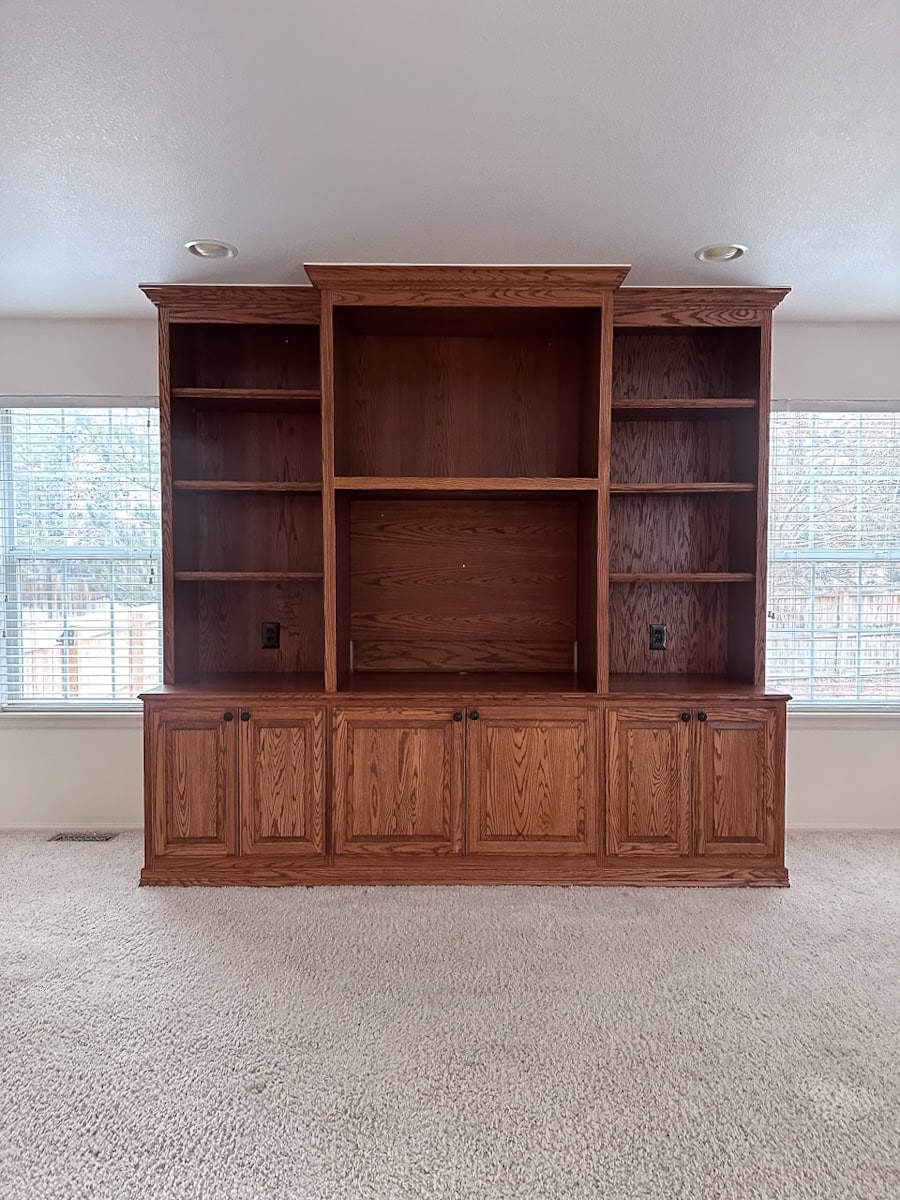
Here’s a reminder of where we started. The quality of these built-ins is incredible. They’re constructed of solid oak and crafted by hand but are undeniably stuck in the ‘90s. They were originally designed to accommodate a box TV (remember those?), which means our current flat-screen doesn’t fit. Even if we downsized the TV, the style and functionality of these cabinets would still feel… outdated.
The orangey finish typical of ‘90s homes doesn’t help either. But even with all of these outdated factors, I can’t bring myself to rip them out. These family room built-ins are sturdy, beautifully made, and full of potential. Instead of starting from scratch, I decided to work with what’s here and make little tweaks so that the design feels fresh, functional, and true to our home’s Colonial style.
The Game-Plan
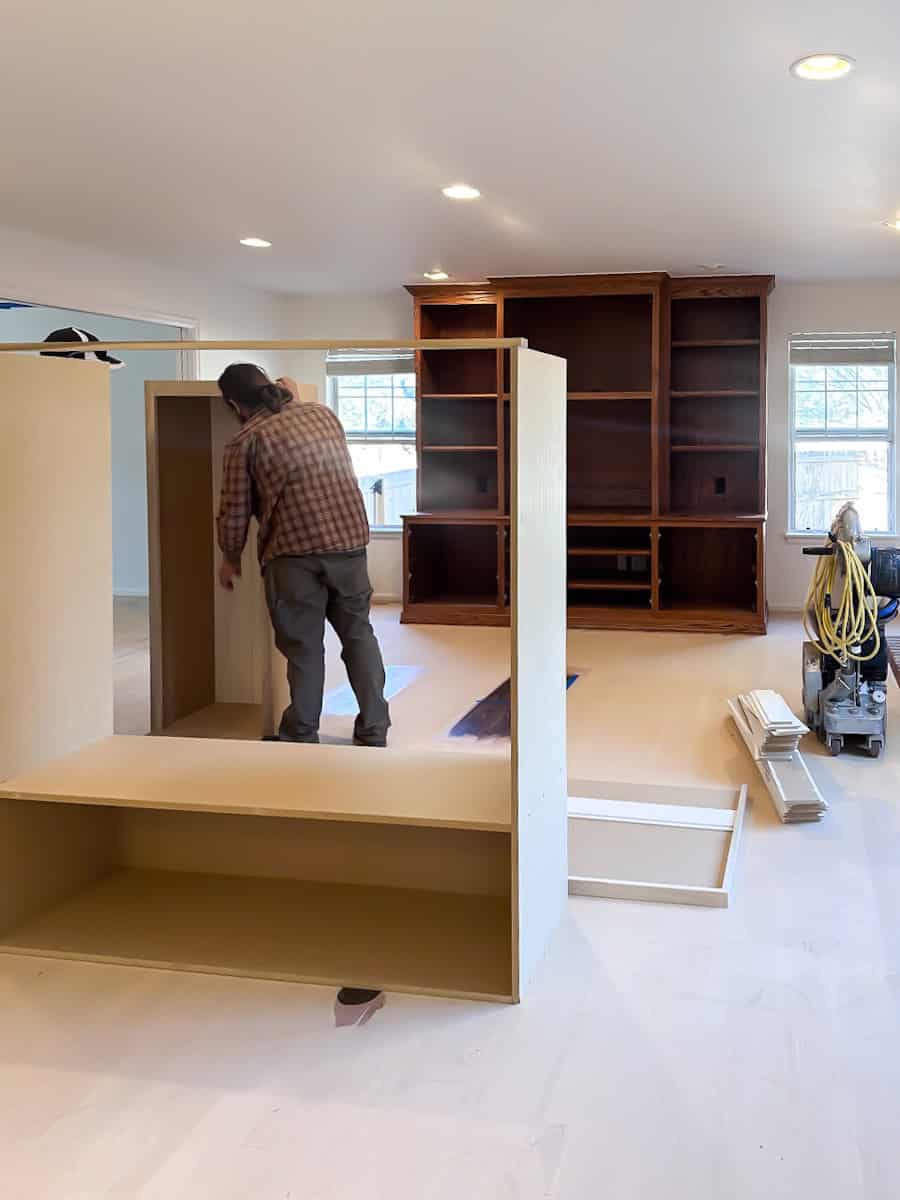
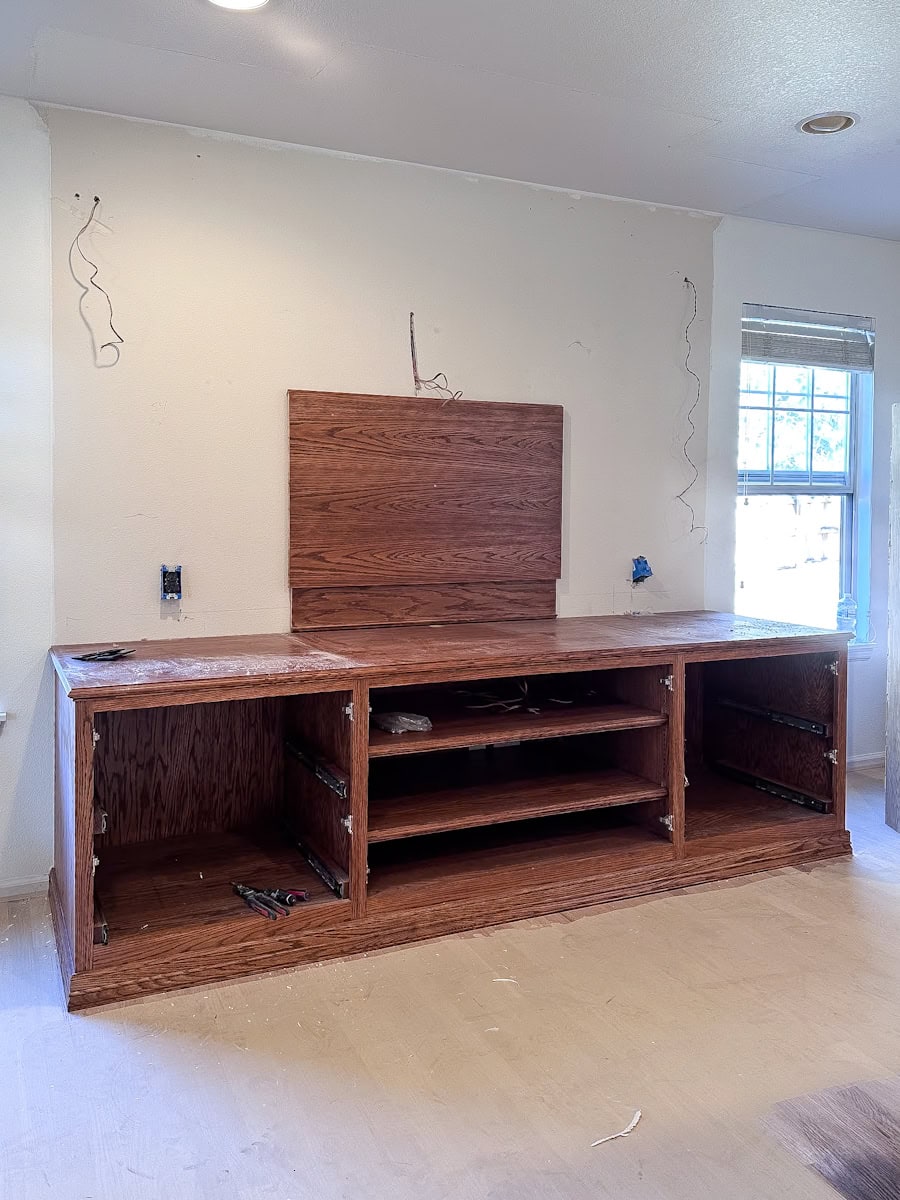
I called in my go-to carpenter and after inspecting the built-ins, we agreed the best approach was to keep the base intact while reimagining the top half. Initially, I planned to reuse and adjust the upper sections. But, once we started dismantling them, it became clear they couldn’t be salvaged.
It ended up working out for the best and gave me the opportunity to design something new that would better fit the room and our needs.
The Design Details
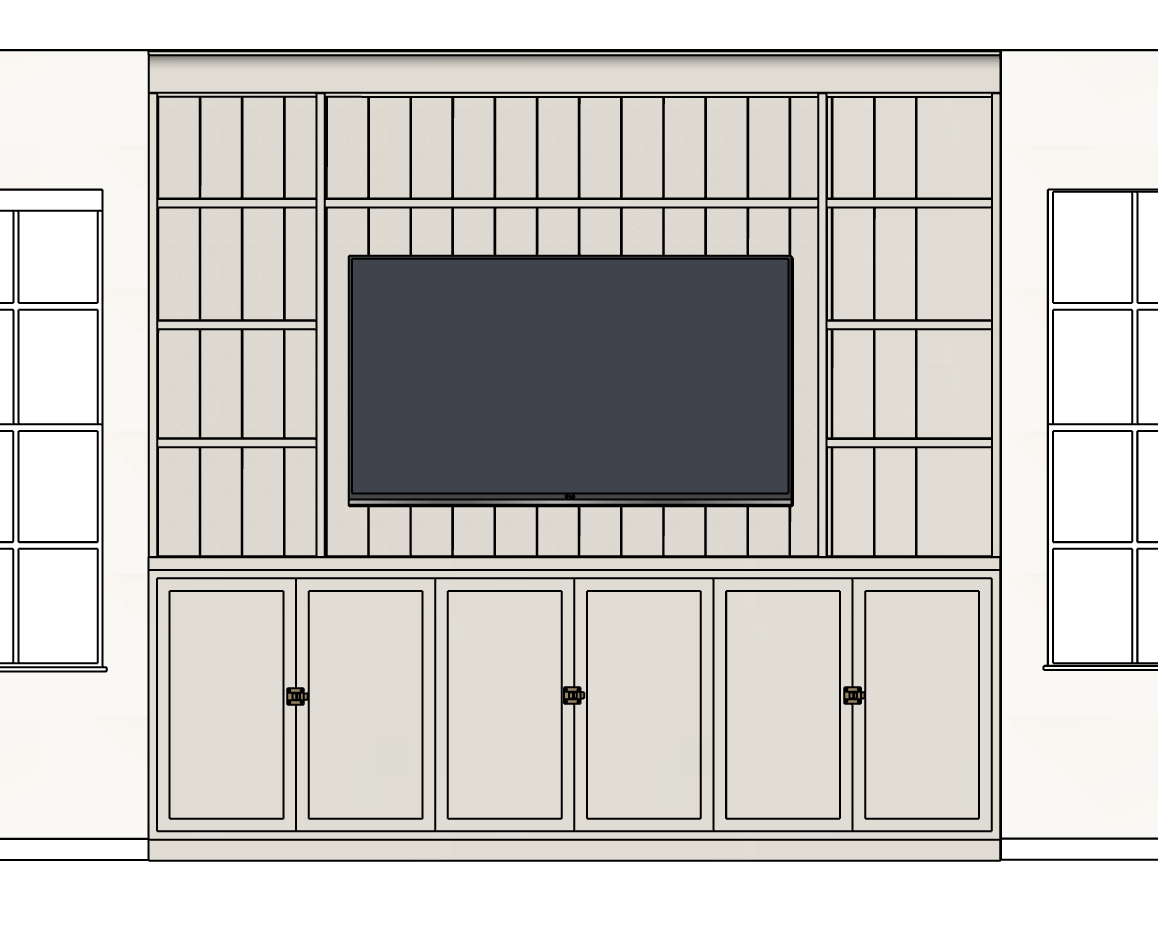
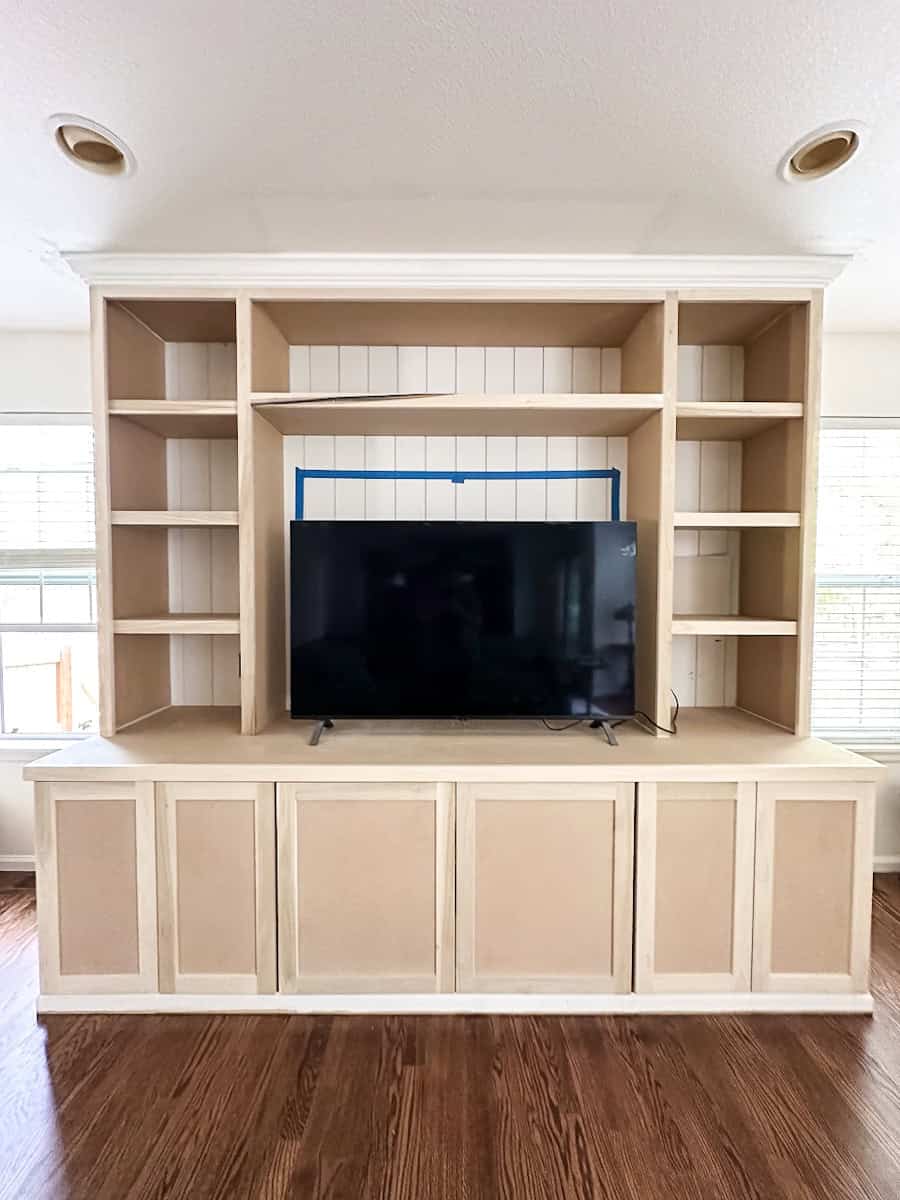
Here’s the final design plan I came up with. The new top mimics the original design but with a few tweaks to modernize and improve functionality. I narrowed the shelving widths and expanded the center section to accommodate our TV. Instead of forcing the TV into an existing design, I built the design around it – factoring in viewing distance and space. No more floor TV!
A few more design notes..
- Shelving & Cabinetry: We replaced the cabinet doors and I selected a shaker face with a tiny Colonial inset detail. This feels both clean and classic with rails and stiles matching the dimensions of the shelving for a cohesive look.
- Back Paneling: We added tongue-and-groove paneling behind the TV and shelves for subtle texture.
- Crown Molding: To tie it all together, I selected a crown molding similar to what we have in our dining and formal living rooms.
- Hardware: I’m planning to install a beautiful, unlacquered brass latch to each cabinet instead of replacing the knobs.
Selecting A Finish
Now that I selected a medium/dark floor stain, I don’t want the built-ins to feel too heavy in the space. And, since we had to rebuild the top, we’re using a more cost effective material instead of matching the oak bottom (which would have cost a fortune).
The issue is if we paint over the existing wood grain on the bottom half, you’re going to see it pop through instead of having a nice, smooth finish. To negate this, I requested “skins” for each side of the built-in to ensure a seamless finish once painted. This way, the entire piece will look like one cohesive unit no matter the material.
Doesnt it look so much better already? Just wait for the paint.


+ Show / Hide Comments
Share to: