


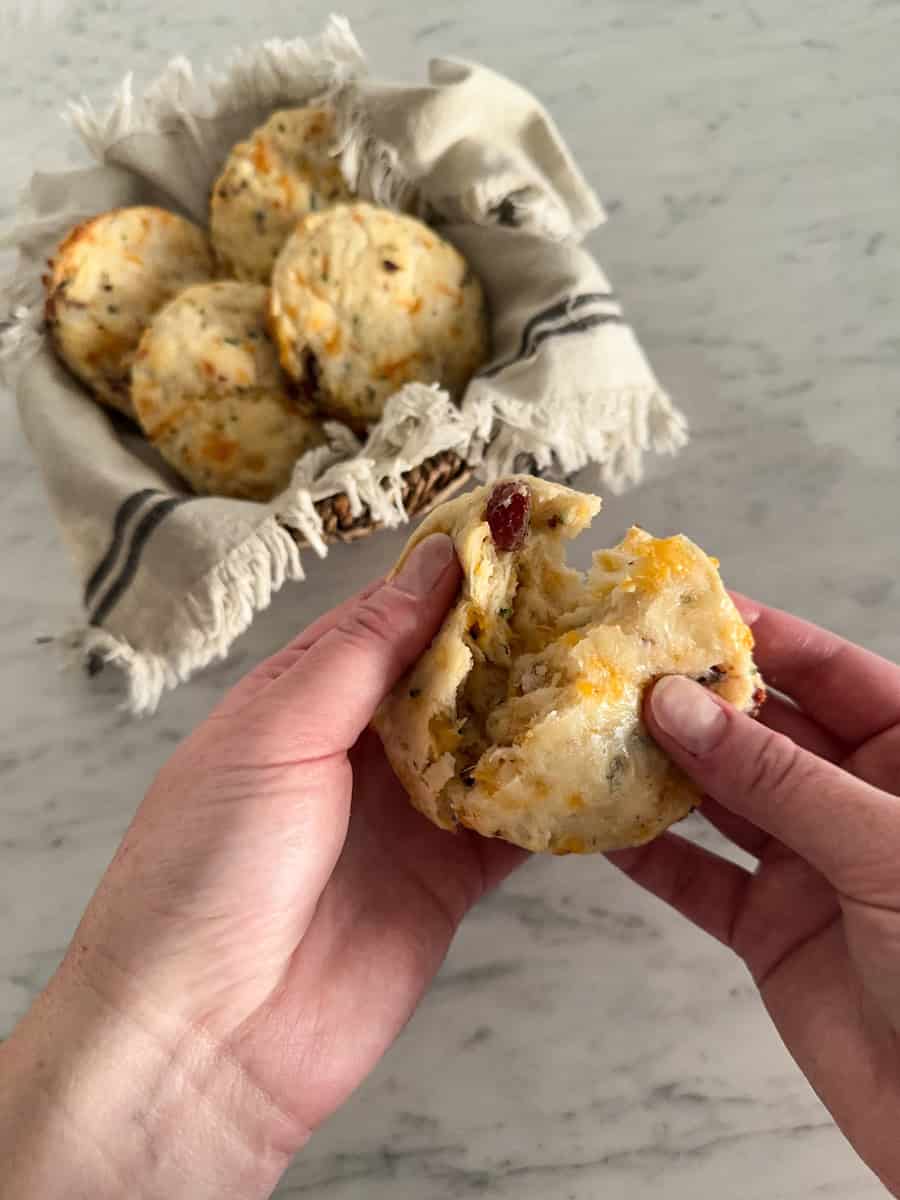
There’s something so comforting about warm, fluffy bacon cheddar and chive biscuits – especially when they’re loaded with crisp, savory flavors and a touch of fresh butter. Whether you’re enjoying them for a quick breakfast or as a delicious dinner side, they’ll become a cool weather favorite in no time!
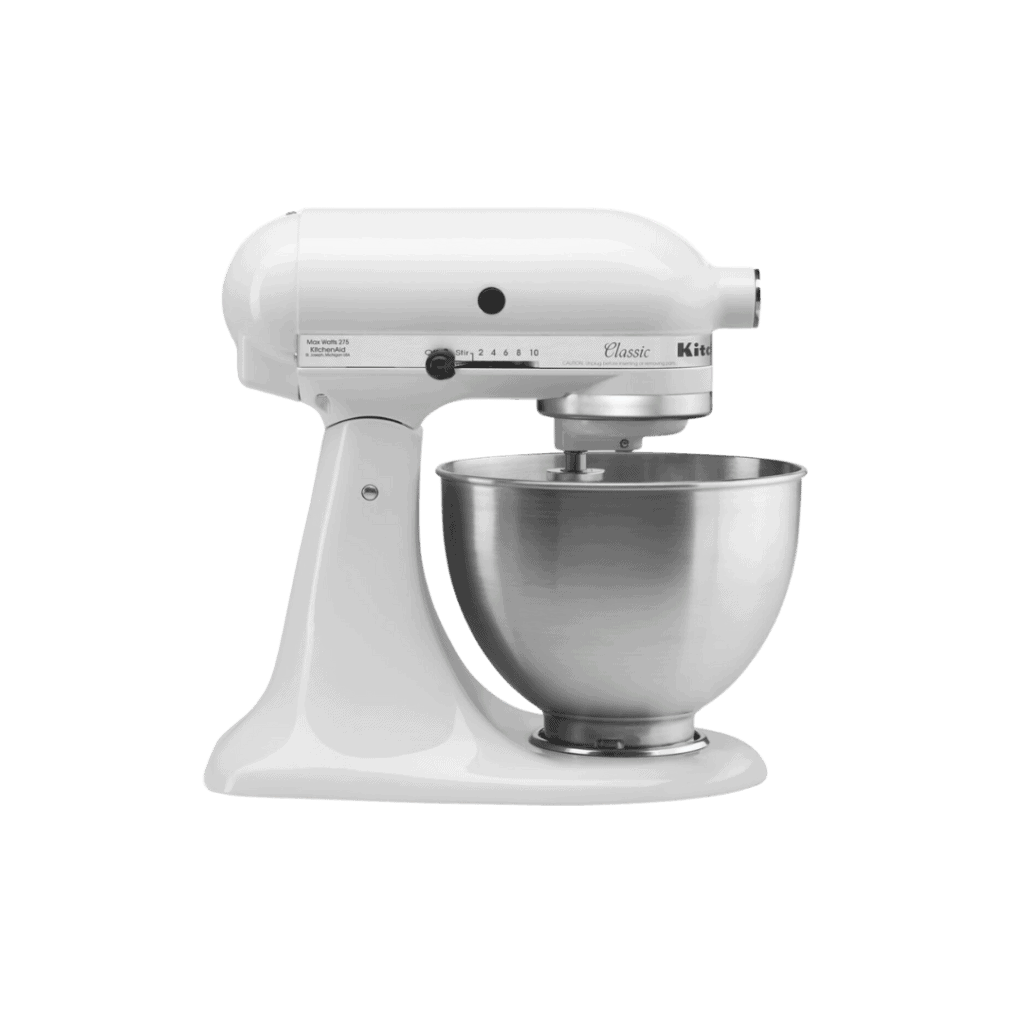
This recipe uses a stand mixer and has been perfected over time to achieve the ideal balance of cheesy, bacon-filled goodness. However, it can easily be adapted to be made by hand. Some consider using a stand mixer a faux-pas when it comes to biscuit making, but this recipe has seriously never failed me – and that’s what makes them so effortless.
As always, I’ve included a few tips at the end of this post to make sure your bacon cheddar and chive biscuits come out golden, delicious, and fluffy. Keep reading to check those out!
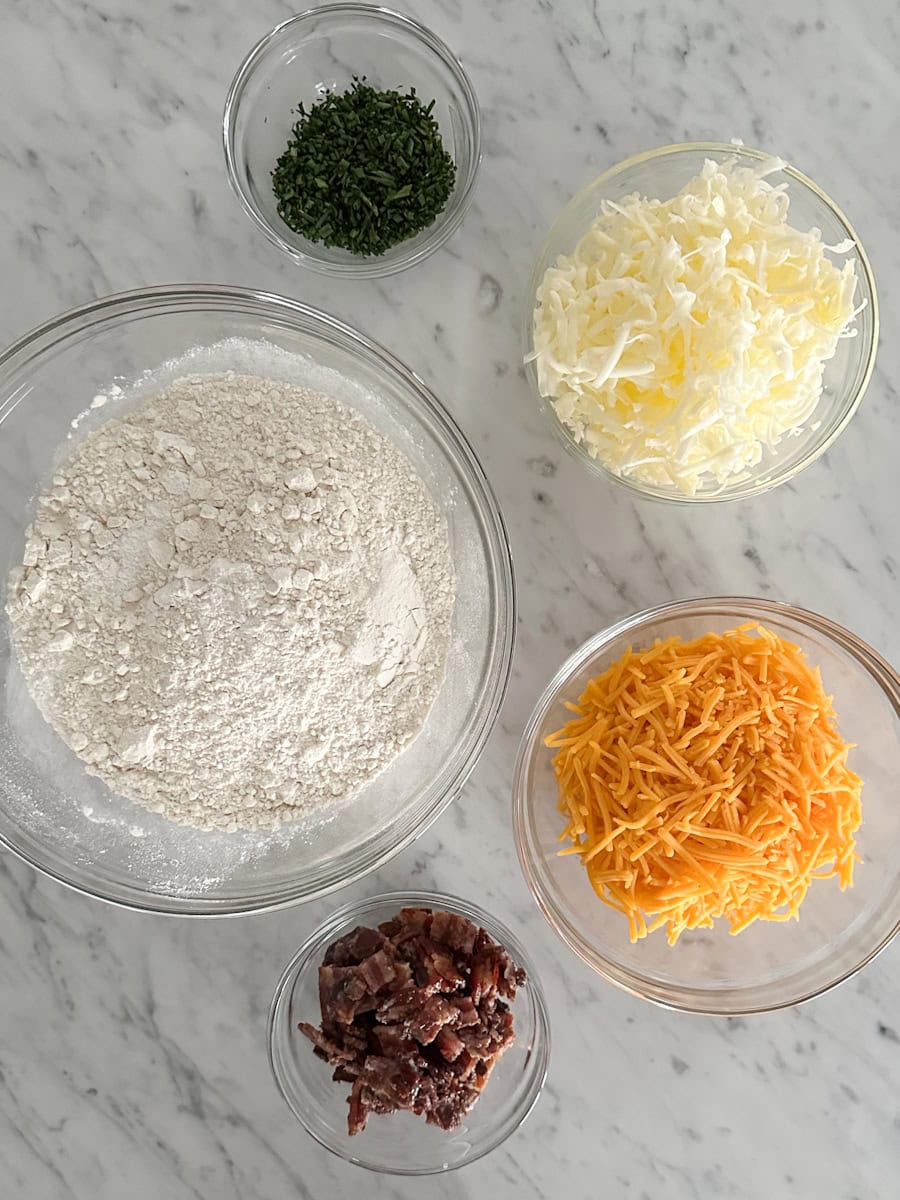
Ingredients For the Bacon Cheddar And Chive Biscuits:
- 6-7 slices of thawed bacon
- 1 1/2 cups shredded cheddar cheese
- ¼ cup finely sliced fresh chives
- 3 cups all purpose flour
- 1 tablespoon baking powder
- 1/4 tsp baking soda
- 1 1/2 tsp salt
- 1 stick cold unsalted butter (grated)
- 1 1/4 cup cold buttermilk
- leftover buttermilk (for brushing tops of biscuits)
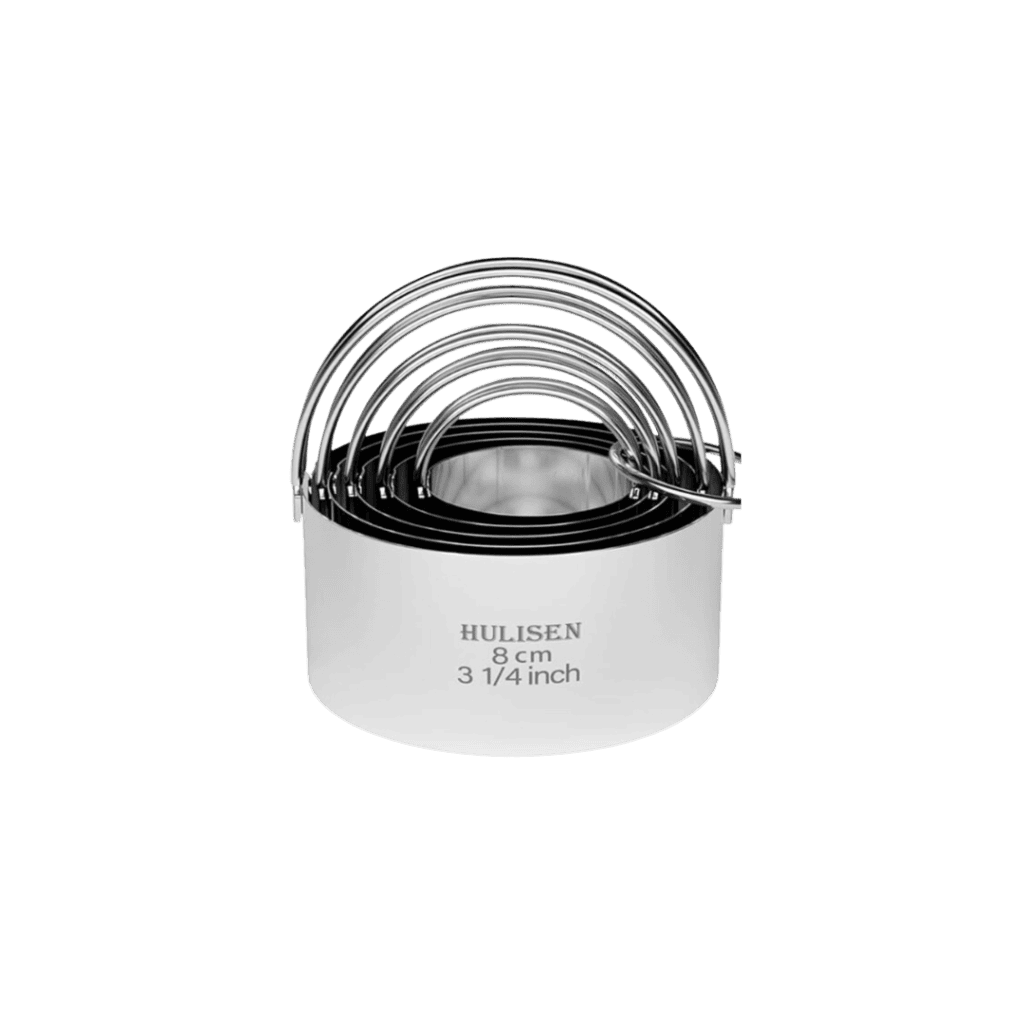
KITCHEN UTENSILS
Instructions For Bacon Cheddar And Chive Biscuits:
- Preheat oven to 425°F.
- Line a baking sheet with foil and arrange thawed bacon slices evenly across pan. Place in the oven and bake for 12-14 minutes (or until desired crispness).
- While bacon cooks, shred the cheddar cheese into a medium bowl. Use a knife to thinly slice the chives and add to the cheese.
- Grate the cold stick of butter into a small bowl. Place the bowl of butter back into the refrigerator until ready to use.
- When bacon is done cooking, remove from the oven and place on a paper towel-lined plate to drain the excess grease. Once cool to the touch, chop and add to the cheese mixture.
- In your stand mixer bowl, combine the flour, baking powder, baking soda, and salt. Using the pastry beater attachment, begin mixing at speed 2 and slowly add the grated butter into the flour mixture until it begins to look crumbly.
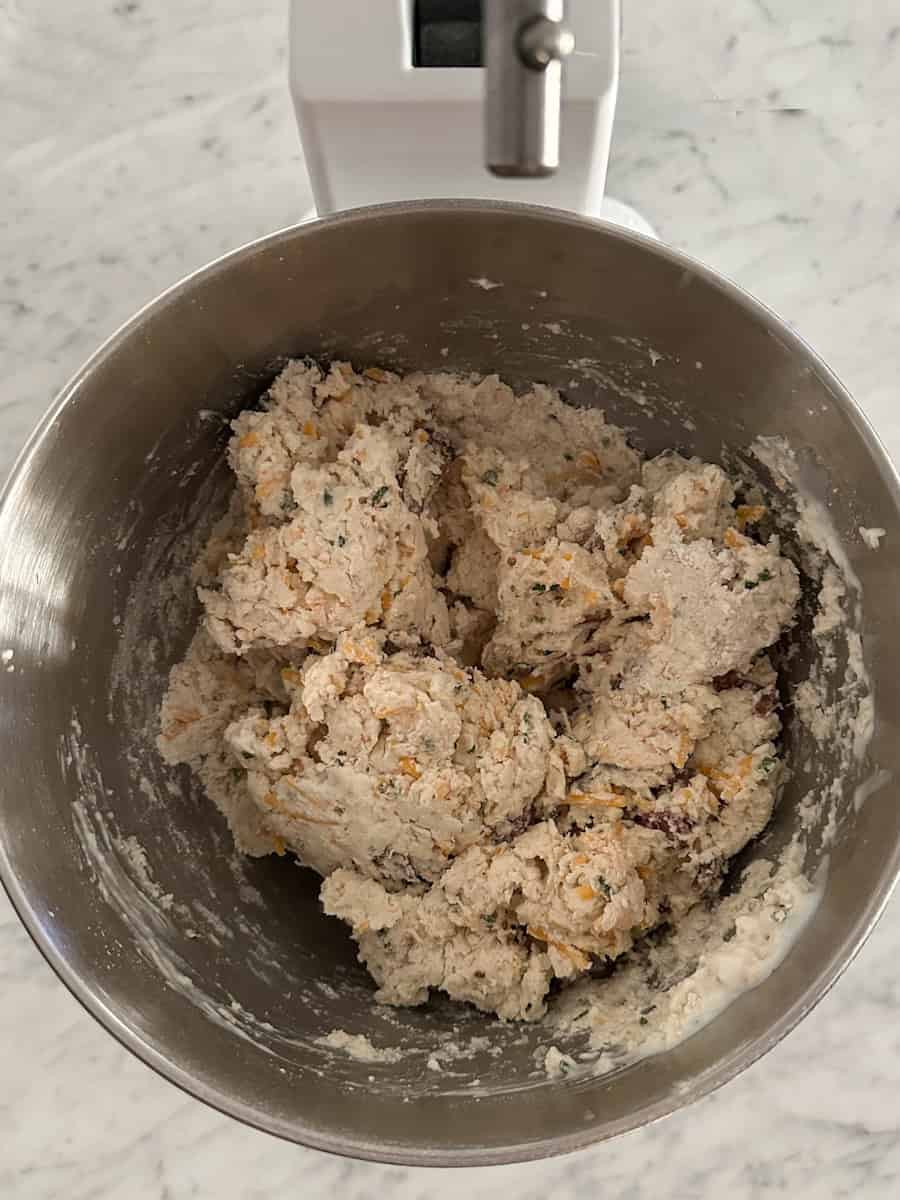
- Swap the pastry beater attachment for the dough hook attachment and add the cheese, fresh chives, and cooked bacon to the stand mixer bowl. Continue mixing on speed 2 while slowly adding the cold buttermilk. Mix until just combined. If the dough looks too dry, slowly add more buttermilk until the mix is sticky, but not wet.
- Remove the dough from the bowl and roll onto a lightly floured surface until it is about 1/2 inch thick. Use a 2 1/2 inch biscuit cutter to cut biscuits. Re-roll any leftover dough scraps and cut the remaining biscuits.
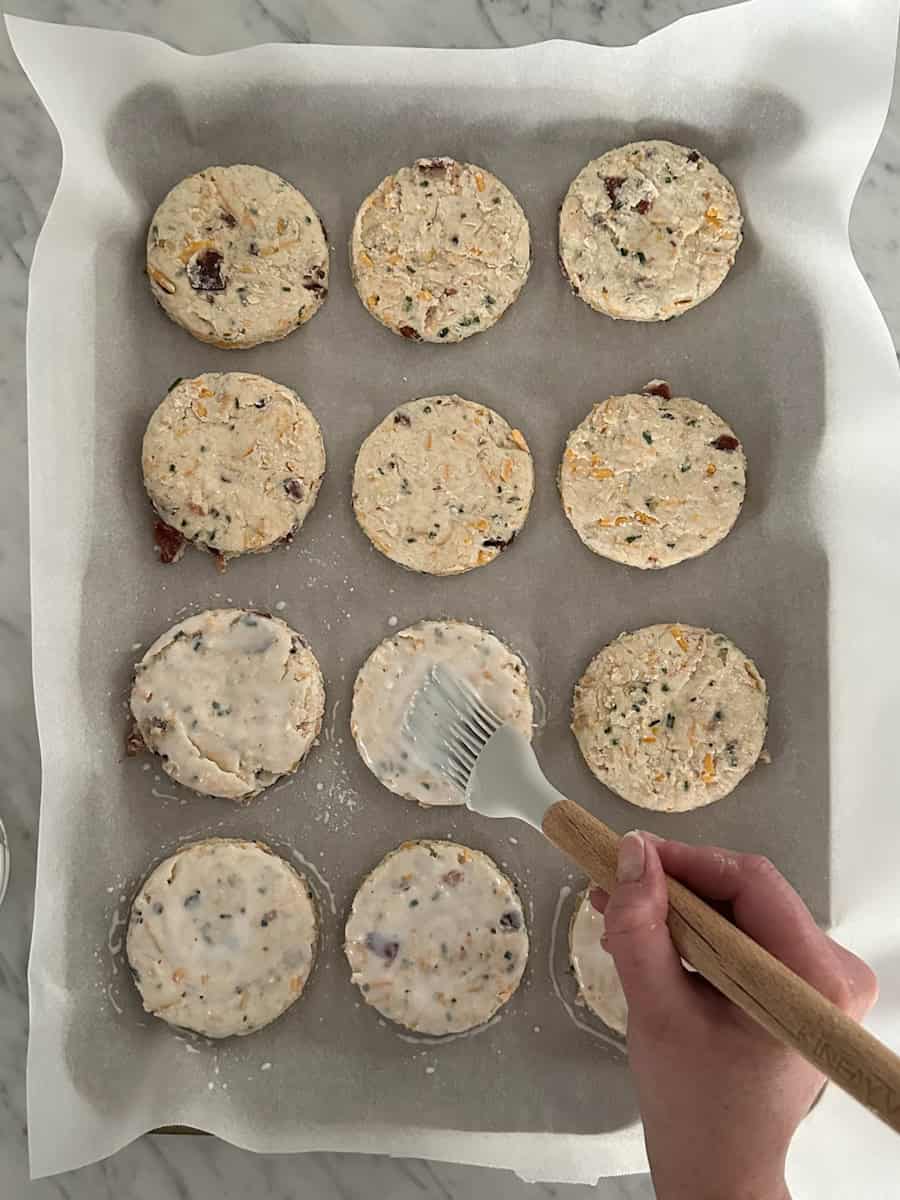
- Place the biscuits on a baking sheet lined with parchment paper. Using your thumb, gently press the center of each biscuit and brush with the leftover buttermilk.
- Bake for 12-15 minutes or until golden brown on the top. Remove from the oven and rub a stick of butter on top of each biscuit before they cool. Enjoy!
Notes:
Be Sure To Use Cold Buttermilk And Butter: The cold butter creates steam pockets as it melts in the oven and gives the biscuits their signature rise and texture. This will also help your biscuits to turn out light and flaky.
Use Freshly Shredded Cheddar Cheese: Freshly shredded cheese ensures a richer and creamier melt (pre-shredded cheese often contains additives that can affect the texture). However, if you’re in a pinch, pre-shredded cheese works as an easy alternative.
Electric Oven vs Gas Oven: For electric ovens, bake your biscuits on one of the lower racks to get more consistent heat. If you have a gas oven, consider baking your biscuits on one of the top racks and watch them closely for even cooking. Each oven disperses heat differently, so be sure to adjust the racks based on how evenly and quickly your oven heats up.
Don’t Twist The Biscuit Cutter: When cutting the dough, be careful not to twist the biscuit cutter as this can seal the edges of the dough and prevent the biscuits from rising.
Storing The Biscuits: Store in an air-tight container in a cool, dark place (like a cupboard, pantry, or refrigerator). If you would like to freeze the biscuits, wrap individually in freezer paper and place in an air tight container for up to 2-3 months.

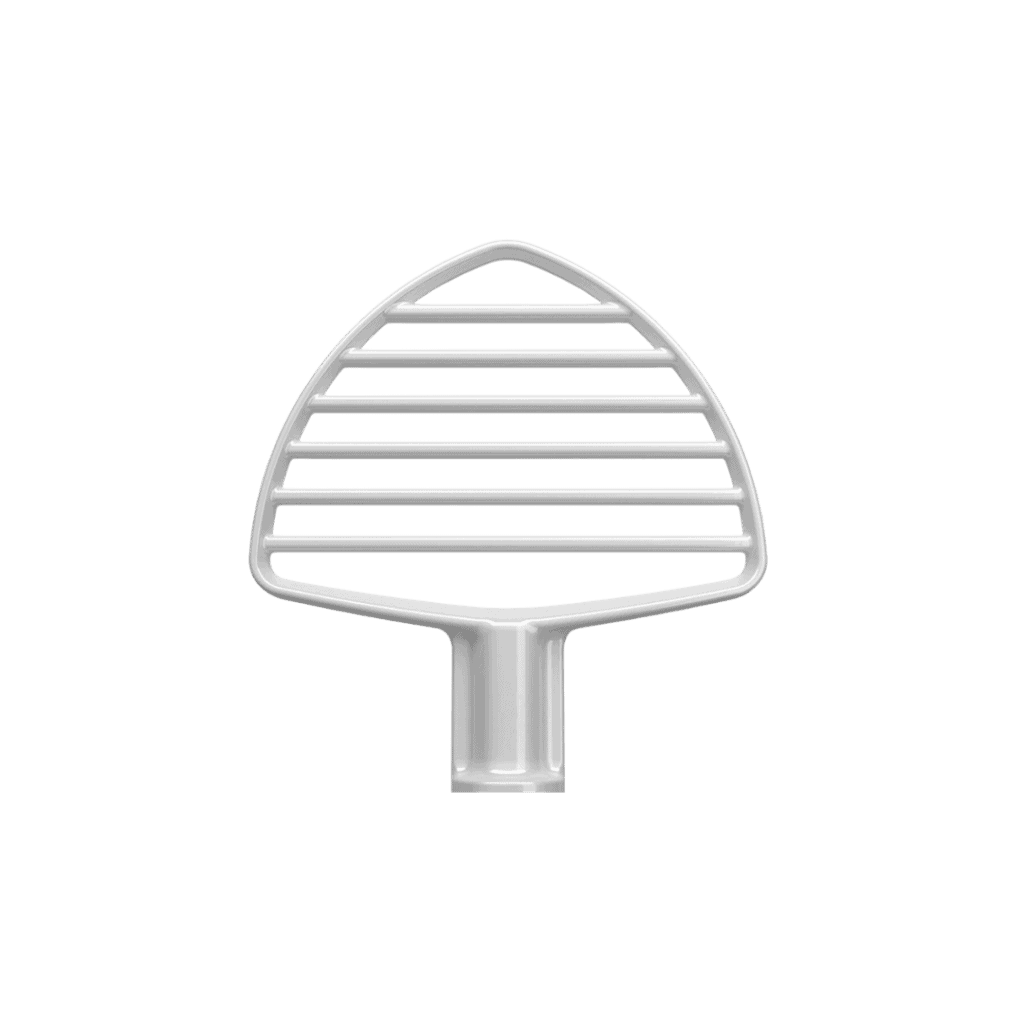
A Note About The Kitchen Aid Attachments
If you don’t have the pastry beater attachment, you can easily swap this for the flat beater attachment that comes with most stand mixer purchases. I personally don’t own the pastry beater attachment and use a flat beater for this recipe.
If you give these Bacon Cheddar And Chive Biscuits a try, I’d be thrilled to hear all about it! Share your tips, experience, or leave a comment rating this recipe. And if you post a photo of your biscuits, don’t forget to tag me on Instagram. I love to see how you make these recipes your own!


+ Show / Hide Comments
Share to: