Last week I shared with you that the tile flooring installation was finally complete. And this week, we’ve been elbows deep in finishing the bathroom vanity makeover!
After our plumbing leak fiasco a few months ago, we knew that a total gut and remodel of our primary bathroom wasn’t in our immediate budget. Since we had no choice but to be creative with our money, I spent quite a bit of time evaluating all of the different ways we could save some funds. Reusing our existing bathroom vanity felt like the perfect solution.
I think it goes without saying that reusing your existing vanity offers obvious cost savings. Bathroom renovations can quickly become expensive – especially when you factor in the cost of new cabinetry, countertops, and installation. By reusing our current vanity, we’ve been able to allocate more of our money towards other aspects of the renovation.
Where We Started..
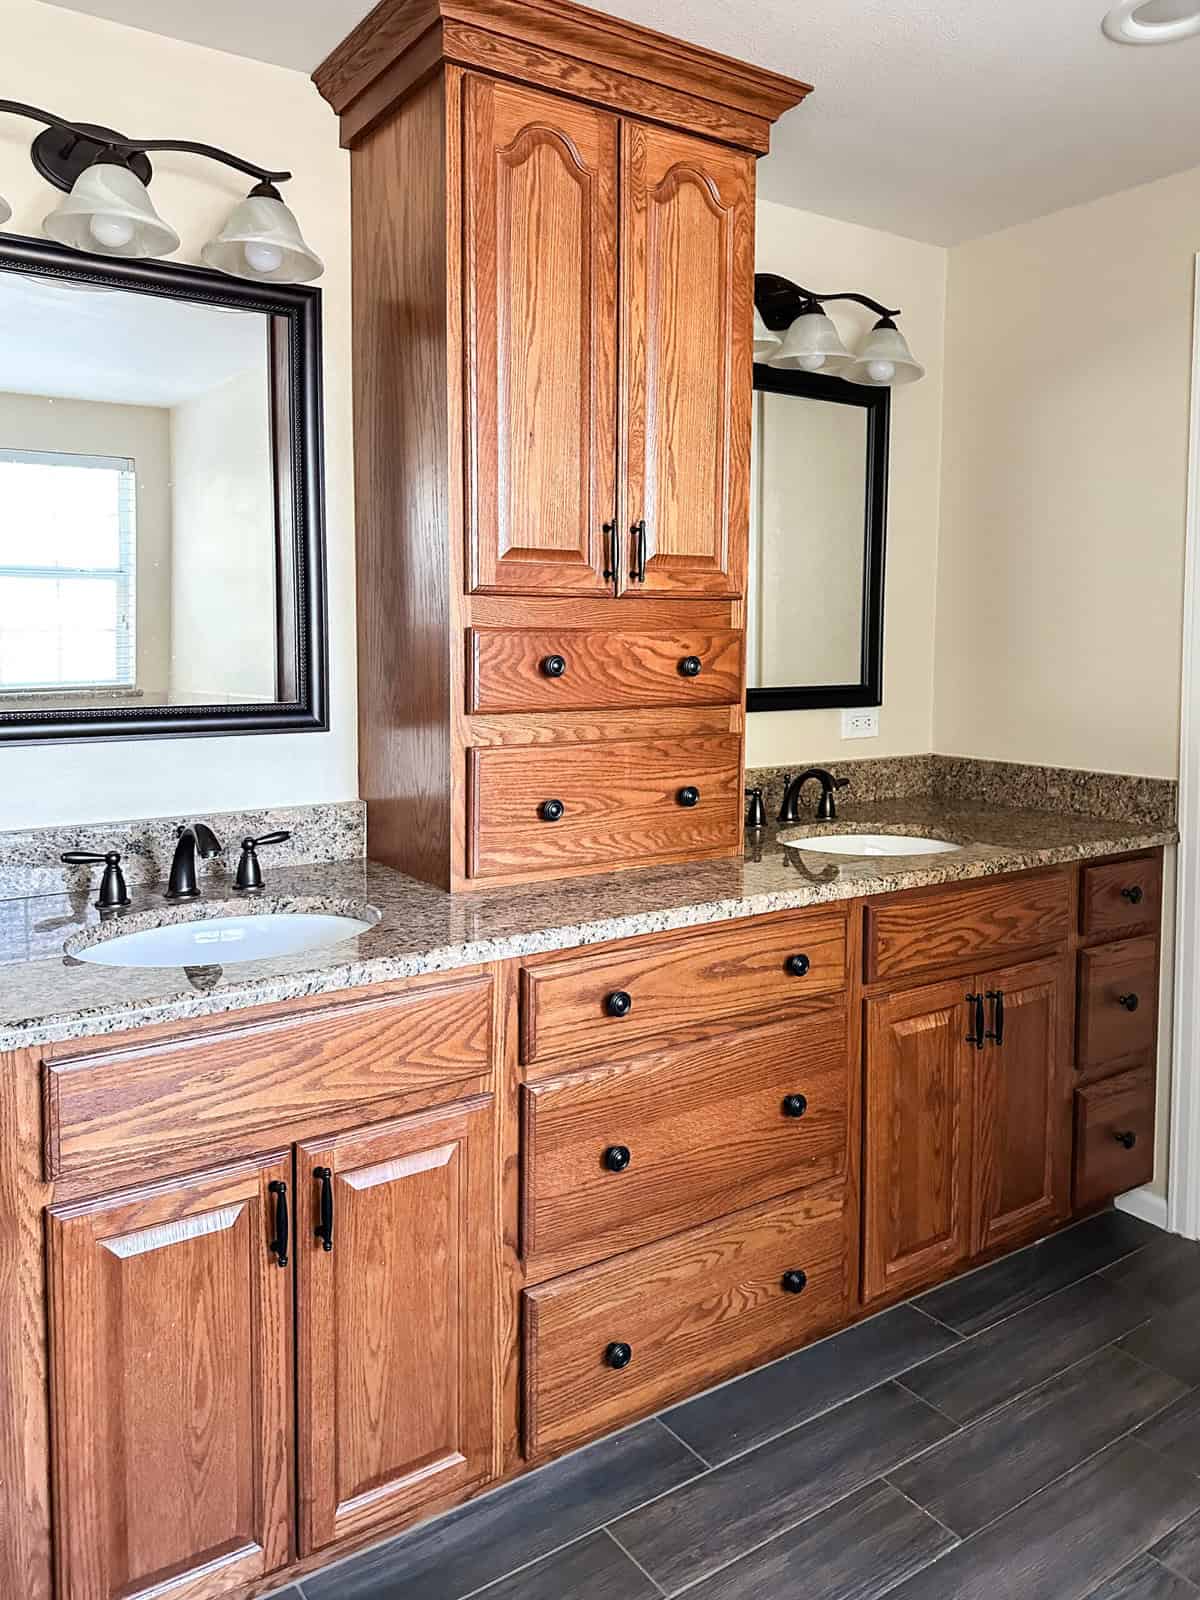
Don’t you just love the orange, varnished red-oak of the 90’s?
Even though this vanity feels super dated, it is in excellent condition and functions perfectly for our day-to-day needs. I also really liked the idea of preserving some of the original character of our home because there is so little of it. Even though the arched details on the upper cabinet doors date the space, they are growing on me. I’m starting to find them kind of sweet!
Not to mention, ripping out this vanity in exchange for something with less character and for more money feels like the wrong solution to solving a purely aesthetic problem. I’m all for repurposing old pieces, so this feels like a great opportunity to freshen up an existing item while still making a big impact in the space.
One of the downsides of this makeover process is that we had to hand-sand the ENTIRE THING. We started with a small orbital sander, but struggled to find the correct combination of sandpaper grit and hand strength. We tried four different grits before realizing our best option was to do it all by hand.
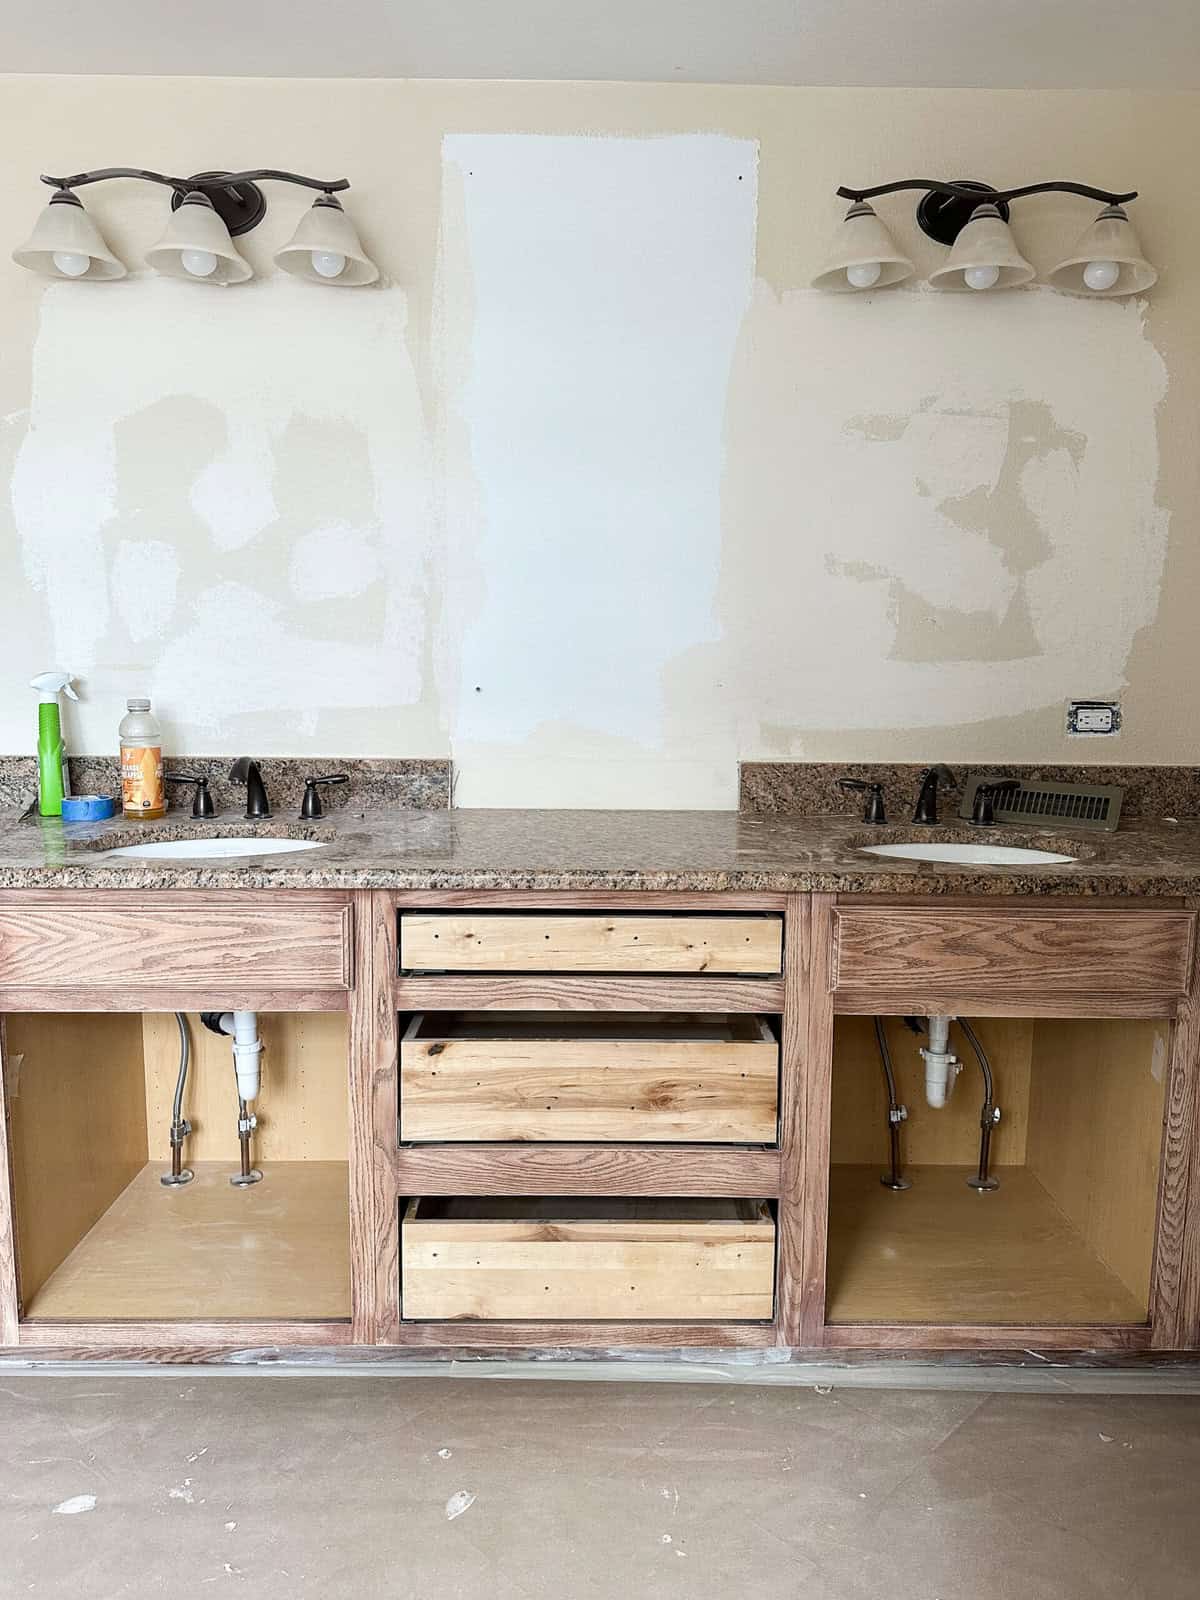
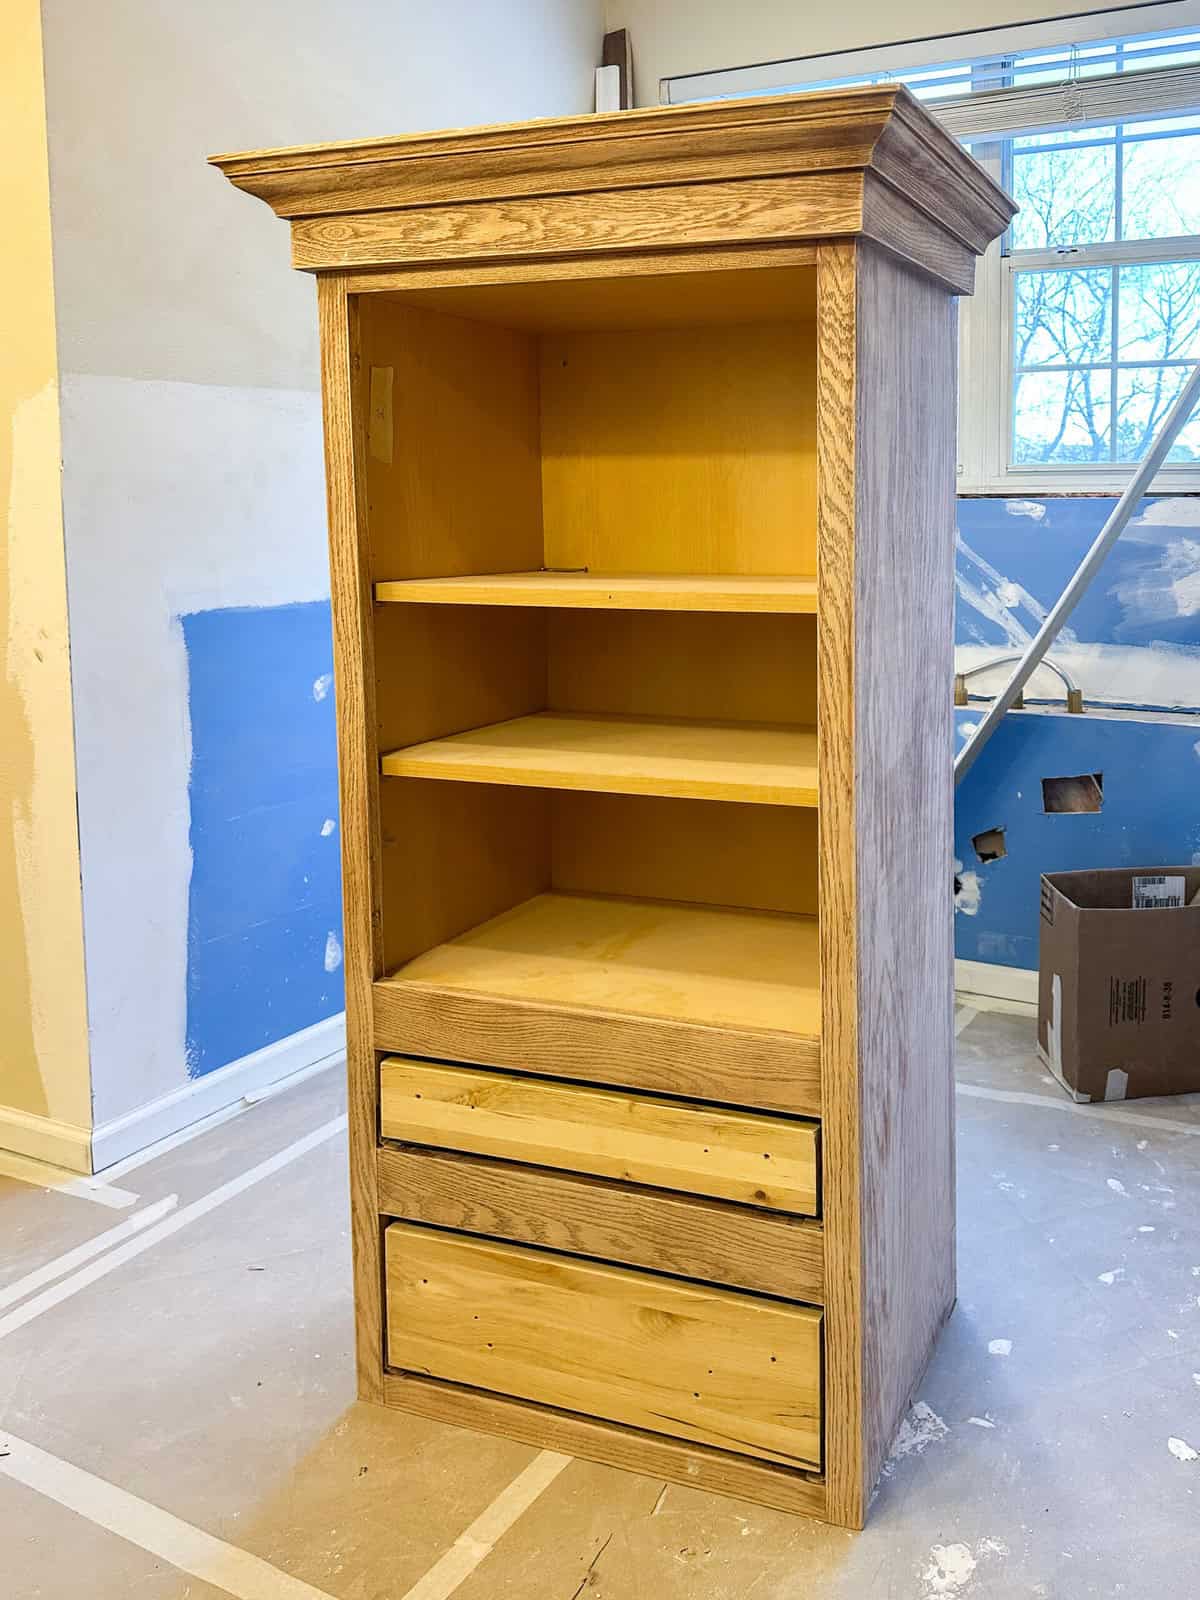
Whew! That rosey, red oak is strong. I thought about bleaching the wood to get rid of some of that pink undertone, but I think we’ll be able to camouflage it with the right stain. The top cabinet actually looks more like golden oak in the photo below..
Selecting A Stain
Once we got everything sanded and cleaned up, I selected a stain. I normally like to use Rubio Monocoat because it is a much healthier option. But, I wasn’t able to get my hands on it quickly enough without holding up our project.
Instead, I chose a Minwax stain. I tested about 6 different stains, but settled on two options: Dark Walnut & Jacobean. Here is a look at the Dark Walnut on the red oak..
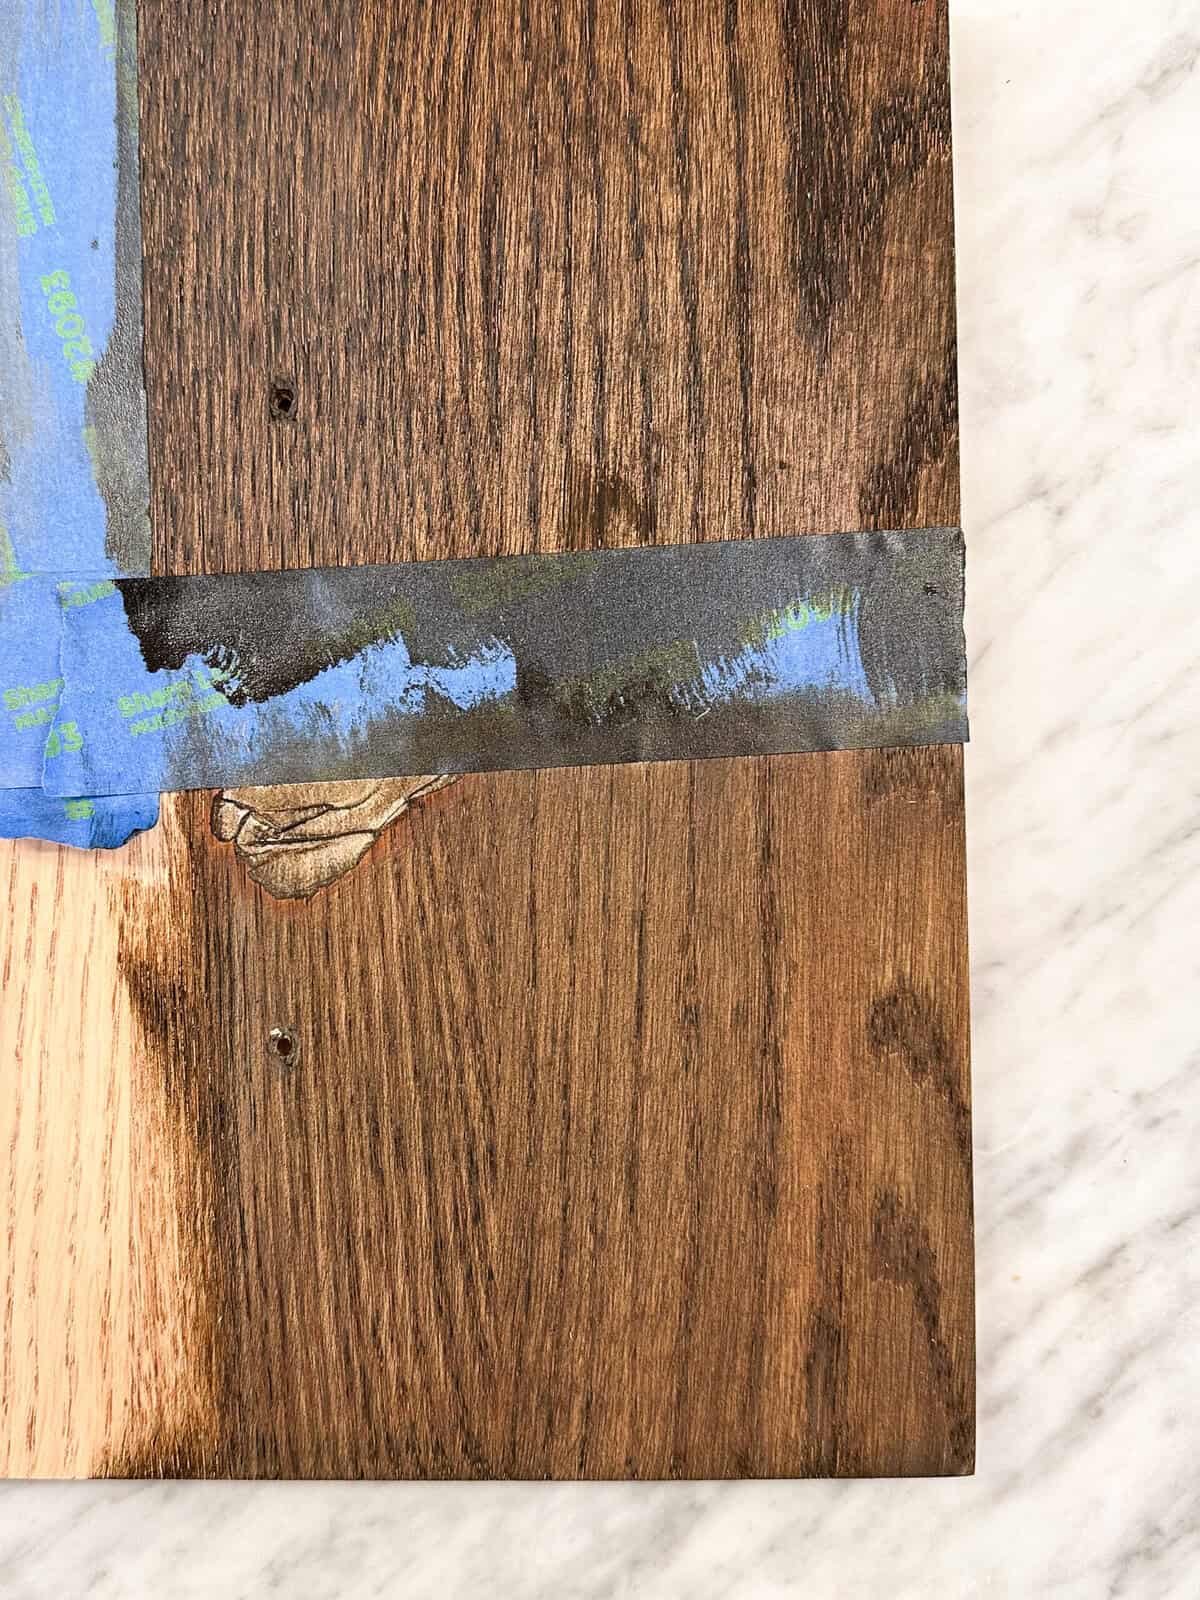
And here is the Jacobean..
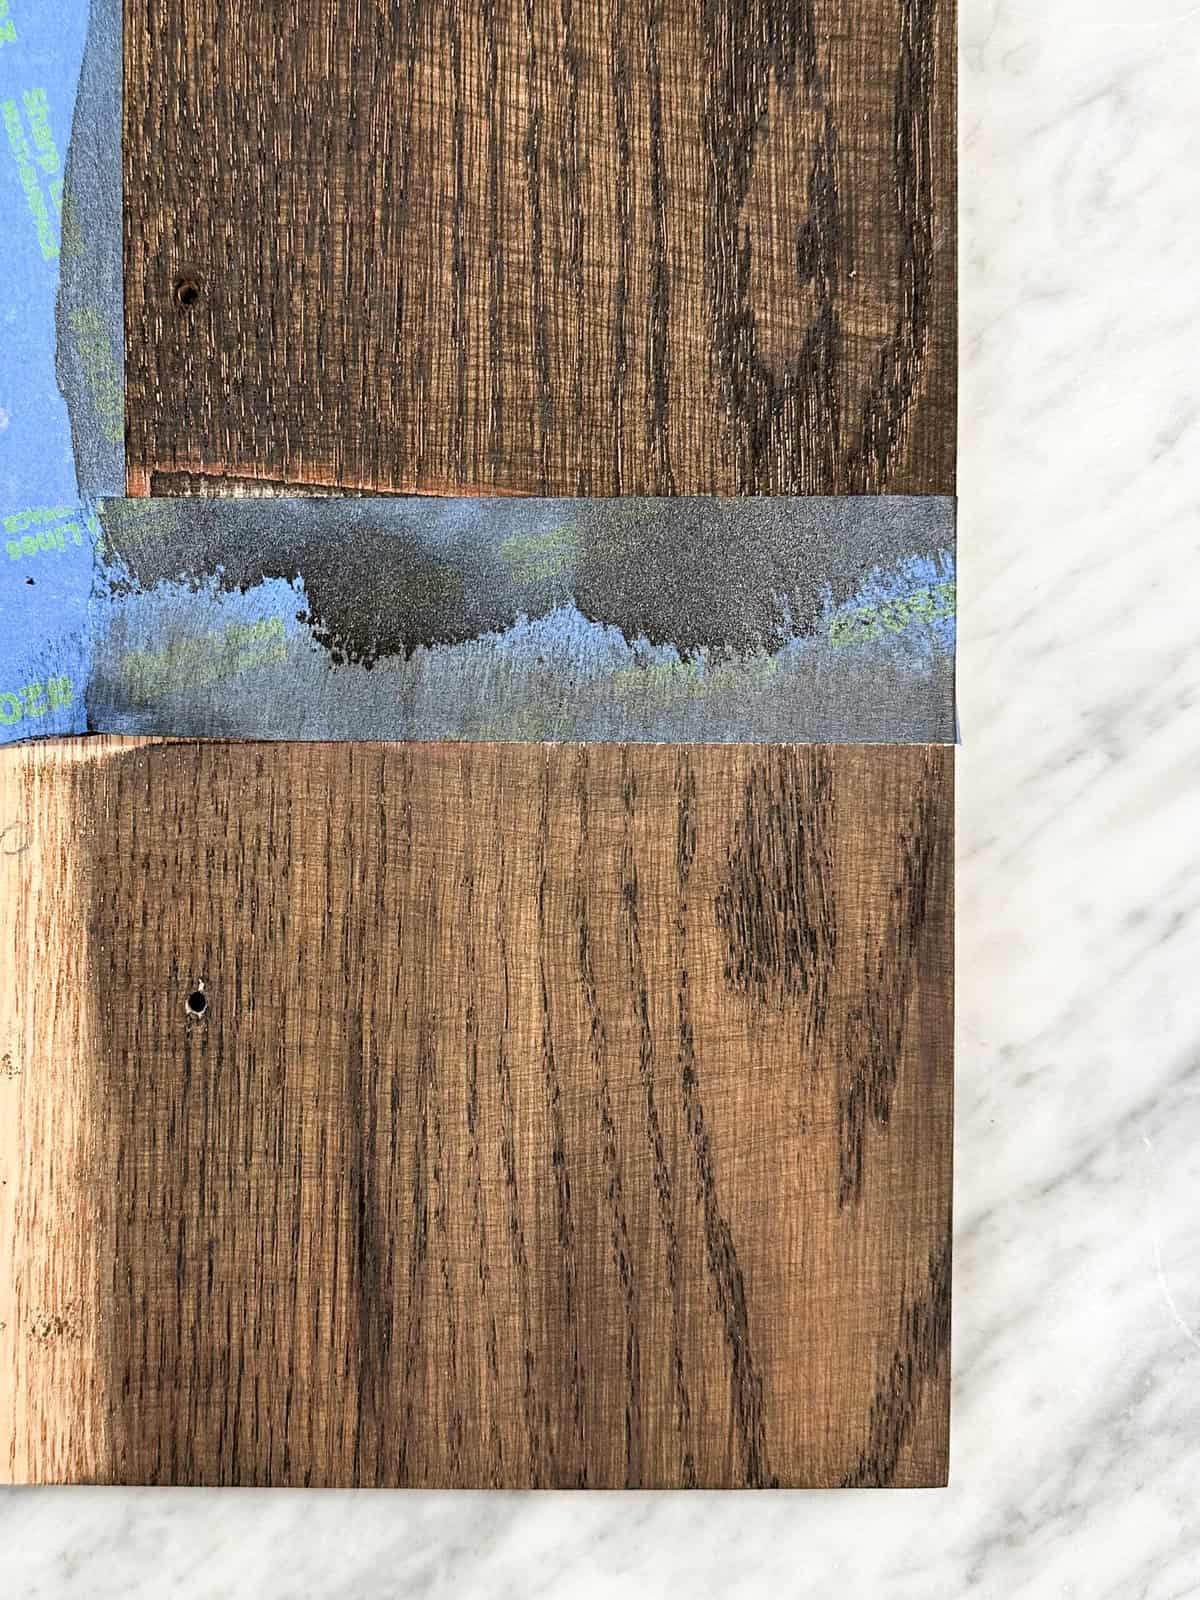
I decided to go with the Jacobean finish. The Dark Walnut stain was pulling just a tad orange and felt too reminiscent of the original vanity finish. Jacobean, on the other hand, was a bit cooler which helped to neutralize the pink undertones of the red oak.
Once we finalized the stain, we slowly started to layer on coats to get just the right hue. Here is a look at our top cabinet with the first coat..
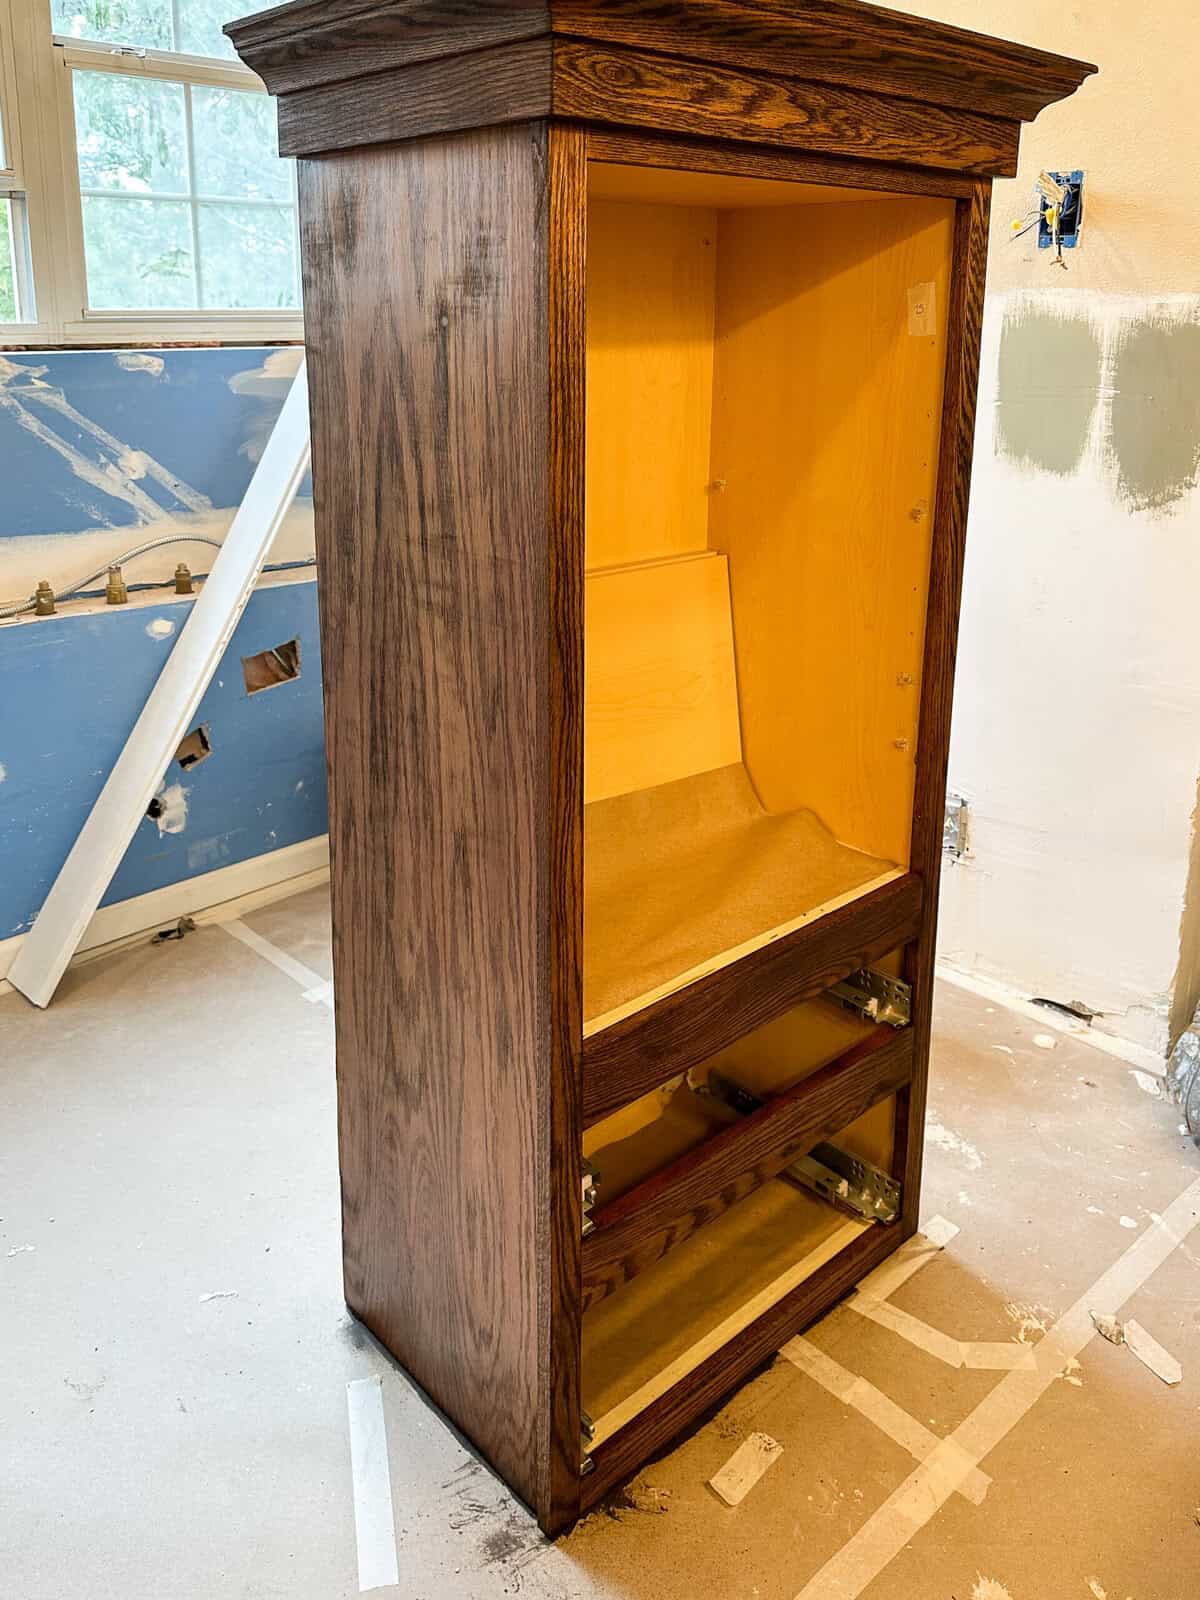
Even with the cooler stain, doesn’t it still feel really warm?
I decided we definitely needed a few more coats to get rid of that. But, I wanted to be sure not to go too dark so we didn’t lose that beautiful wood grain. And, since we’re going with a mid-tone paint color on the walls, I like the idea of contrasting with a darker vanity.
Here it is after 3 coats of stain..
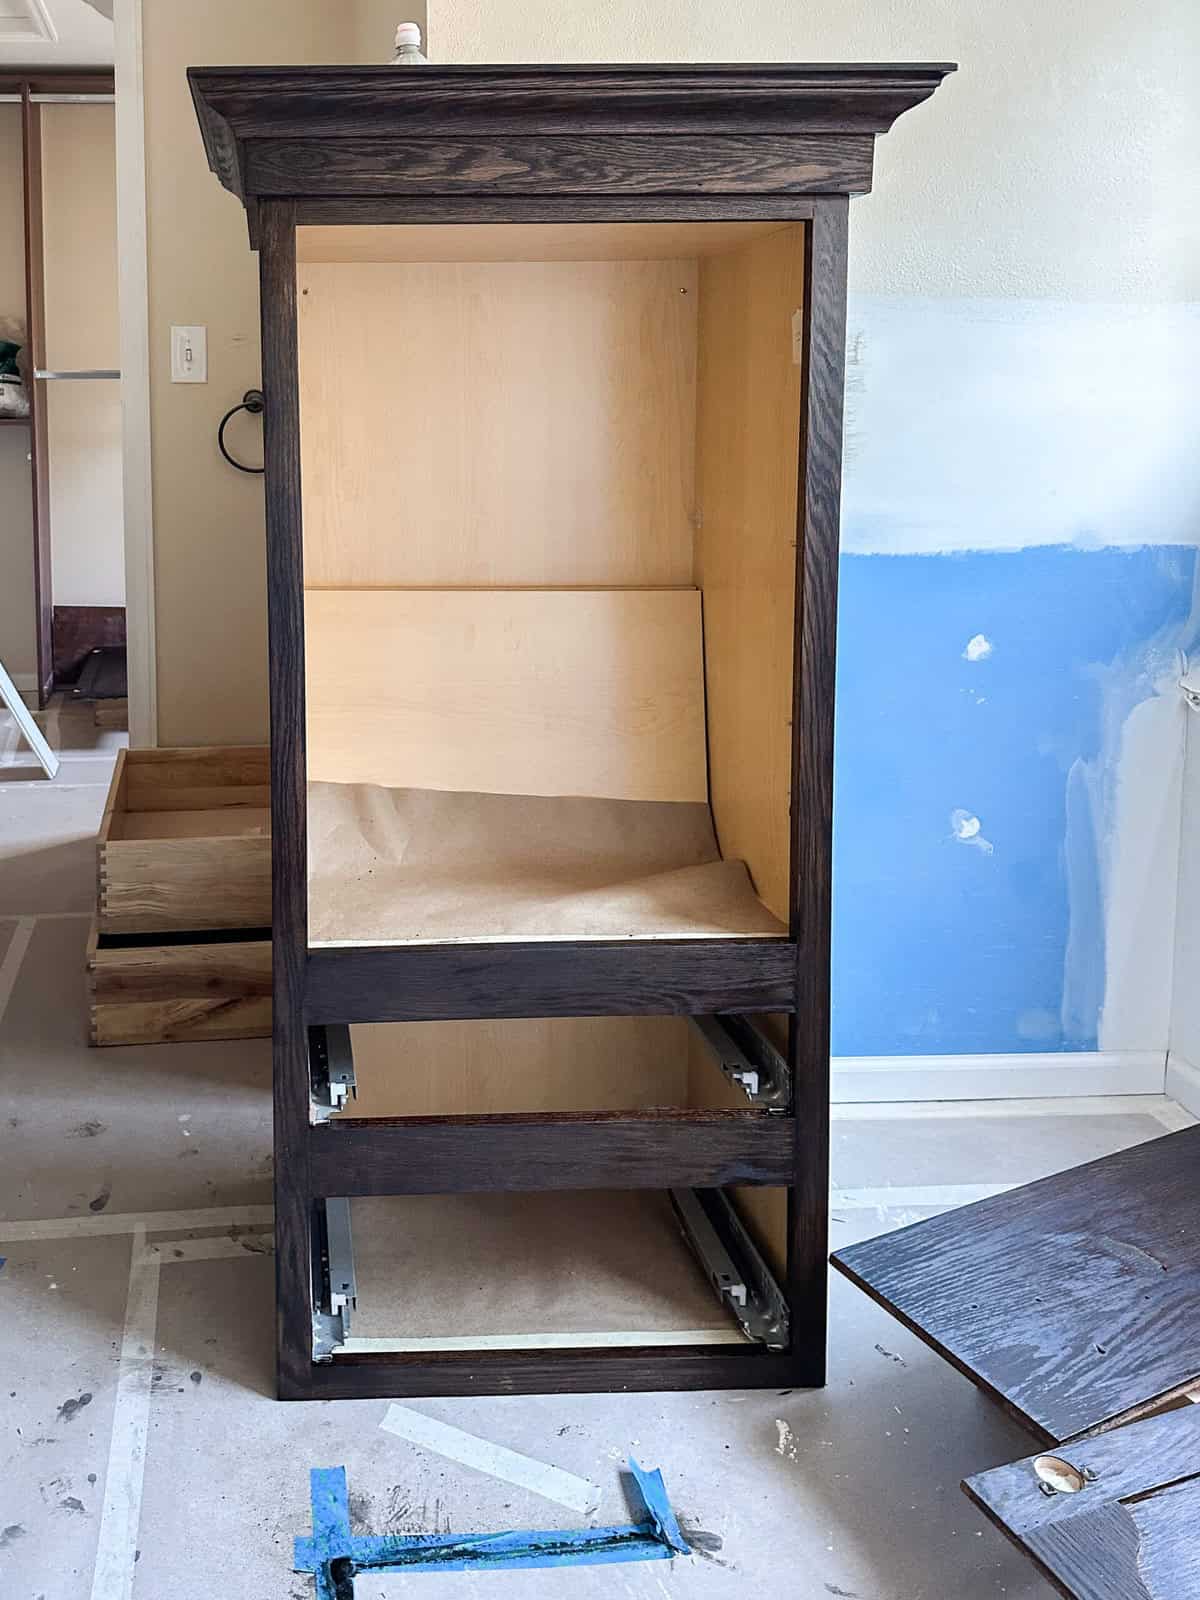
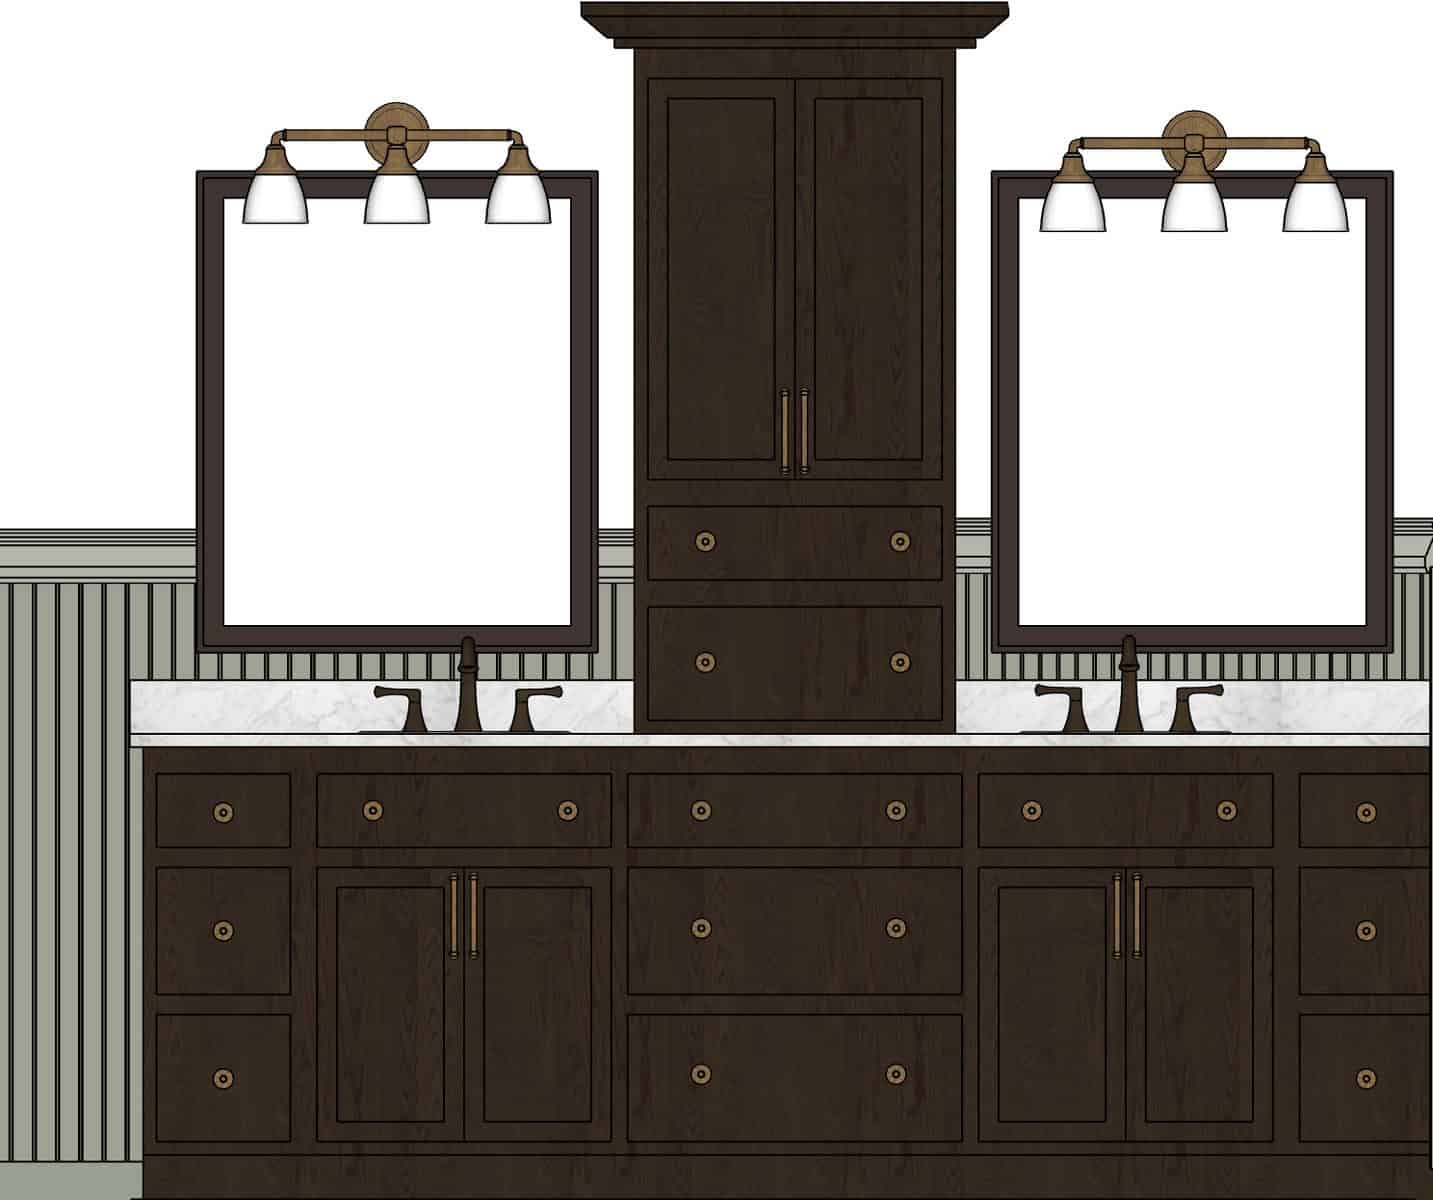
Doesn’t it look SO much better? It is so close to what I had drawn up in our original rendering!
Now instead of orange coming through, the grains take on a little bit of a golden hue. I don’t want to entirely cover them up and lose the wood grain, so I think I’m okay with this. Plus, it will only help to accentuate the aged brass accents that we’ll be installing.
Selecting A Countertop
Remember when I mentioned that I was going to try to find a remnant countertop slab to replace the orange granite? And do you also remember when I said it was going to be a miracle if I could find something that would fit?
Well, guess what. I did. And it is an exact match for the stone we used on the floor! I swear, I have been so lucky when it comes to materials on this project.
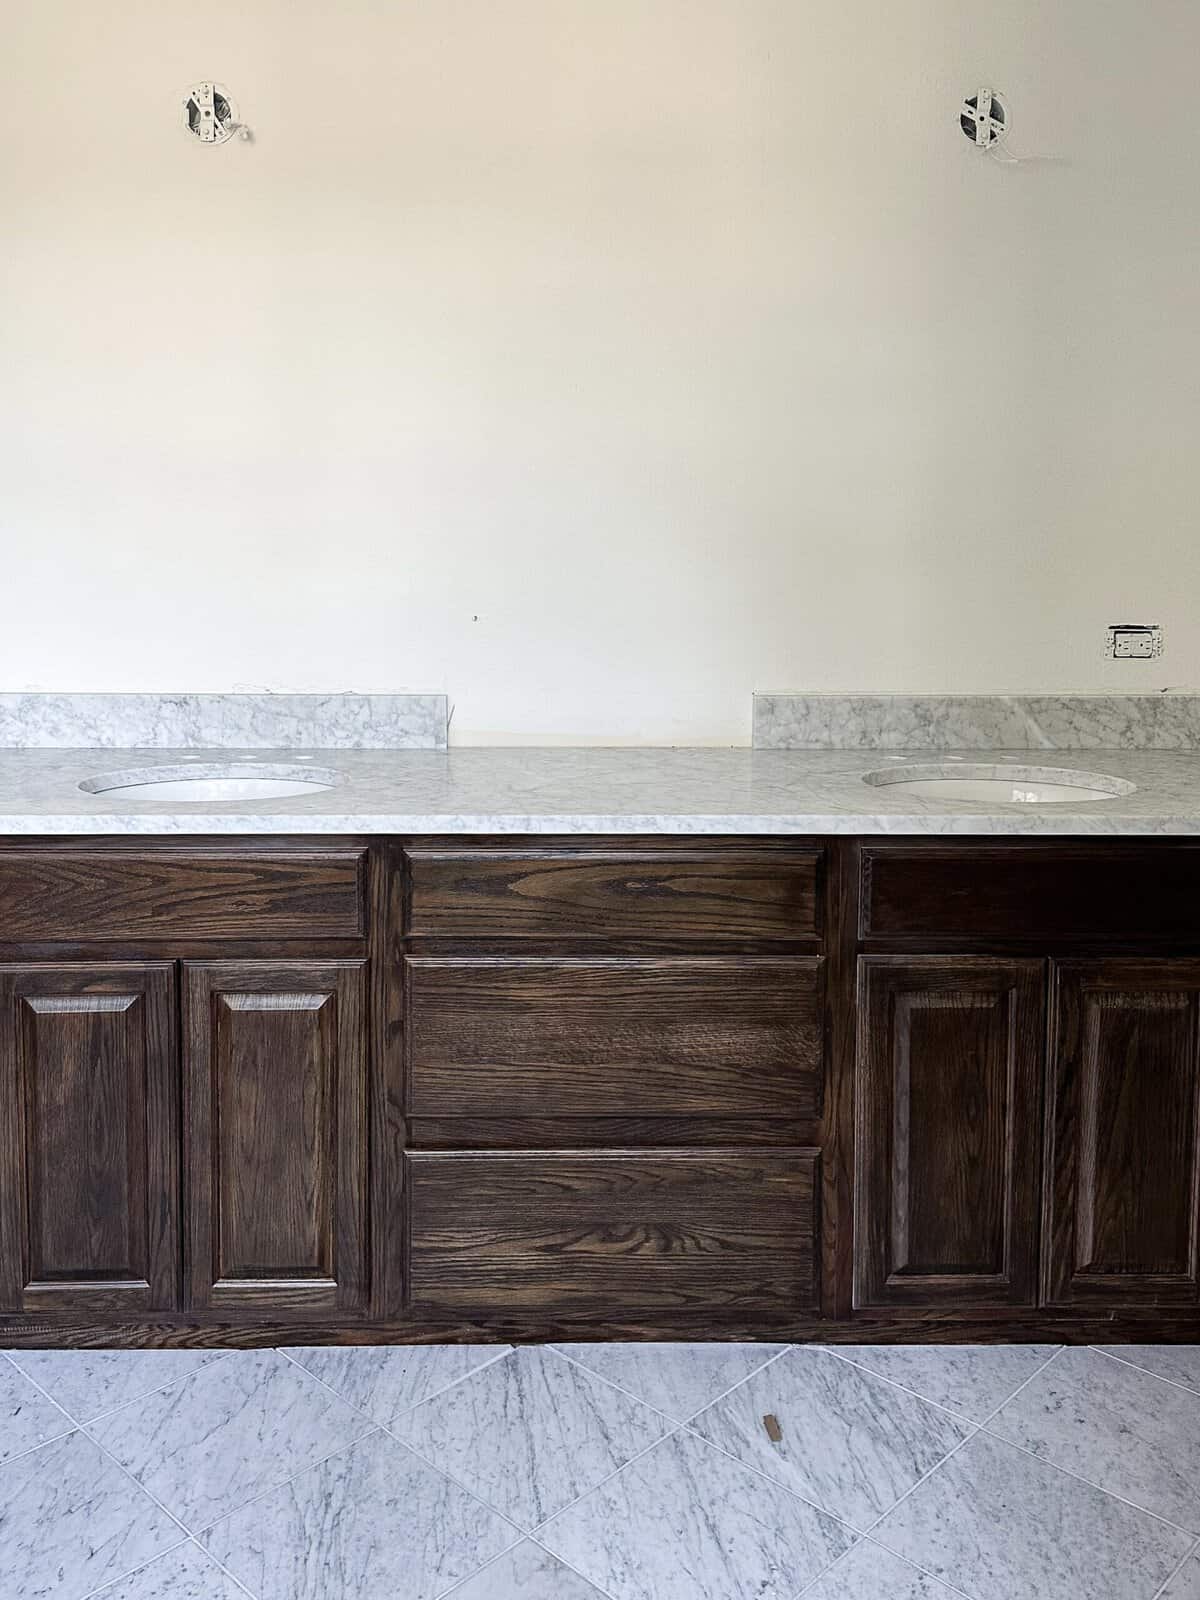
Here’s the vanity with all 3 coats of stain and new counters installed. We still need to seal the countertop which will really make it take on the deeper hue of the floor, but it’s getting so much easier to visualize the final install. We’re so close, I can taste it.
If you are planning your own bathroom vanity makeover, be sure to take time to plan your design, gather inspiration, and choose quality materials that align with your vision. With creativity and careful execution, you can breathe new life into your bathroom and enjoy a space that reflects your personal style and preferences.
Are you considering a vanity makeover for your bathroom or have you completed one before? I’d love to hear about your design plans or how it turned out for you!


+ Show / Hide Comments
Share to: