It’s been a few weeks since I last posted an update about our surprise primary bathroom renovation, so I’m happy to report that we’ve FINALLY completed the installation of the bathroom beadboard wainscoting. With about three-quarters of the construction work done, it’s all starting to come together. I can’t wait to share the final details with you!
Before work began, I actually envisioned this as a full height beadboard on all of the bathroom walls. But, like all good ideas, it took on a new life once we began finalizing the materials. (You can see the original mood board here). That’s part of the fun of home design – small changes can lead to a bigger impact.
The Details
When it comes to home renovations, every decision plays a role in defining the character of your space. I really wanted an architectural detail that added some interest but that also felt timeless. After some consideration, I decided on installing beadboard wainscoting instead of going full height. Here’s why it’s the perfect choice for our bathroom:
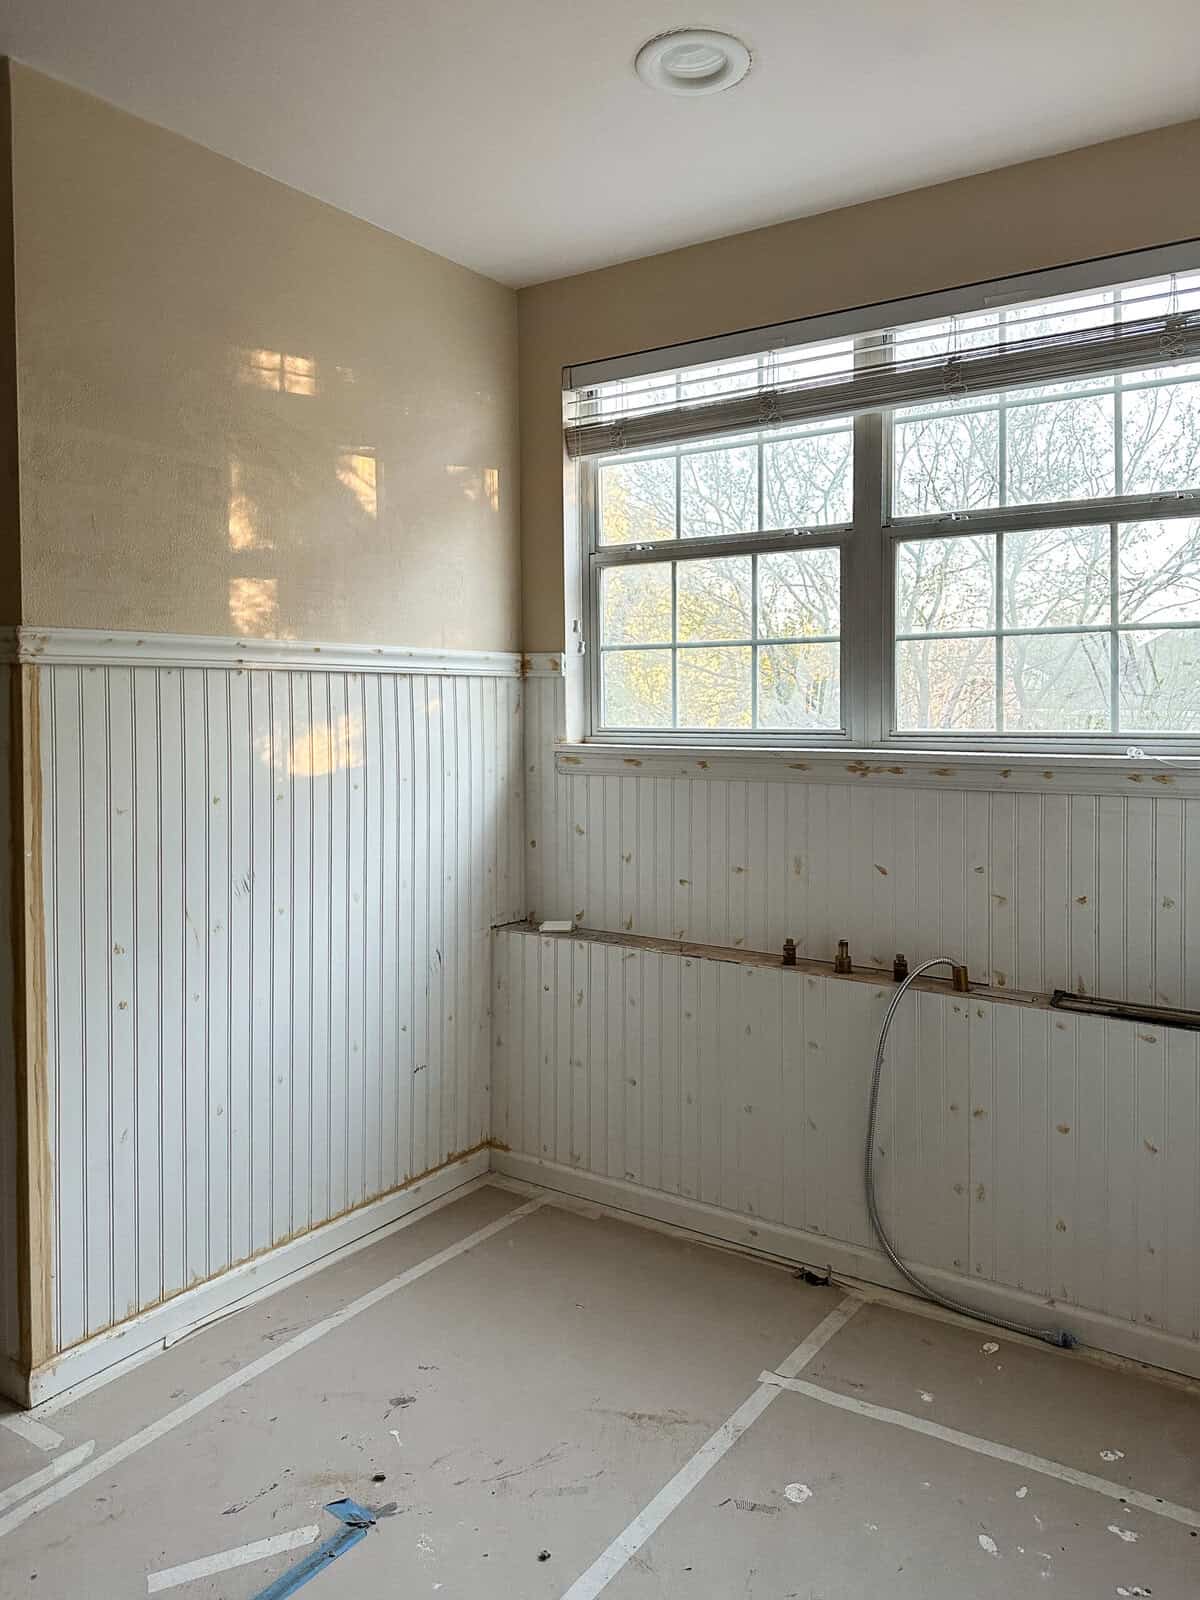
Bathroom beadboard wainscoting strikes the perfect balance between classic charm and modern casualness. It adds texture and depth, creates a cozy atmosphere, and is complementary to a variety of home styles. In addition to its aesthetic prowess, beadboard is incredibly durable and easy to maintain. This obviously makes it ideal for wet areas in bathroom applications.
One of the primary reasons we opted for wainscoting instead of a full-height installation is its significance in Colonial design. In colonial-inspired bathrooms, beadboard is typically installed as wainscoting and covers the lower portion of walls. This placement not adds a touch of historical authenticity and serves a practical purpose to protect the walls from moisture and wear. Naturally, I really leaned into this detail.
Selecting The Paint
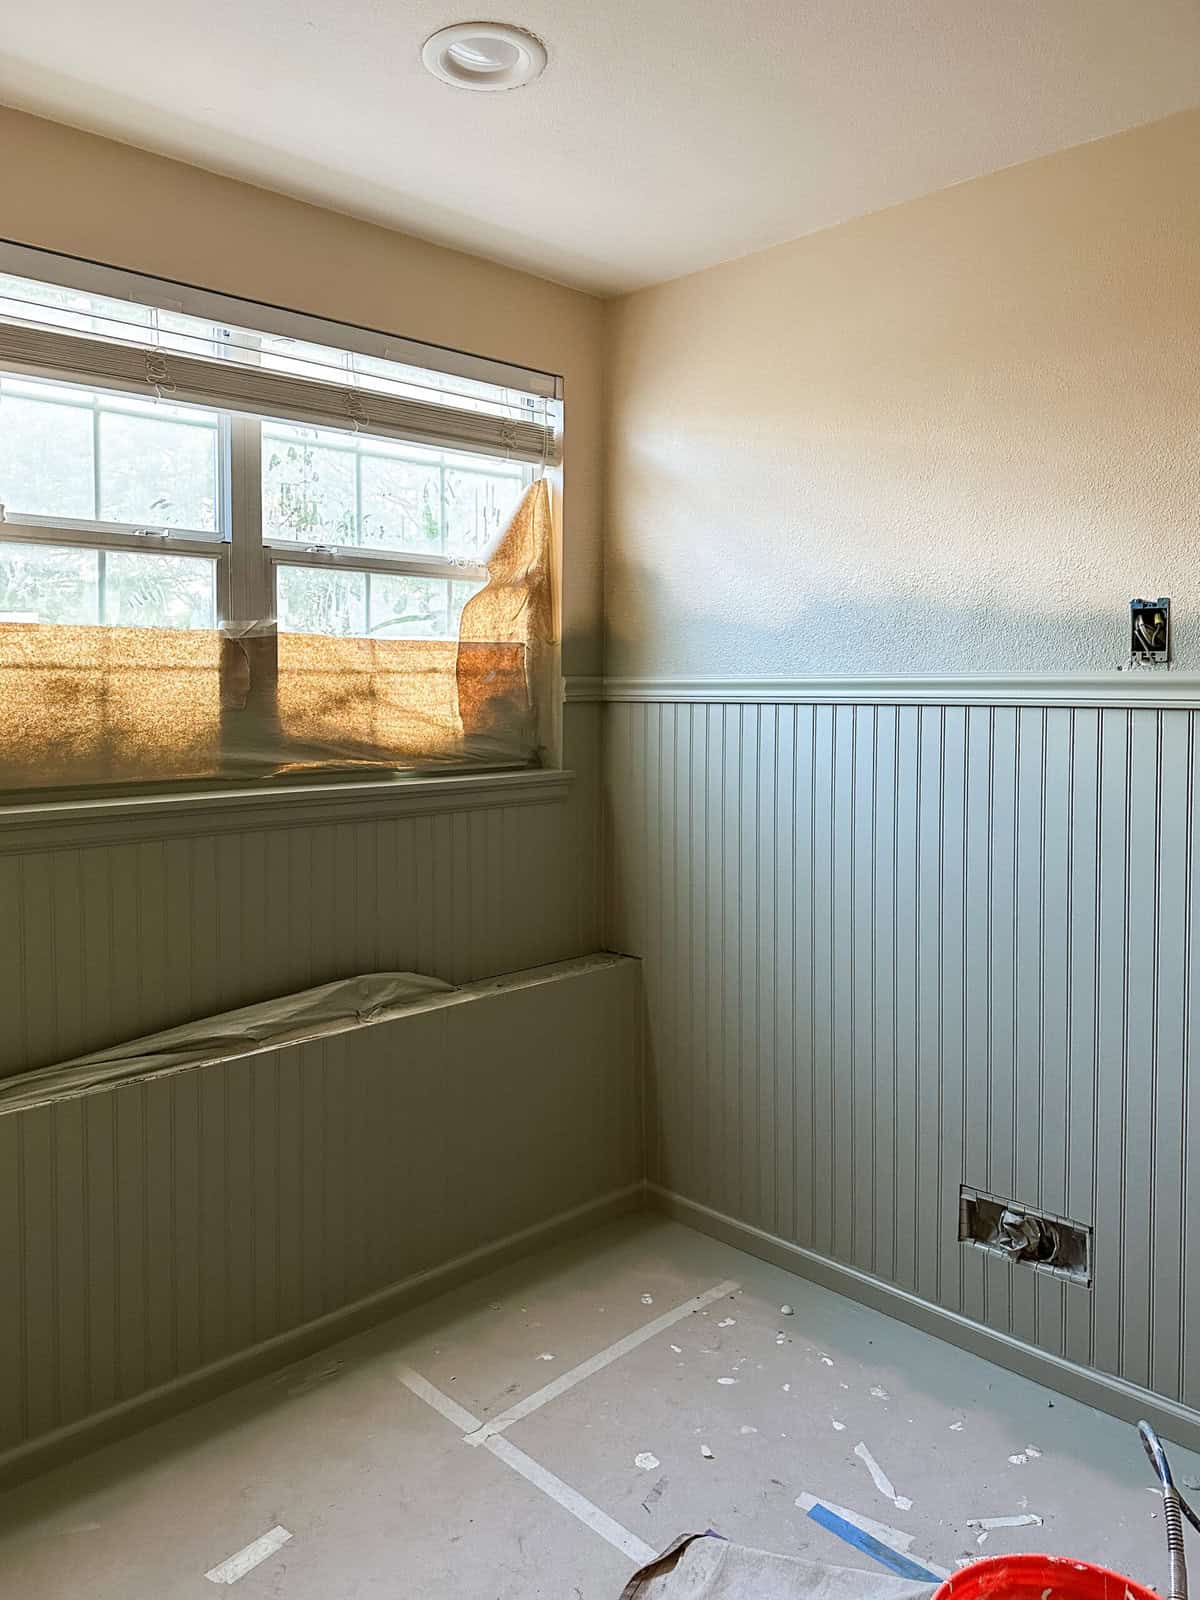
Once I had the install details nailed down, I had to finalize the paint. I really enjoy color in my home and think there is a way to incorporate it while still feeling neutral. Before we started installing the panels, I had narrowed down the paint to three options. The first option felt too dark for the space. Option #2 felt a little bit too yellow for me, but option #3 felt just right.
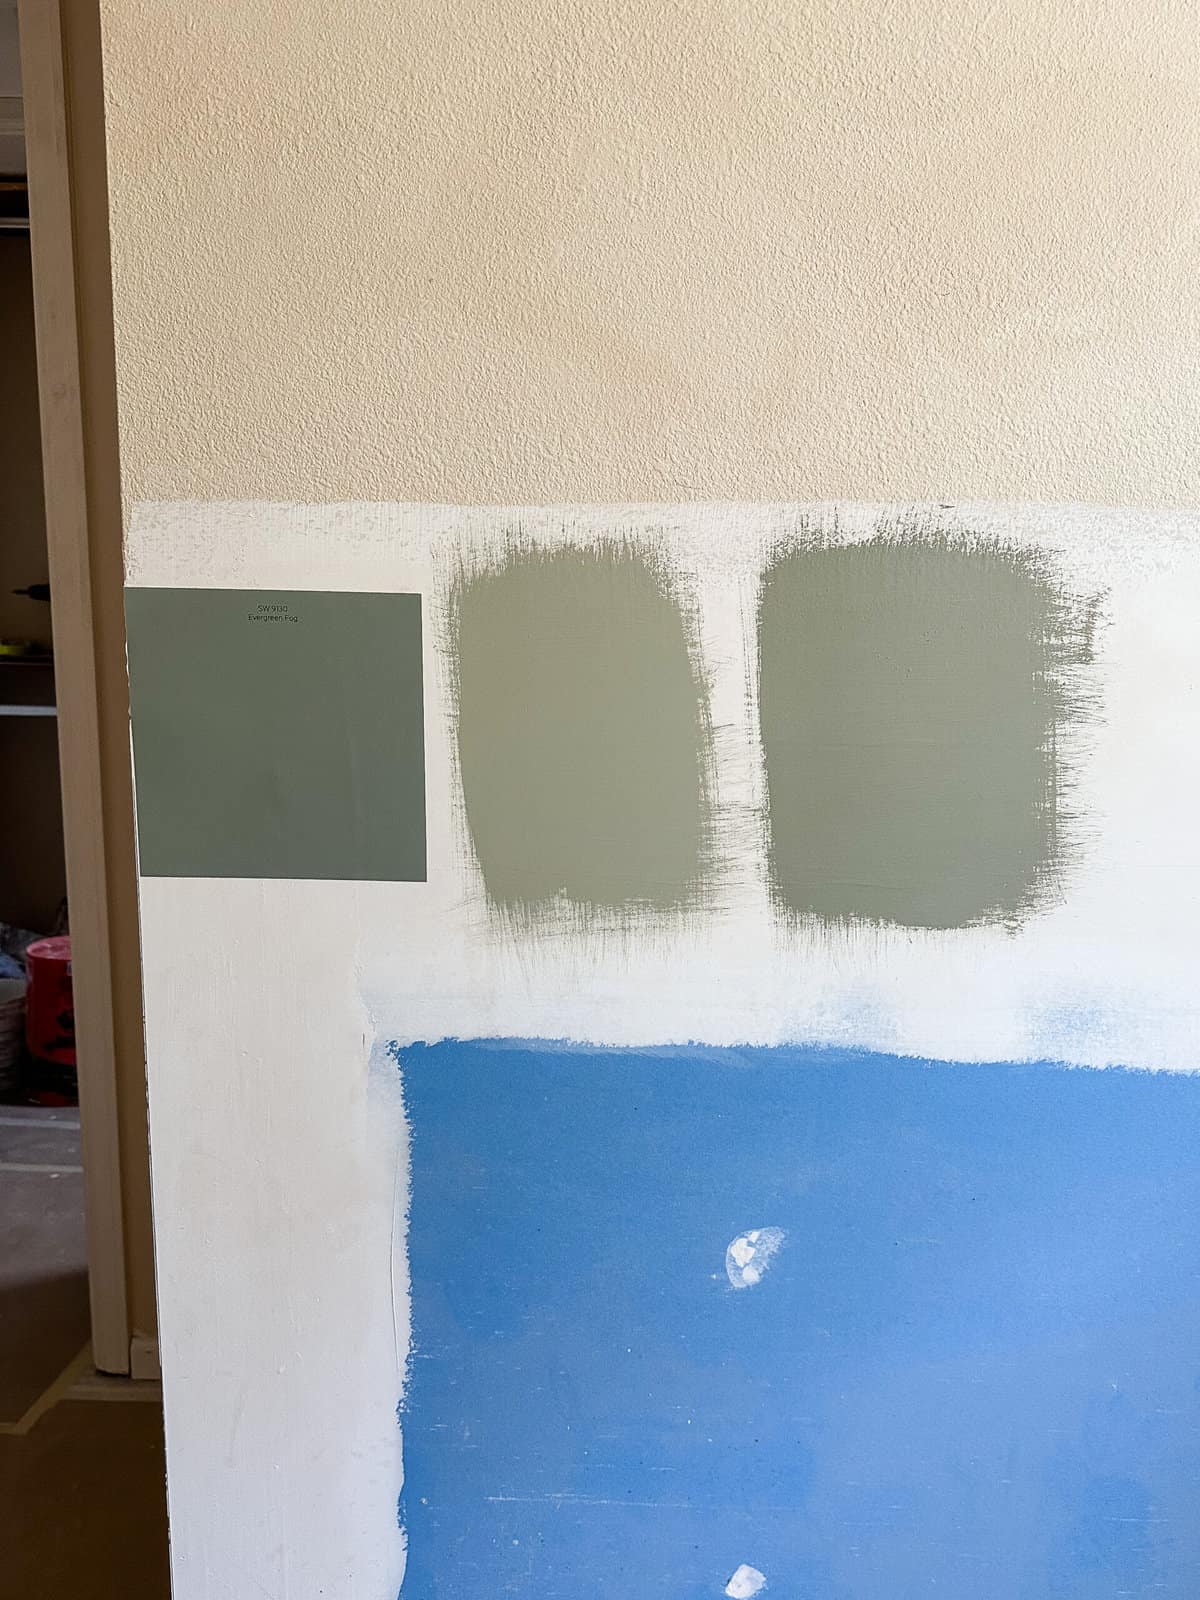
This hue feels so serene and and works as a subtle green-blue that complements the colonial aesthetic. For me, this color strikes the perfect balance between calm and neutral, yet it’s distinctive enough to add personality to the space.
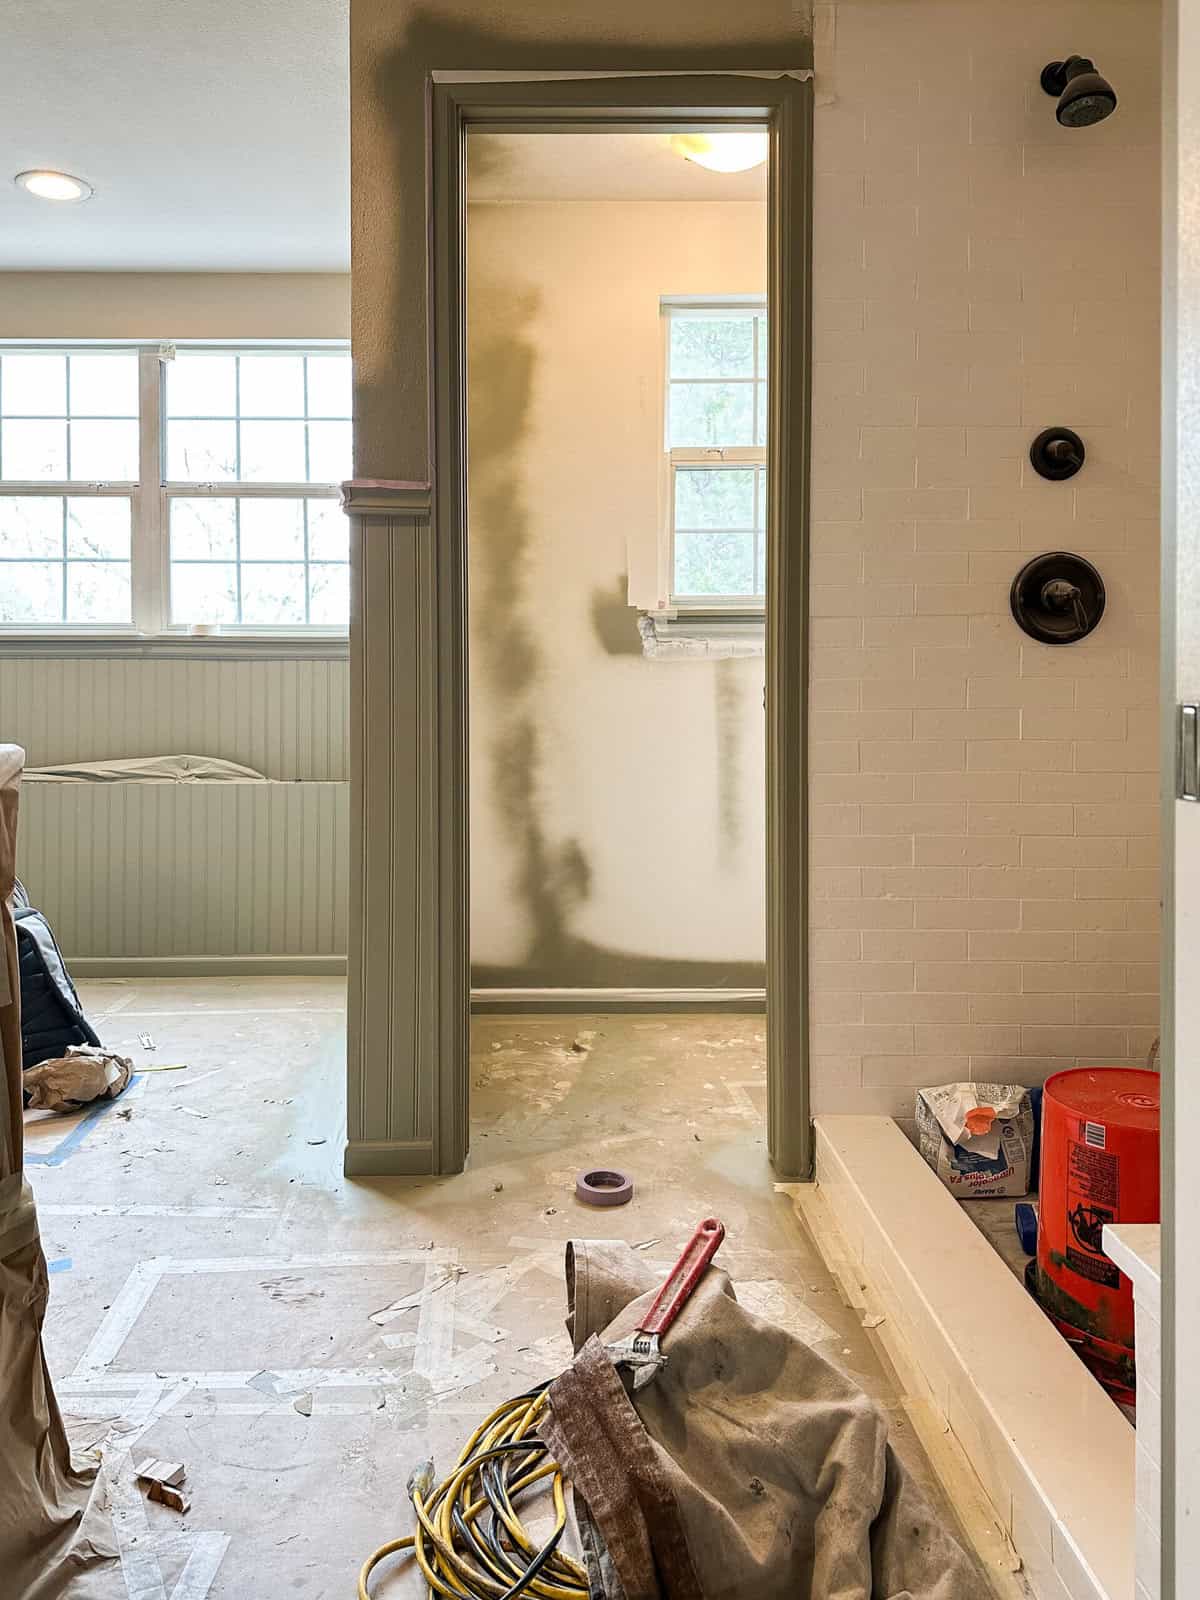
Another reason I wanted to add color to the beadboard is because we went with a white brick shower tile and the tub alcove has a white tub. Without a contrasting color on the beadboard, the space would have felt overwhelmingly white. The subtle green-blue hue will provide a beautiful contrast, will highlight the white fixtures, and bring balance to the room.
Visual Tricks
The vertical lines of the beadboard also play a role in enhancing the space. With our bathroom’s low ceilings, the vertical grooves draw the eye upward and create the illusion of height. This visual trick is particularly effective in smaller bathrooms where maximizing the perception of space is essential.
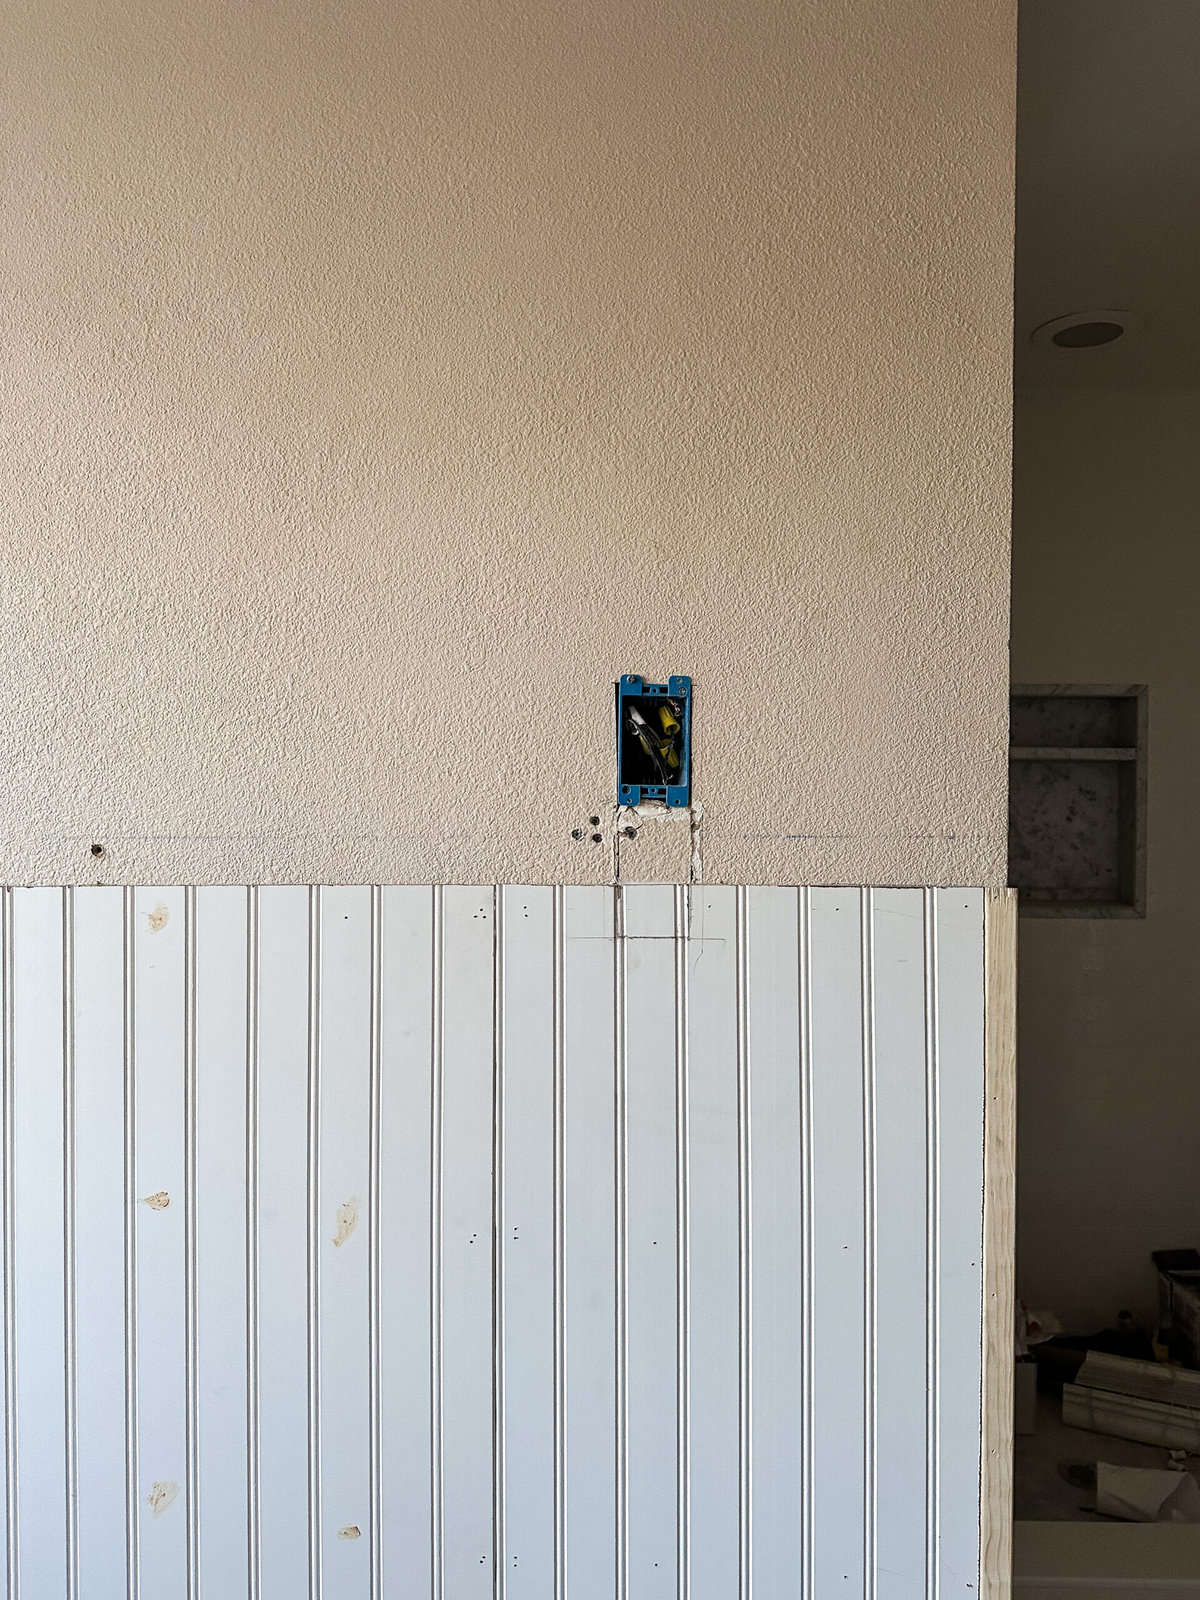
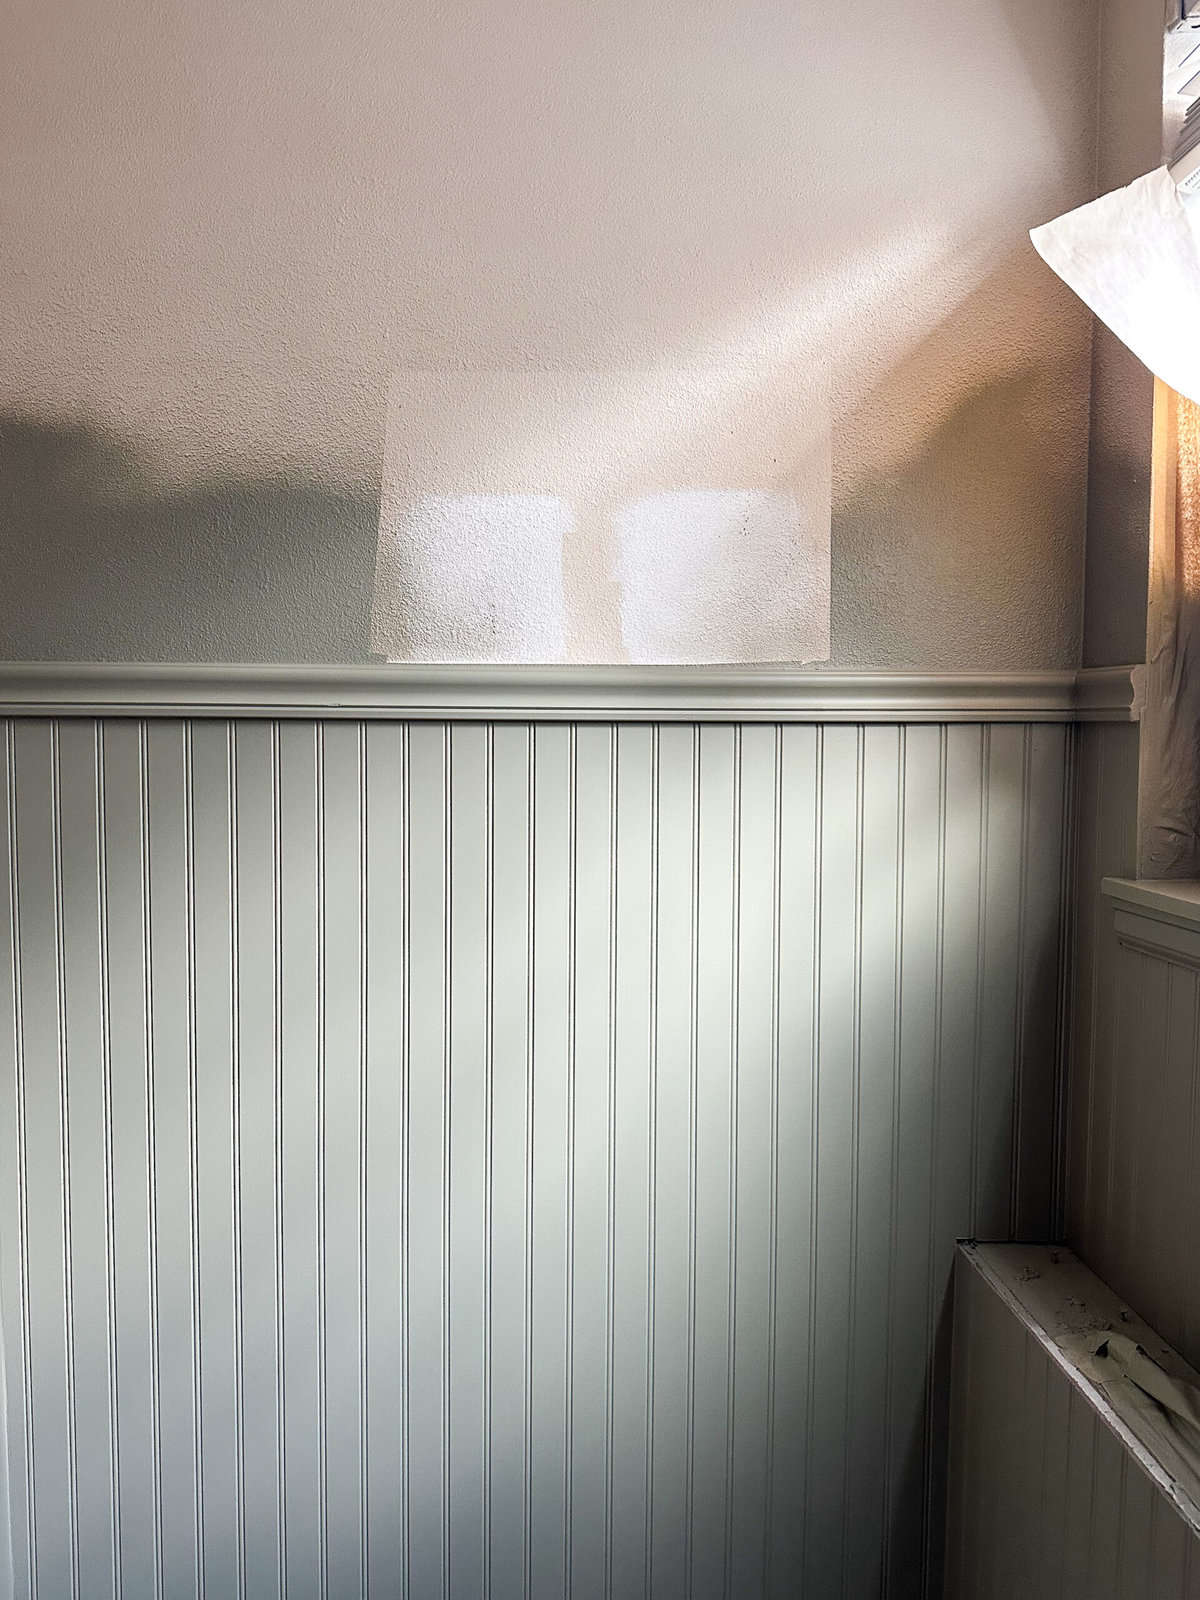
Additionally, we decided to install the beadboard wainscoting a bit higher than usual to work seamlessly with the window trim and the existing placement of our switch plates. This helps to enhance the overall height of the space and makes the ceilings feel taller. It also feels like a modern application of a traditional material.
Another trick I used to make the space feel taller was painting the exposed walls and ceilings in the same white paint and finish. This creates a seamless look that visually extends the height of the room and makes it feel more spacious and airy.
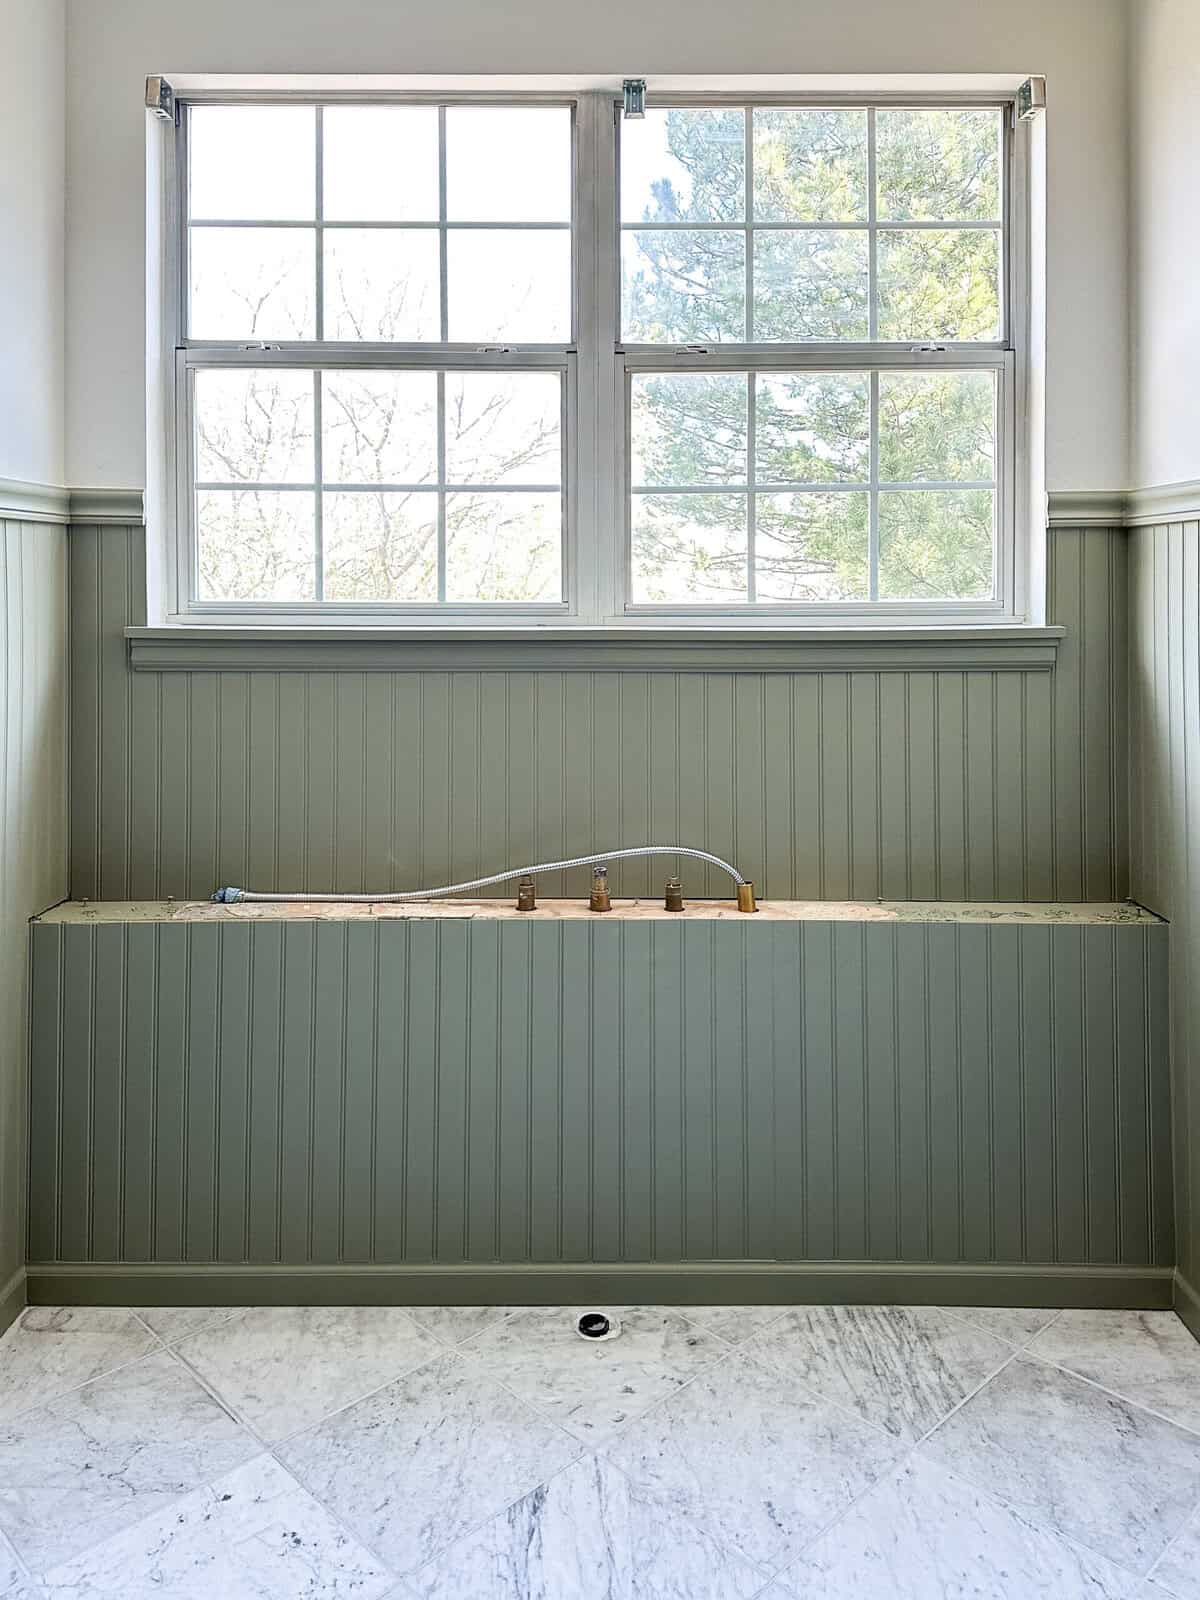
Now that the bathroom beadboard wainscoting can be checked off the list, the anticipation of reinstalling the tub is building. I can’t wait to show you how everything comes together. Stay tuned for the final reveal where I’ll share all the design choices and details that made this renovation so special.
If you’re considering your own bathroom renovation, or if you just love seeing the transformation process, you can subscribe to my email list to receive first looks & all kinds of goodies straight to your inbox! As always, drop me a comment below and let me know what other details you want to see.

+ Show / Hide Comments
Share to: