Whenever someone asks me what my favorite time of the year is, my answer always seems to change. Sometimes it’s fall, sometimes spring, and other times it’s the New Year. I love the feeling of resetting and creating new goals to accomplish for the coming year. And personally, I do best when my environment is tidy. Each January, I schedule a day to organize the heart of our home – the kitchen. And today, I’m sharing my process for decluttering your kitchen so that you can also welcome the New Year with a polished and peaceful space to gather in.
In my opinion, there are different types of clutter. There’s intentional clutter – the little treasures collected over time that bring warmth to our home. And then there’s the other kind – the junky clutter. These items no longer serve us, take up valuable space, or are broken and no longer useful.
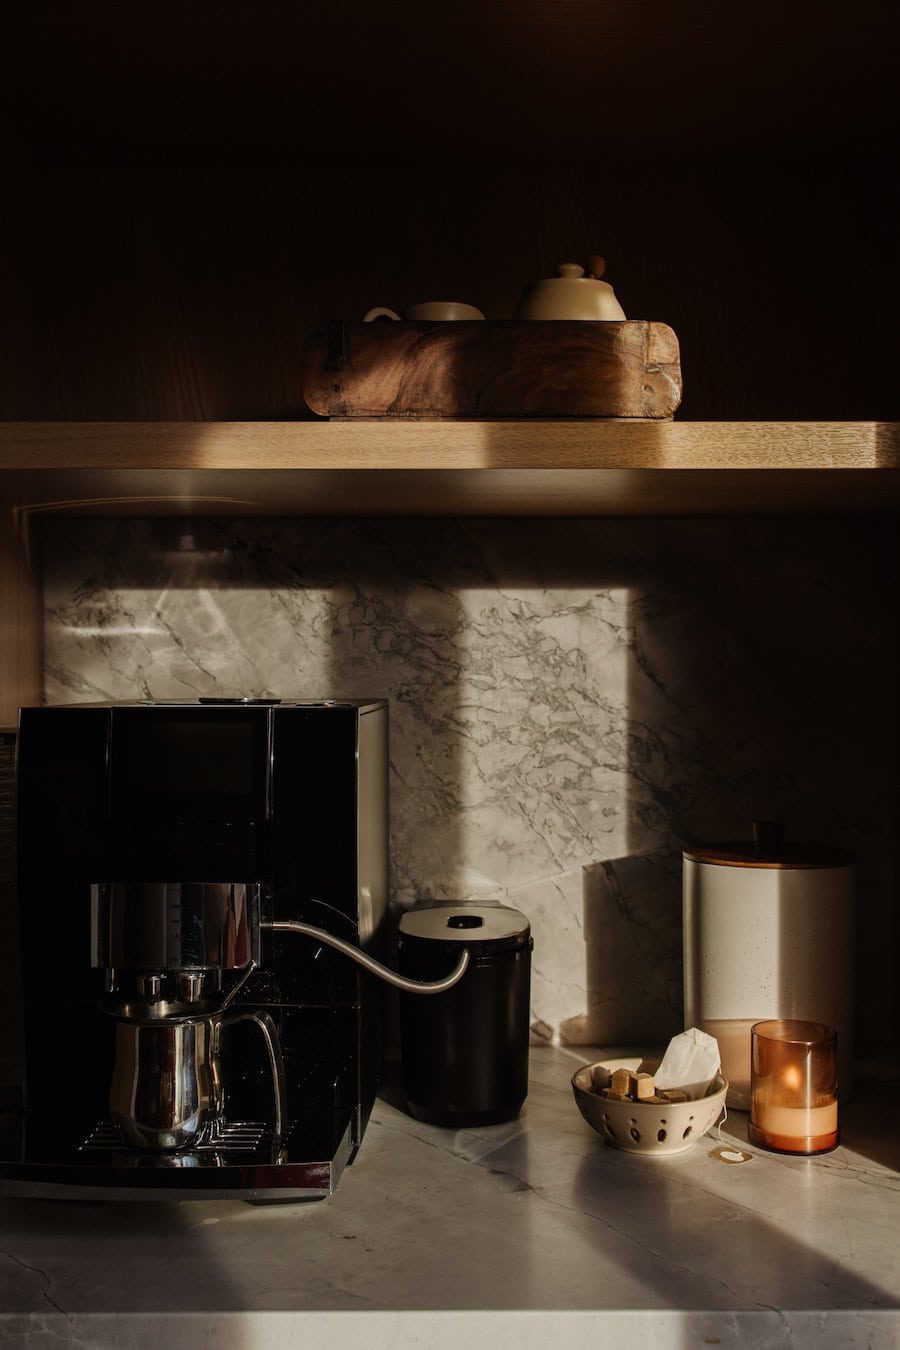
After moving seven times in the last ten years (no joke), I’ve mastered the art of keeping only the things that add value to my family’s lives. It’s a skill I’ve honed through the purging process, and now I try to keep on top of it throughout the year – just incase we have another surprise move up our sleeve. I am ruthless to my core when it comes to purging. It stresses everyone around me out, but I take it as a compliment..
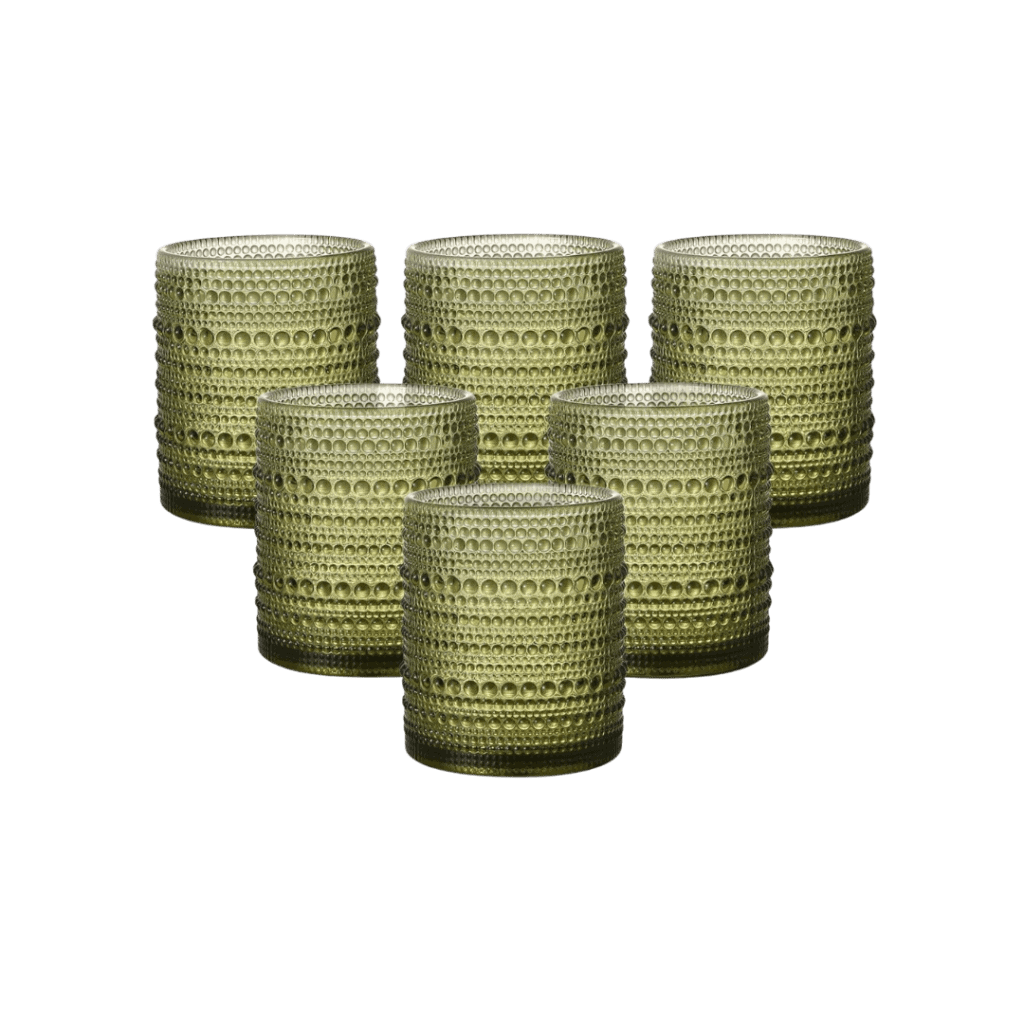
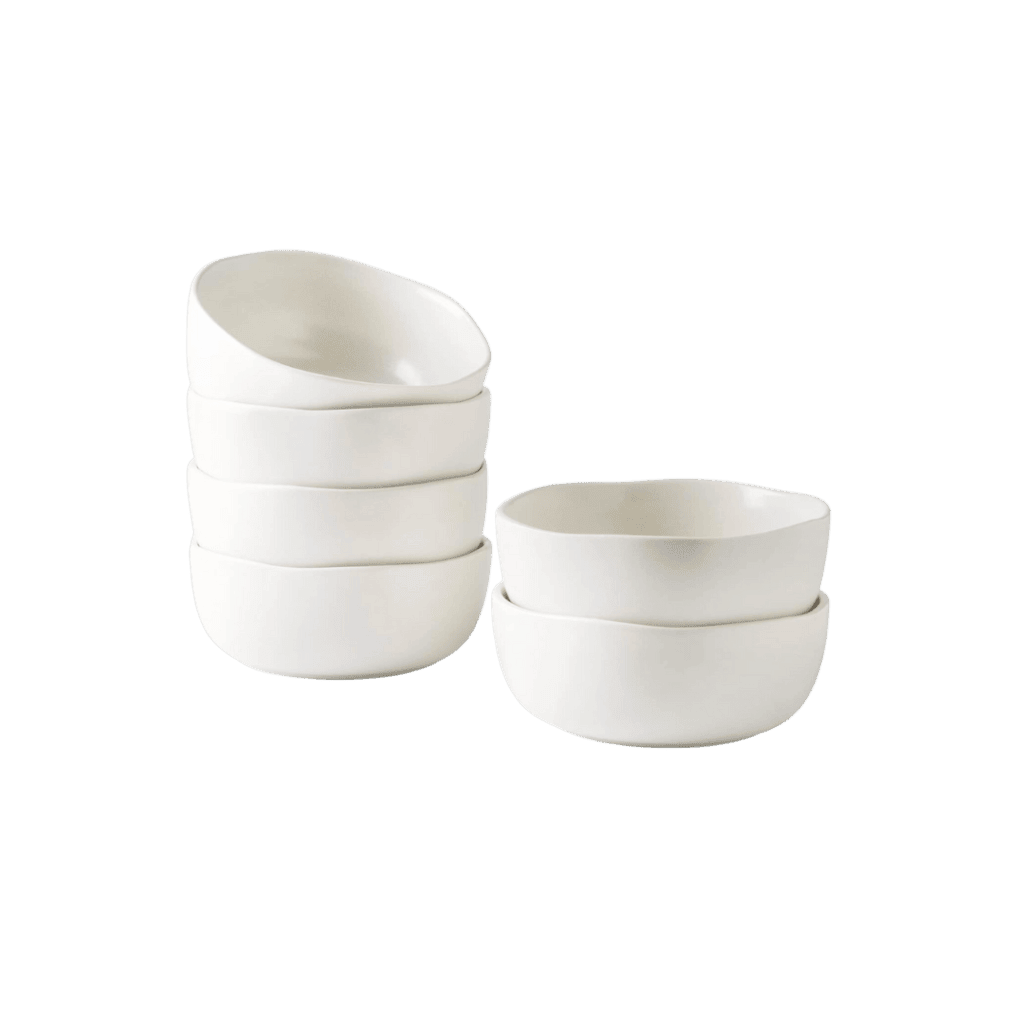
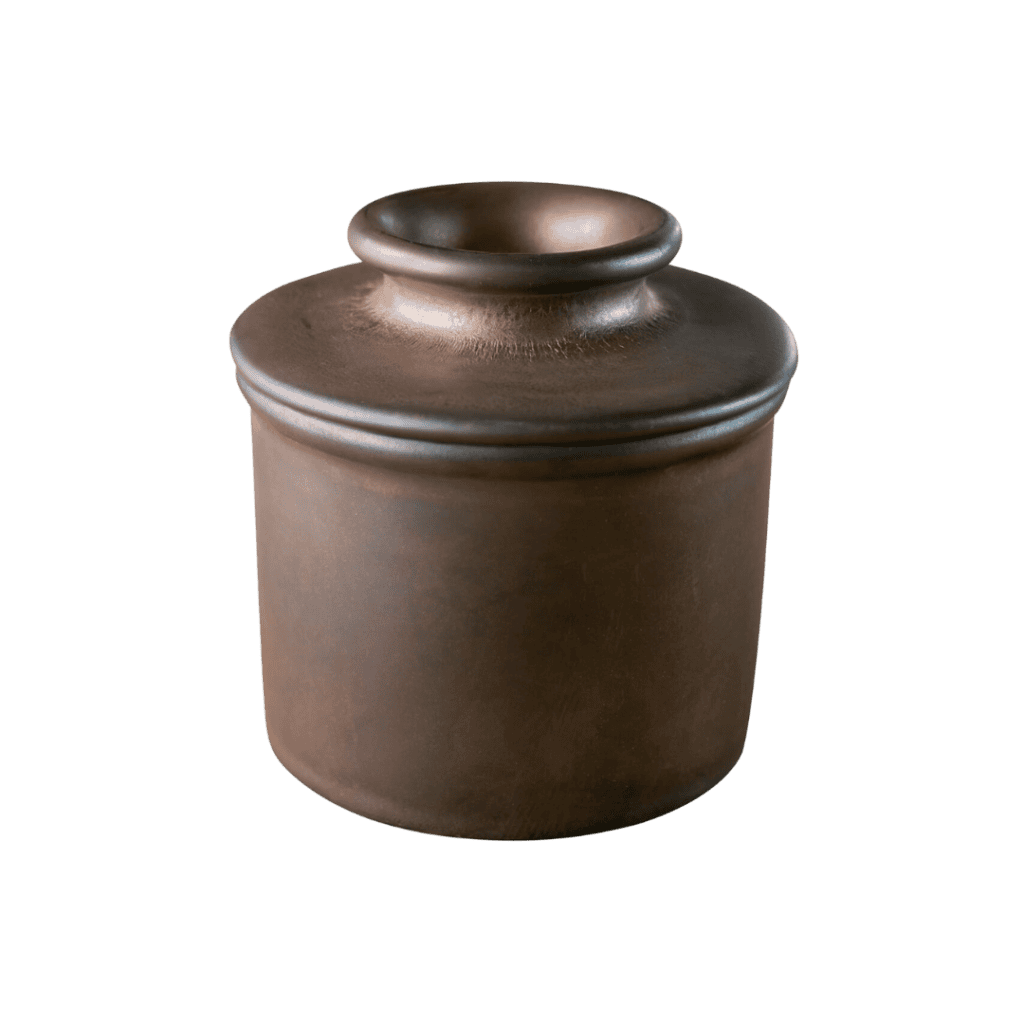
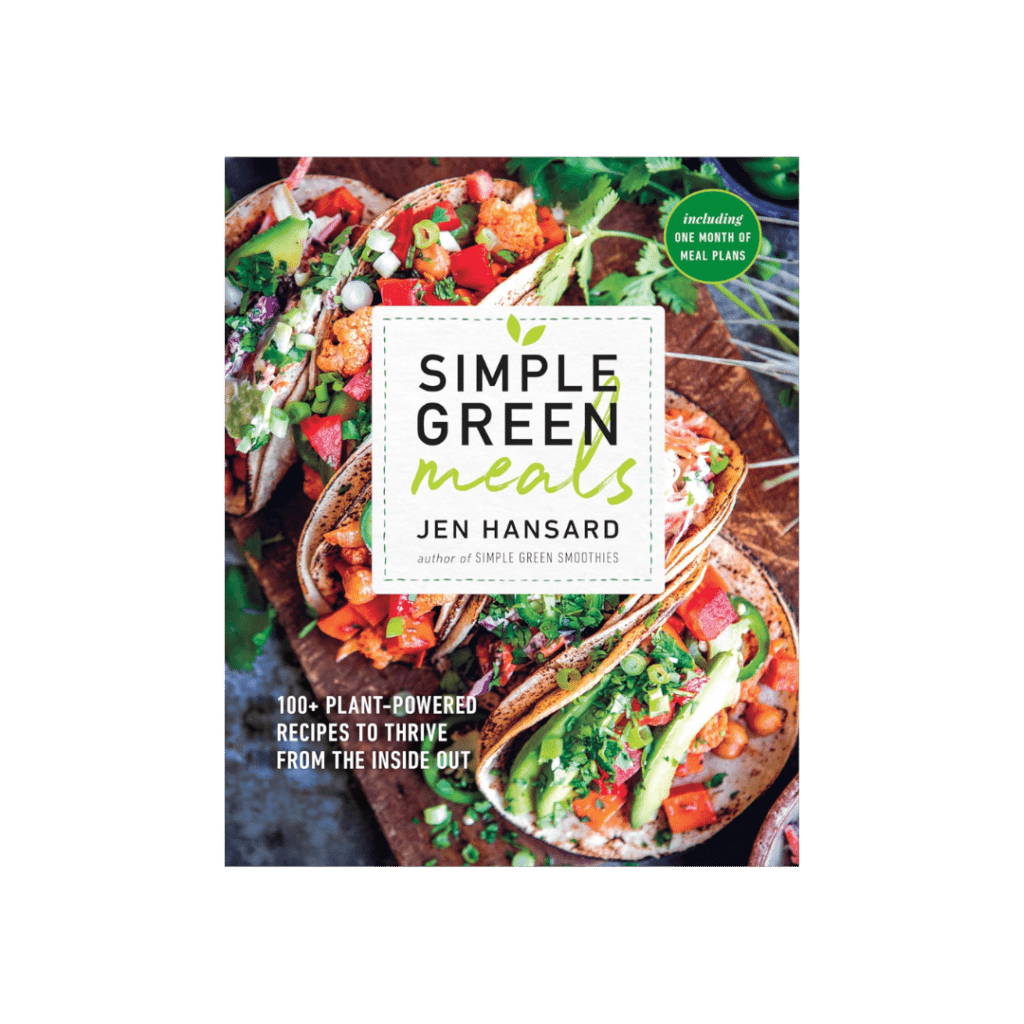
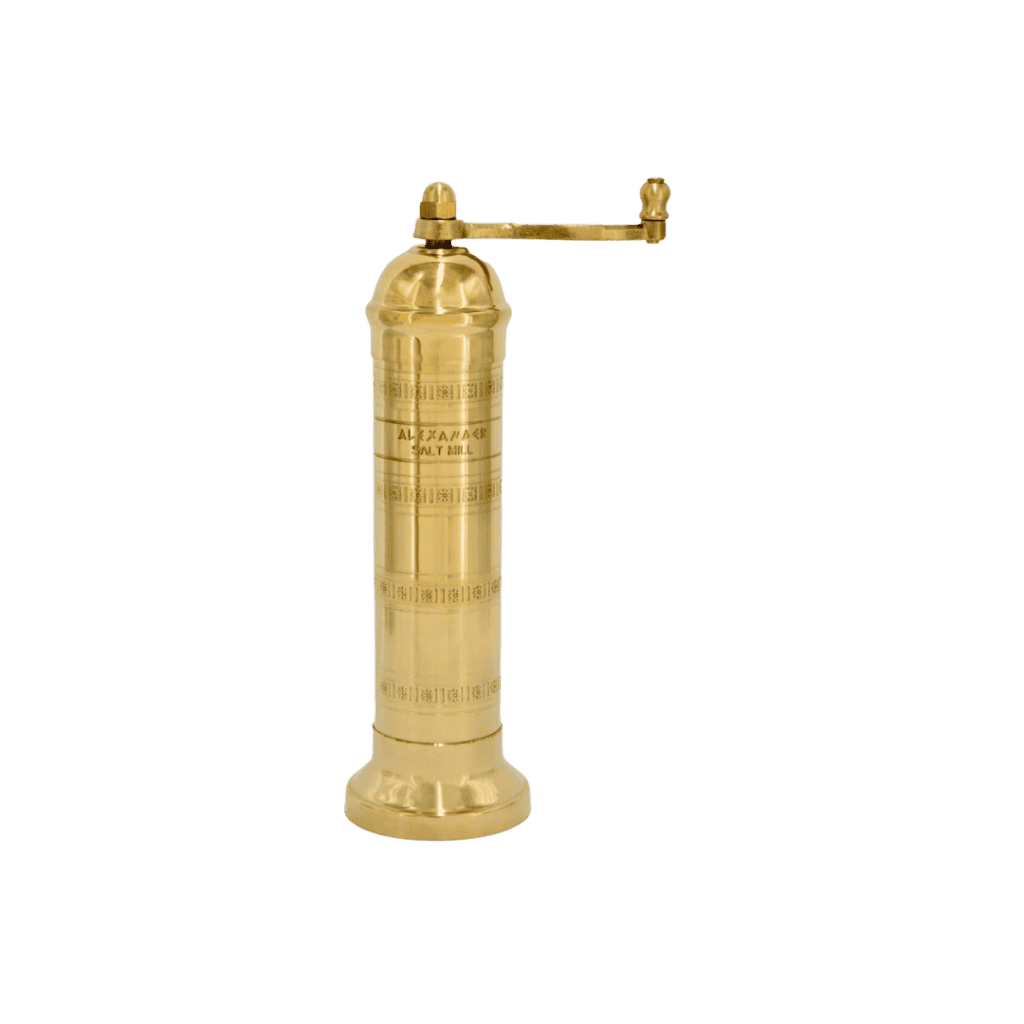
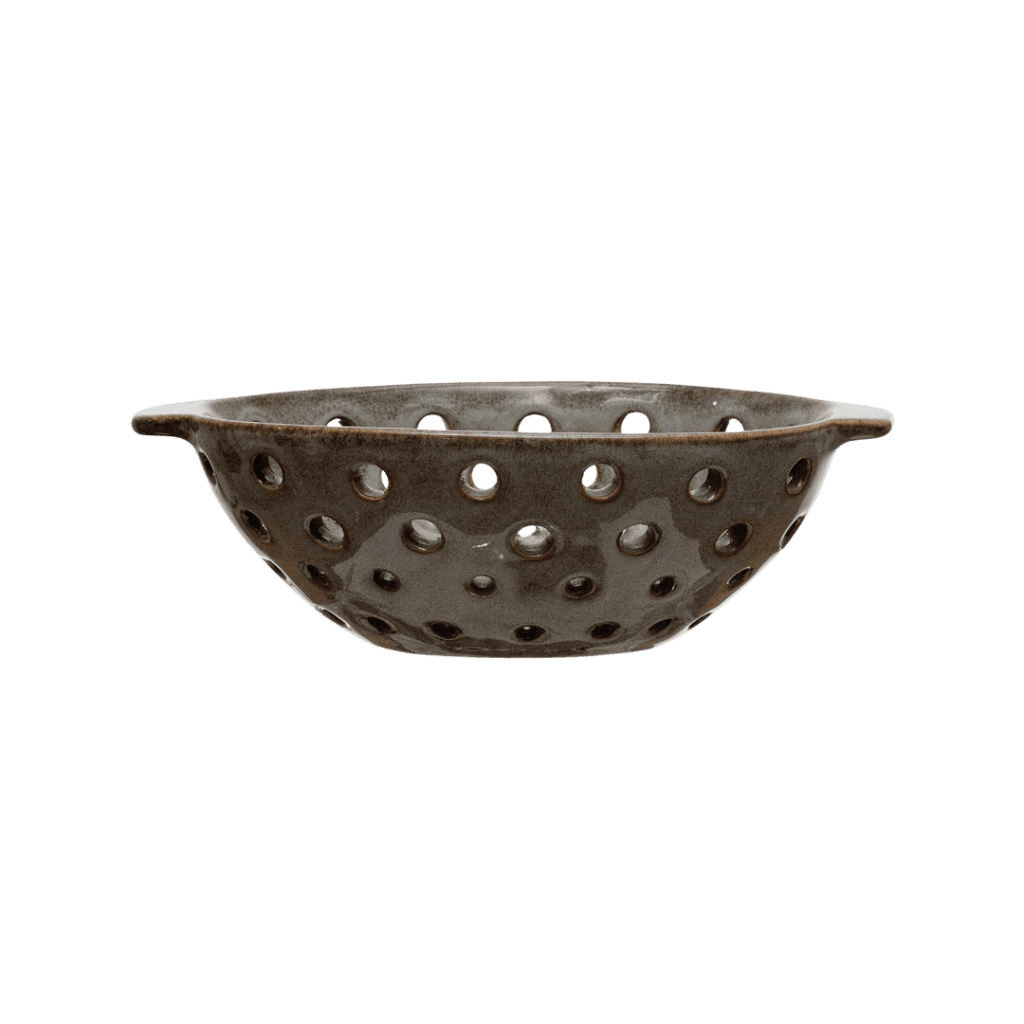
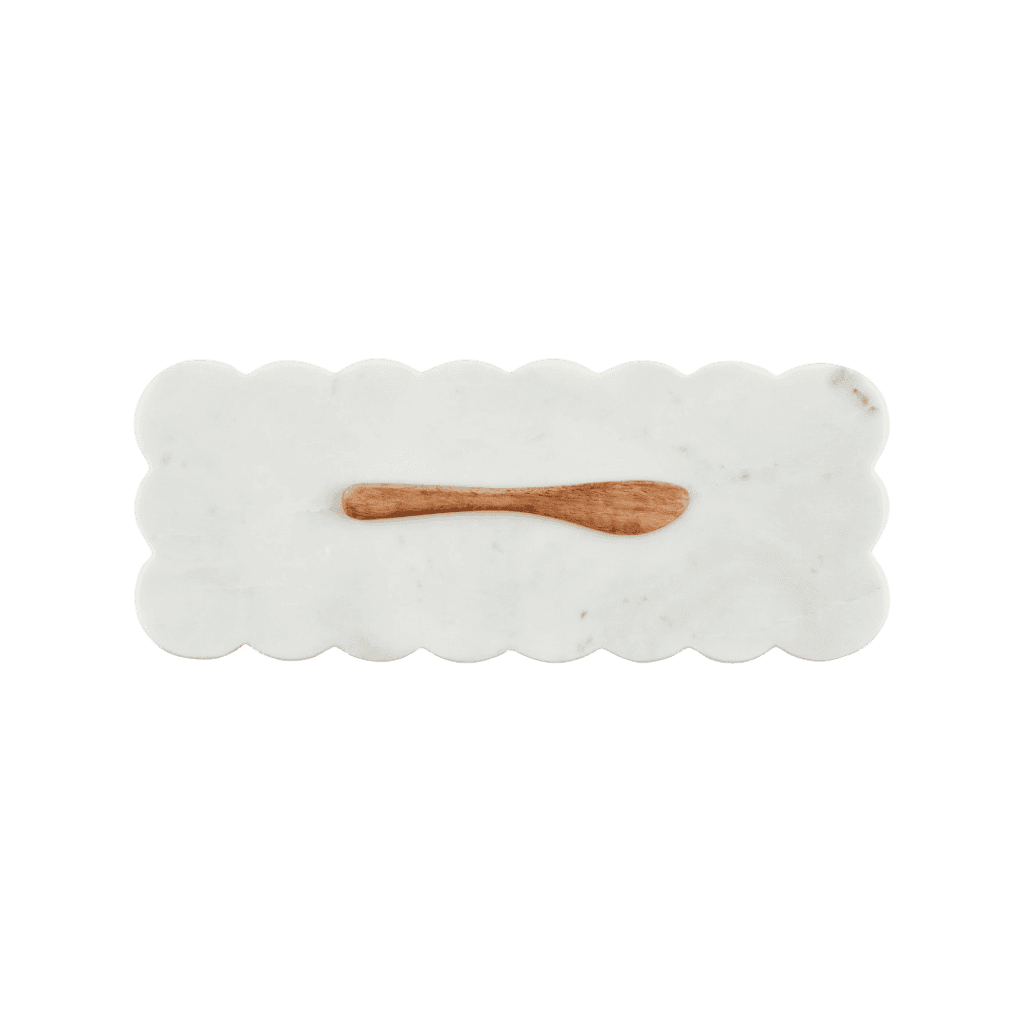
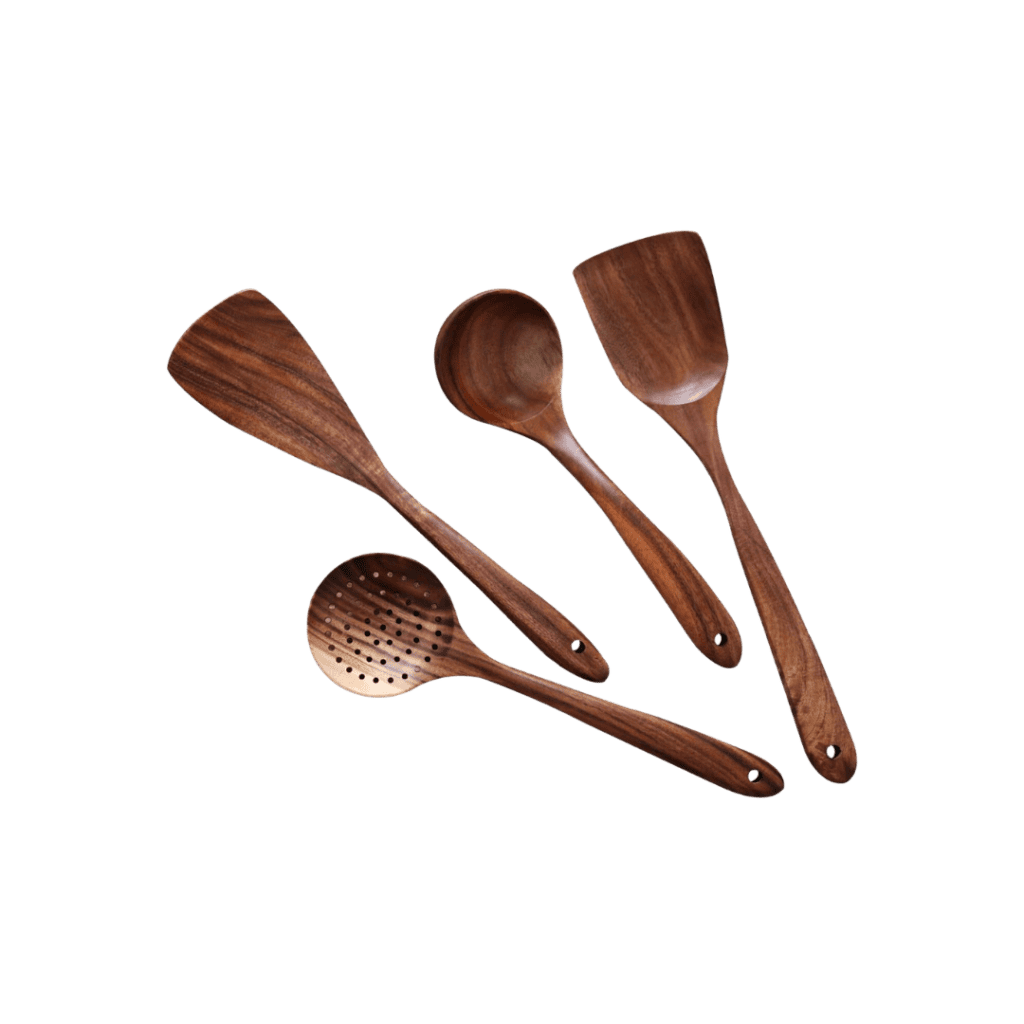
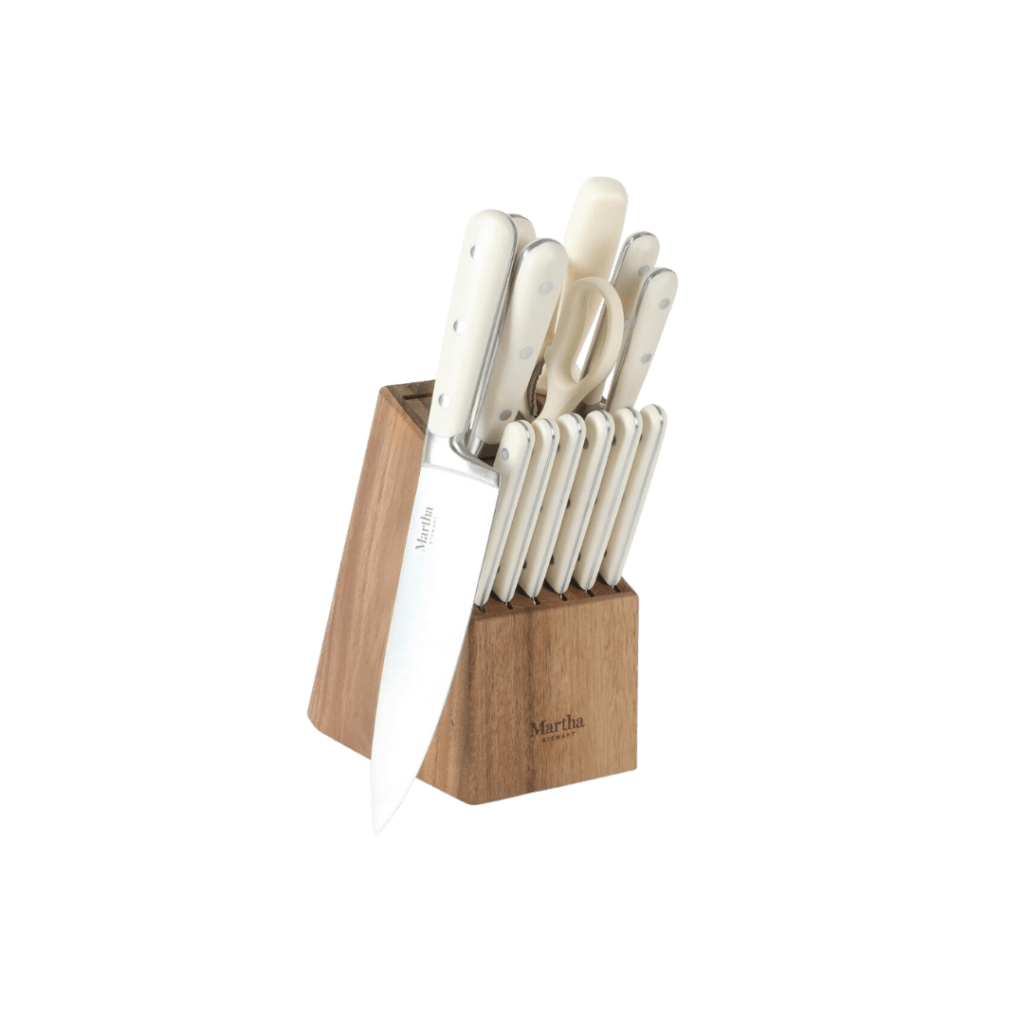
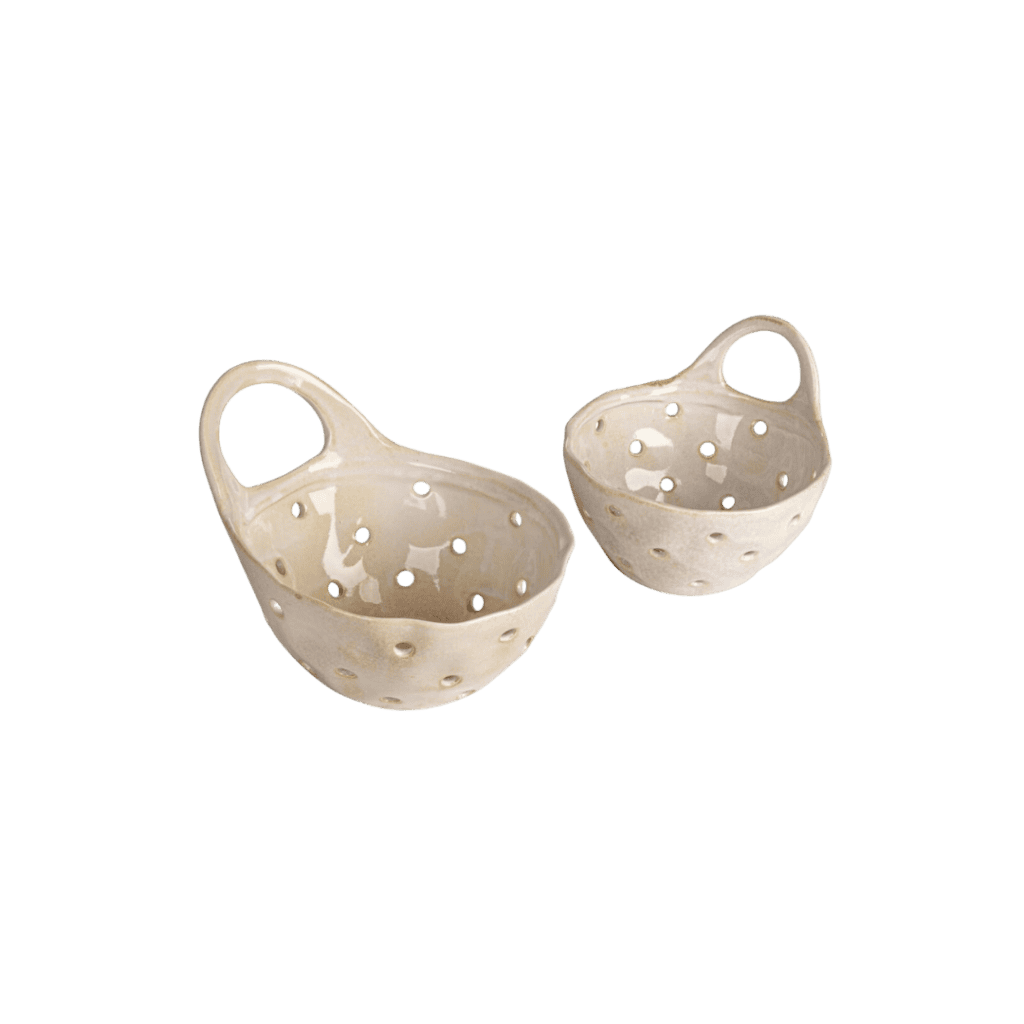
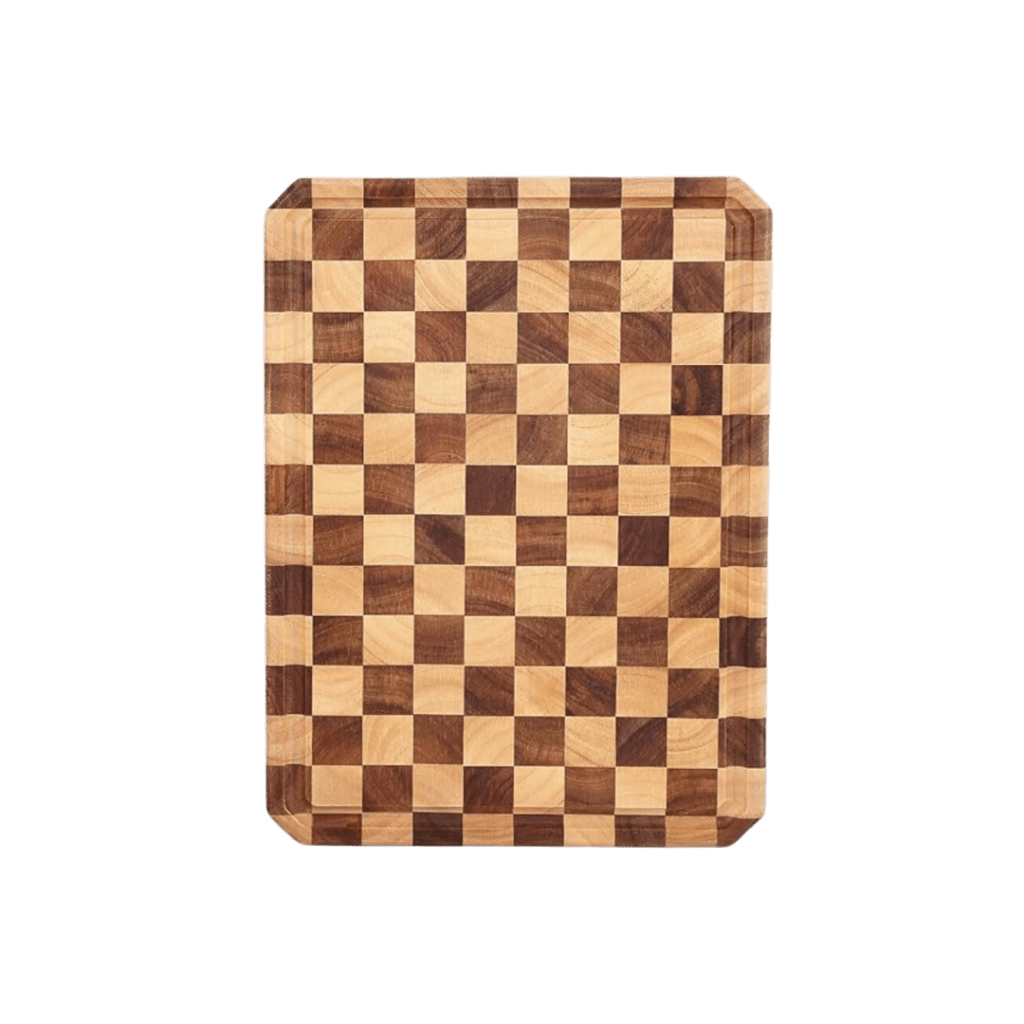
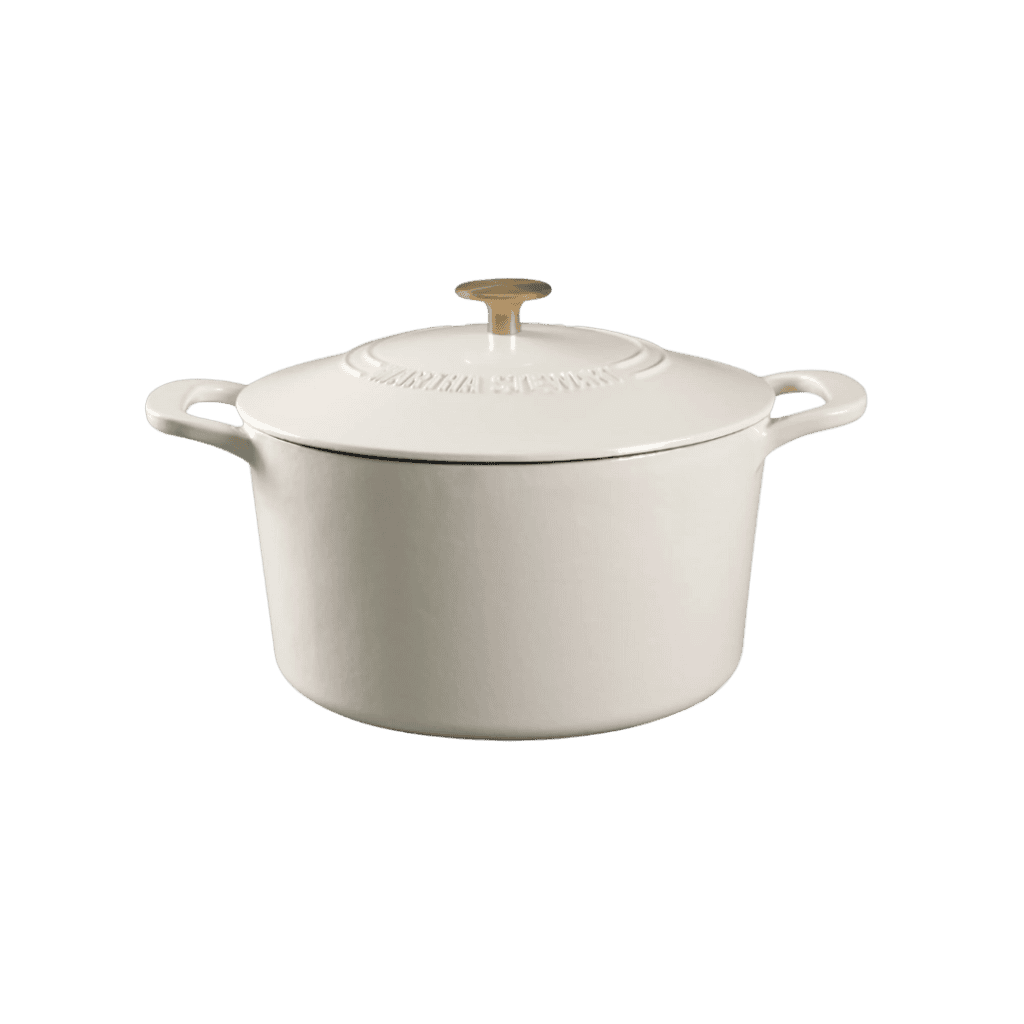
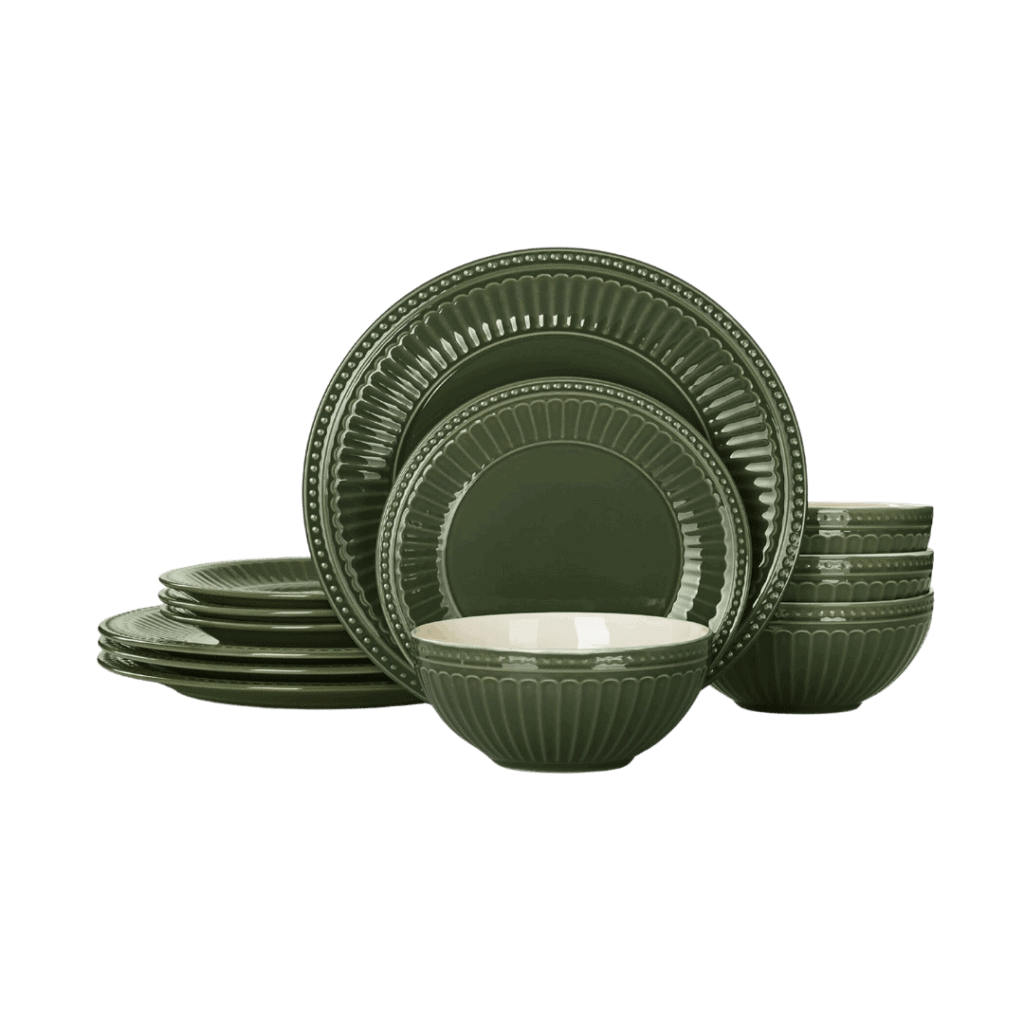
MY KITCHEN FAVORITES:
Step 1: Assess Your Current Clutter
Before you tackle anything, open up every cupboard and cabinet in the kitchen to visualize how many items you own. Then, beginning with the upper cabinets, pull everything out of the cupboard and place them on the counter. There is something therapeutic about giving each item a fresh look, and anything no longer needed goes straight into a donation bin.
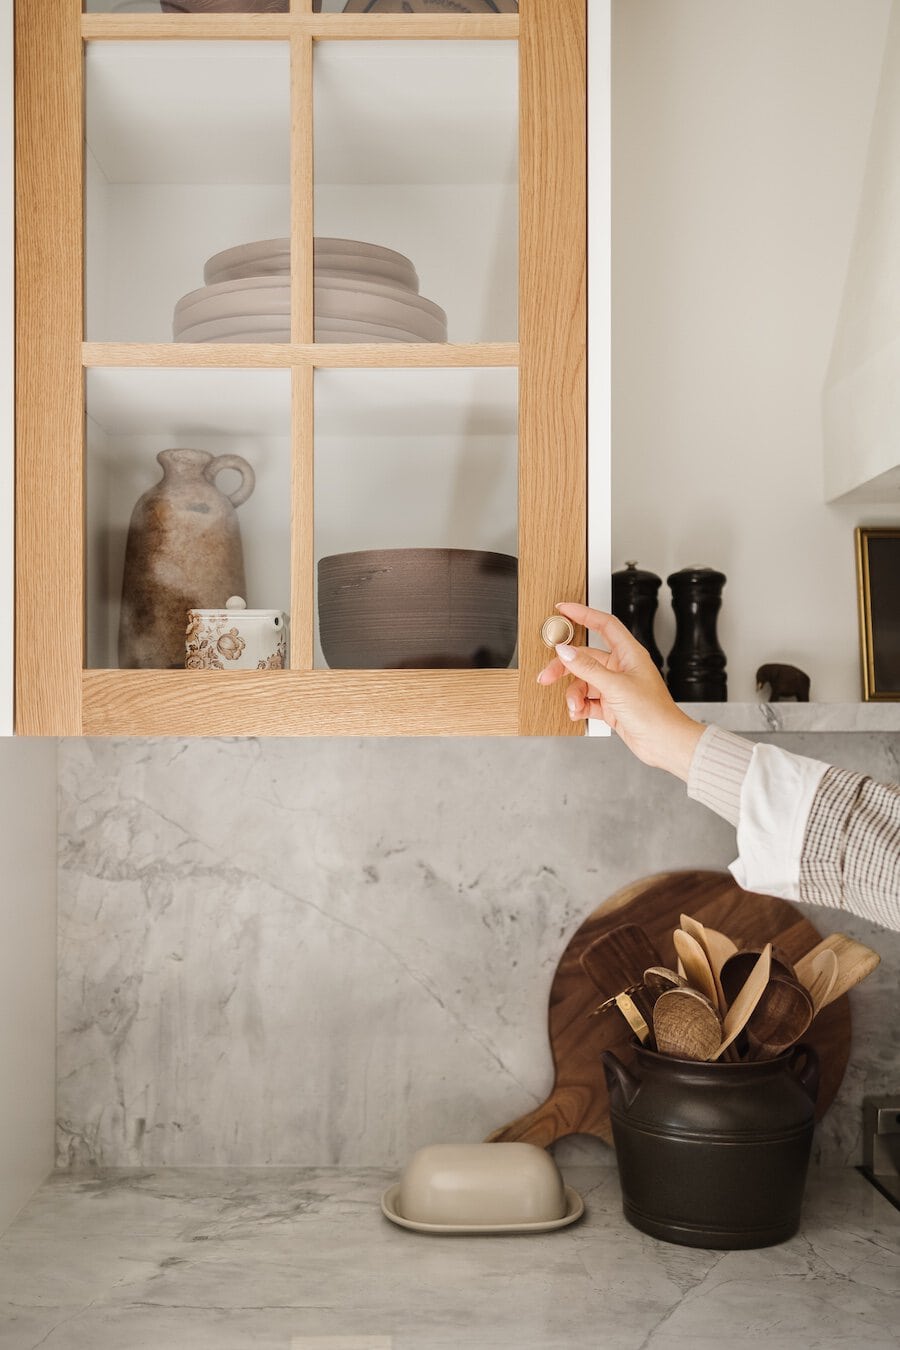
After removing everything from the cabinets, wipe down each shelf with a diluted mixture of water and Murphy’s Oil Soap (or your favorite cleaner). While the shelves dry, take stock of what you actually use. Go through everything and ask yourself a few key questions to determine what stays and what goes:
- When was the last time you used this item?
- Do you have duplicates?
- Does this tool make cooking easier?
- Are there any mismatched items?
- If it’s broken, can it be repaired?
These questions help you stay mindful about what adds value to your home and kitchen. You want every item in your kitchen to serve a purpose – whether it’s functional, practical, or simply something that brings you joy. Once this step is complete, repeat this process with the lower cabinets.
Step 2: Organize As You Go
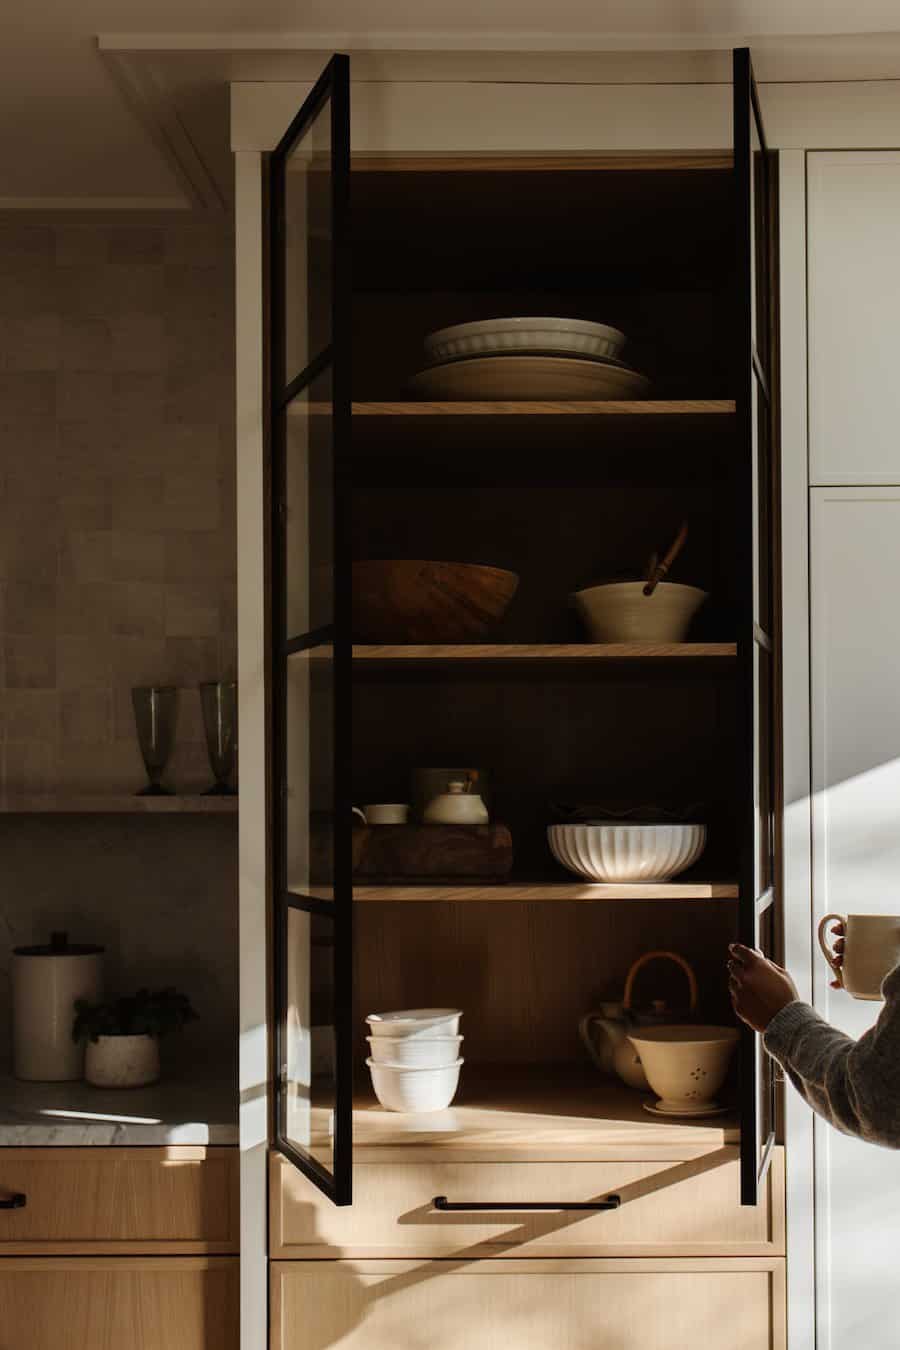
Now that everything is inventoried, it’s time to put it all back into the nice, clean cabinets. Organize as you go and place like items together. For example, group pots and pans together and double-check that all lids have matching counterparts. If you come across anything missing, jot it down on a running list so you can replace it later.
If organizing feels like a big task on top of taking the time for decluttering your kitchen, don’t worry! It really isn’t that time-consuming to organize as you go. If you repeat this process for each cabinet and drawer, you’ll quickly move through your kitchen in no time. If you notice that an extra storage bin or drawer divider would help organize your space, add it to your running list to purchase later.
Step 3: Address Your Countertops
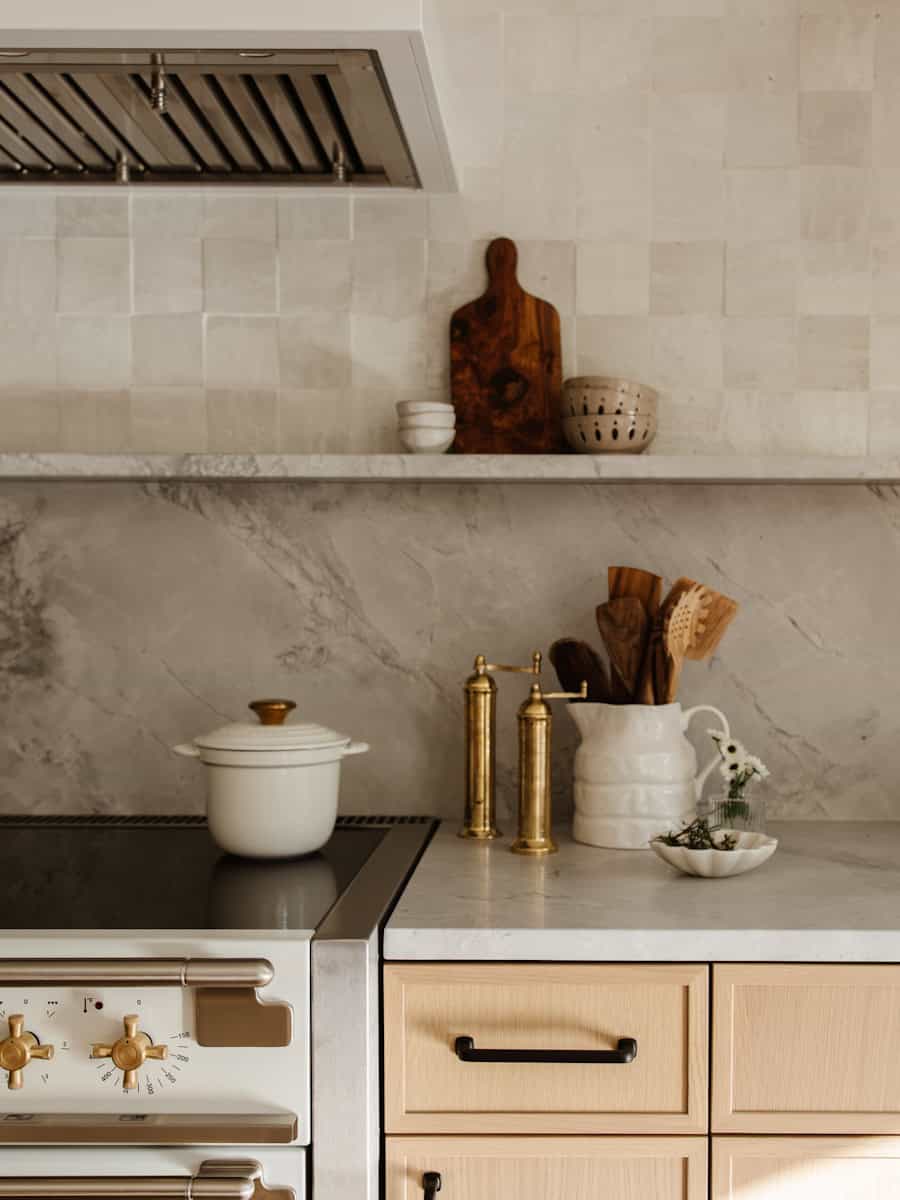
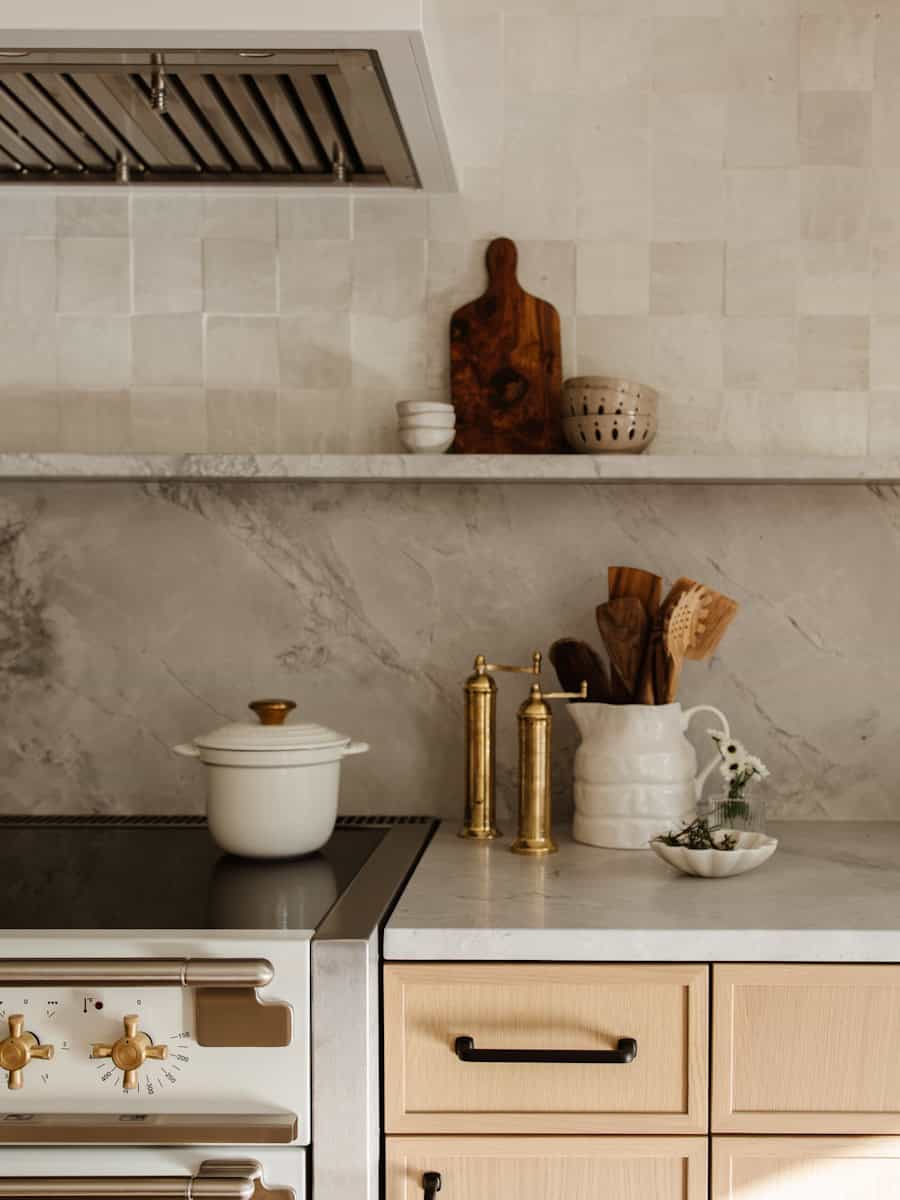
Now let’s address the countertops. I can’t stress enough how much better the kitchen feels when it’s clear and clutter-free. For me, this means only keeping the essentials used daily on the counter – things like my favorite cutting board or a few go-to cooking utensils.
And, since your cabinets are now clean and organized, it will be much easier to find a place for items you remove from your counter. The key takeaway here is not to shove things in places just because they fit. Rather, take the time to make sure every item you own has a home. Keeping your space intentional and tidy makes it so much easier to find what you need when you need it.
Step 4: Final Clean & Donate
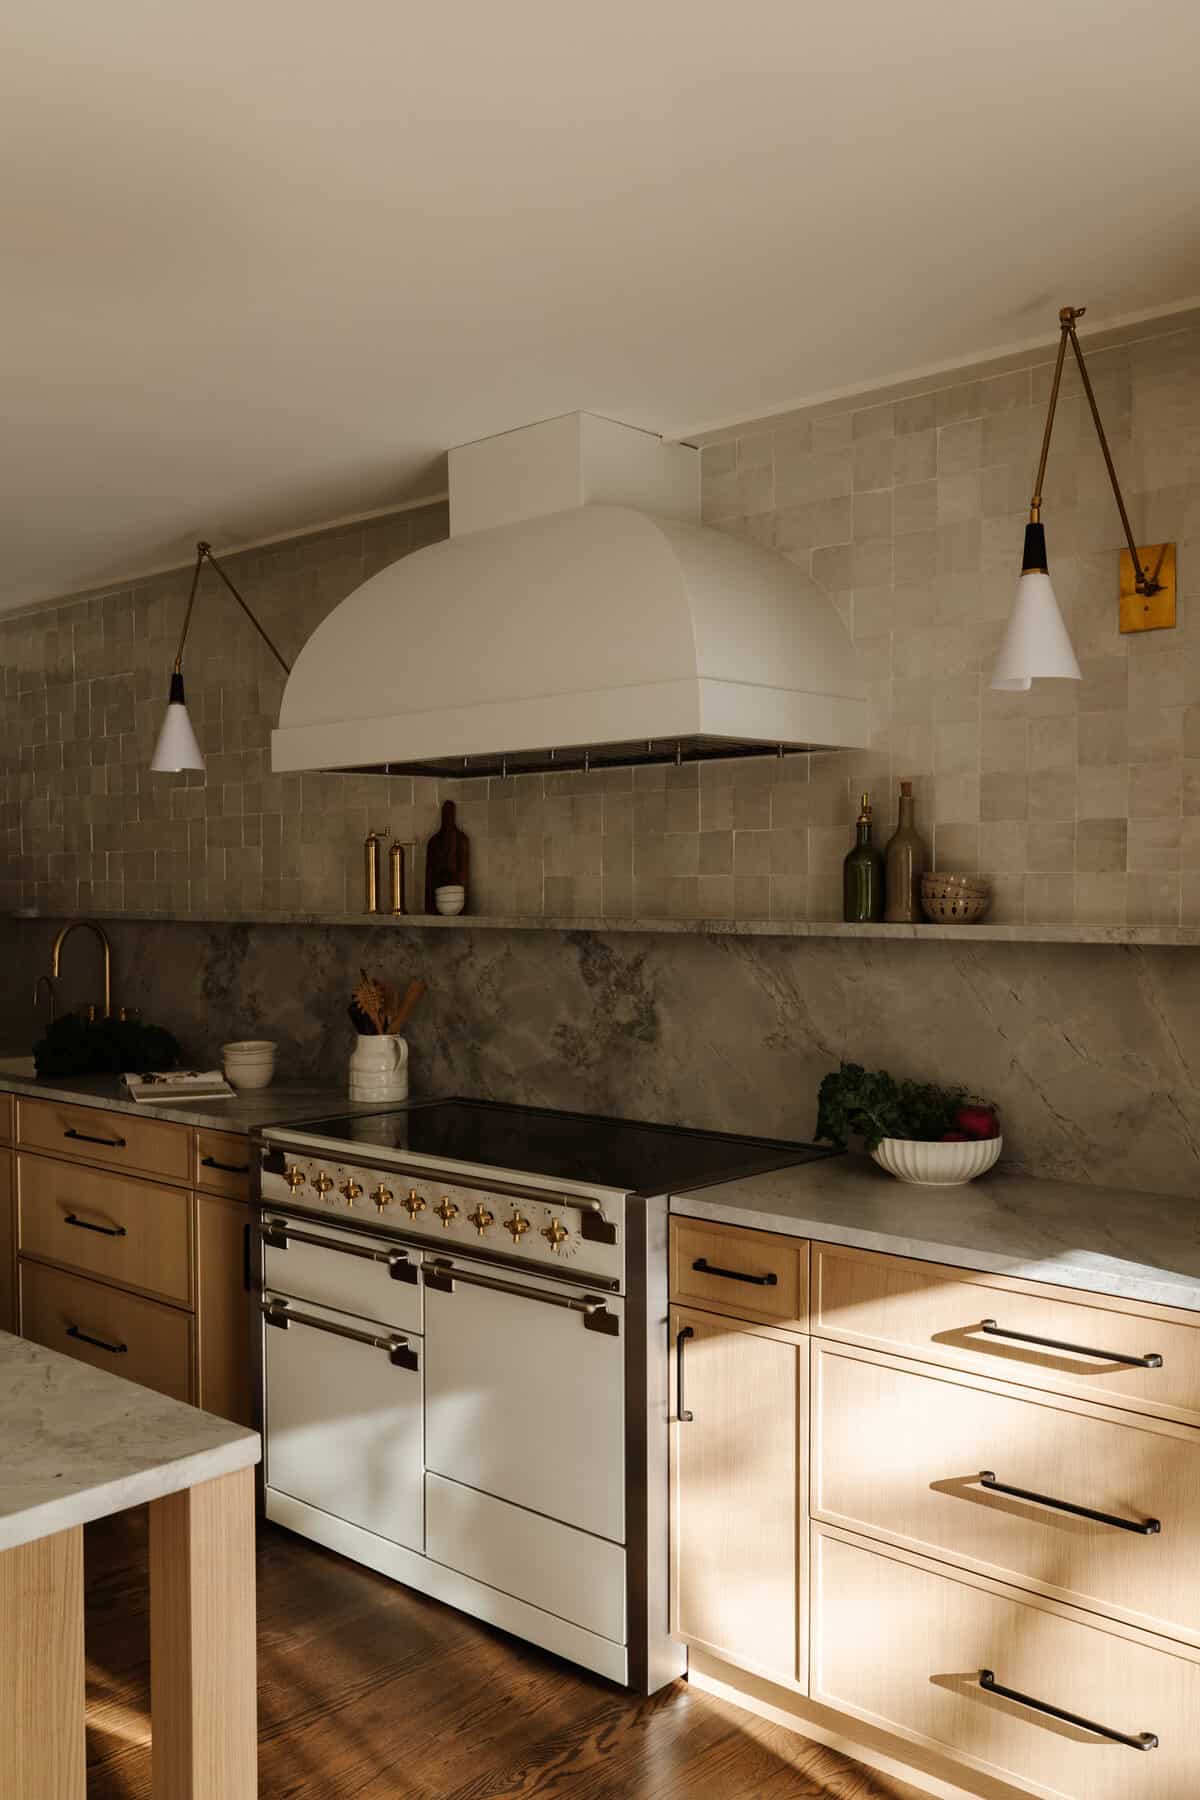
Once you neatly place everything back into the cabinets, clear the counters, wipe down all surfaces, and arrange your countertop essentials. I intentionally save the deep cleaning for another day (usually during my spring cleaning routine) to avoid feeling overwhelmed.
Now that your kitchen is put back together, head back to your donation bin for a final check. I always make sure not to donate anything that’s past its prime or that wouldn’t be useful for someone else. If an item is broken beyond repair or no longer usable, throw it in the trash. Usually, I try to make a quick trip to drop off donations on the same day as my cleaning routine. Otherwise, that box will sit in the garage for way too long.
But, I realize this is a pretty ambitious suggestion – just do what works best for you!
A Few Helpful Tips For Decluttering Your Kitchen..
Step 5: Replace & Reinvest

After everything is clean, organized, and ready for donation, review the running list you’ve made during this process. Use your list to decide on new items you would like to invest in for better organization or items you could find secondhand.
For instance, this year, I’m purchasing drawer organizers for either side of my stovetop to keep my cooking utensils tidy. I also want a storage bin dedicated to our cheese grater and all its attachments. But, before I head to Amazon to make this purchase, I’ll check the aisles of my local Goodwill to see if I can find something that will work. Little upgrades like these help to maintain an organized kitchen and also make cooking and cleaning a breeze.
I feel so much better now that this is checked off my list for the New Year! If you find decluttering your kitchen overwhelming or want to start a cleaning routine, send me an email or leave a comment below. I’d love to hear how you tackle projects like these to make your life easier. Are there any other cleaning and organizing topics you’d like to read about?
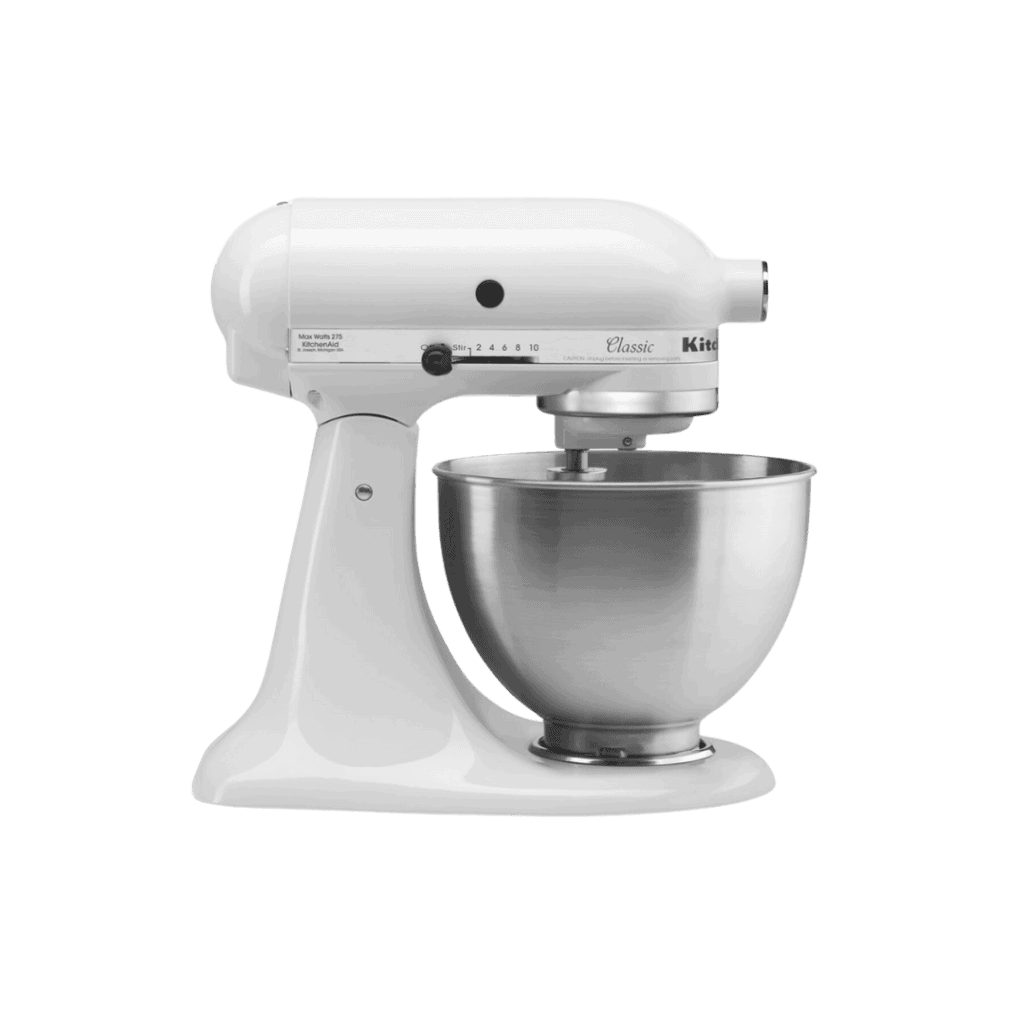
MY KITCHEN FAVORITES:





+ Show / Hide Comments
Share to: