You know that feeling when you’ve been putting off a home improvement project (like painting interior doors) for so long that it starts to nag at you everytime you walk by it? That was me with our guest room. It’s a space that has sat completely untouched, begging for a makeover, but somehow has never made it to the top of my priority list. That is, until I realized we are expecting company every other week for two months straight! The guest room needs a serious facelift fast.
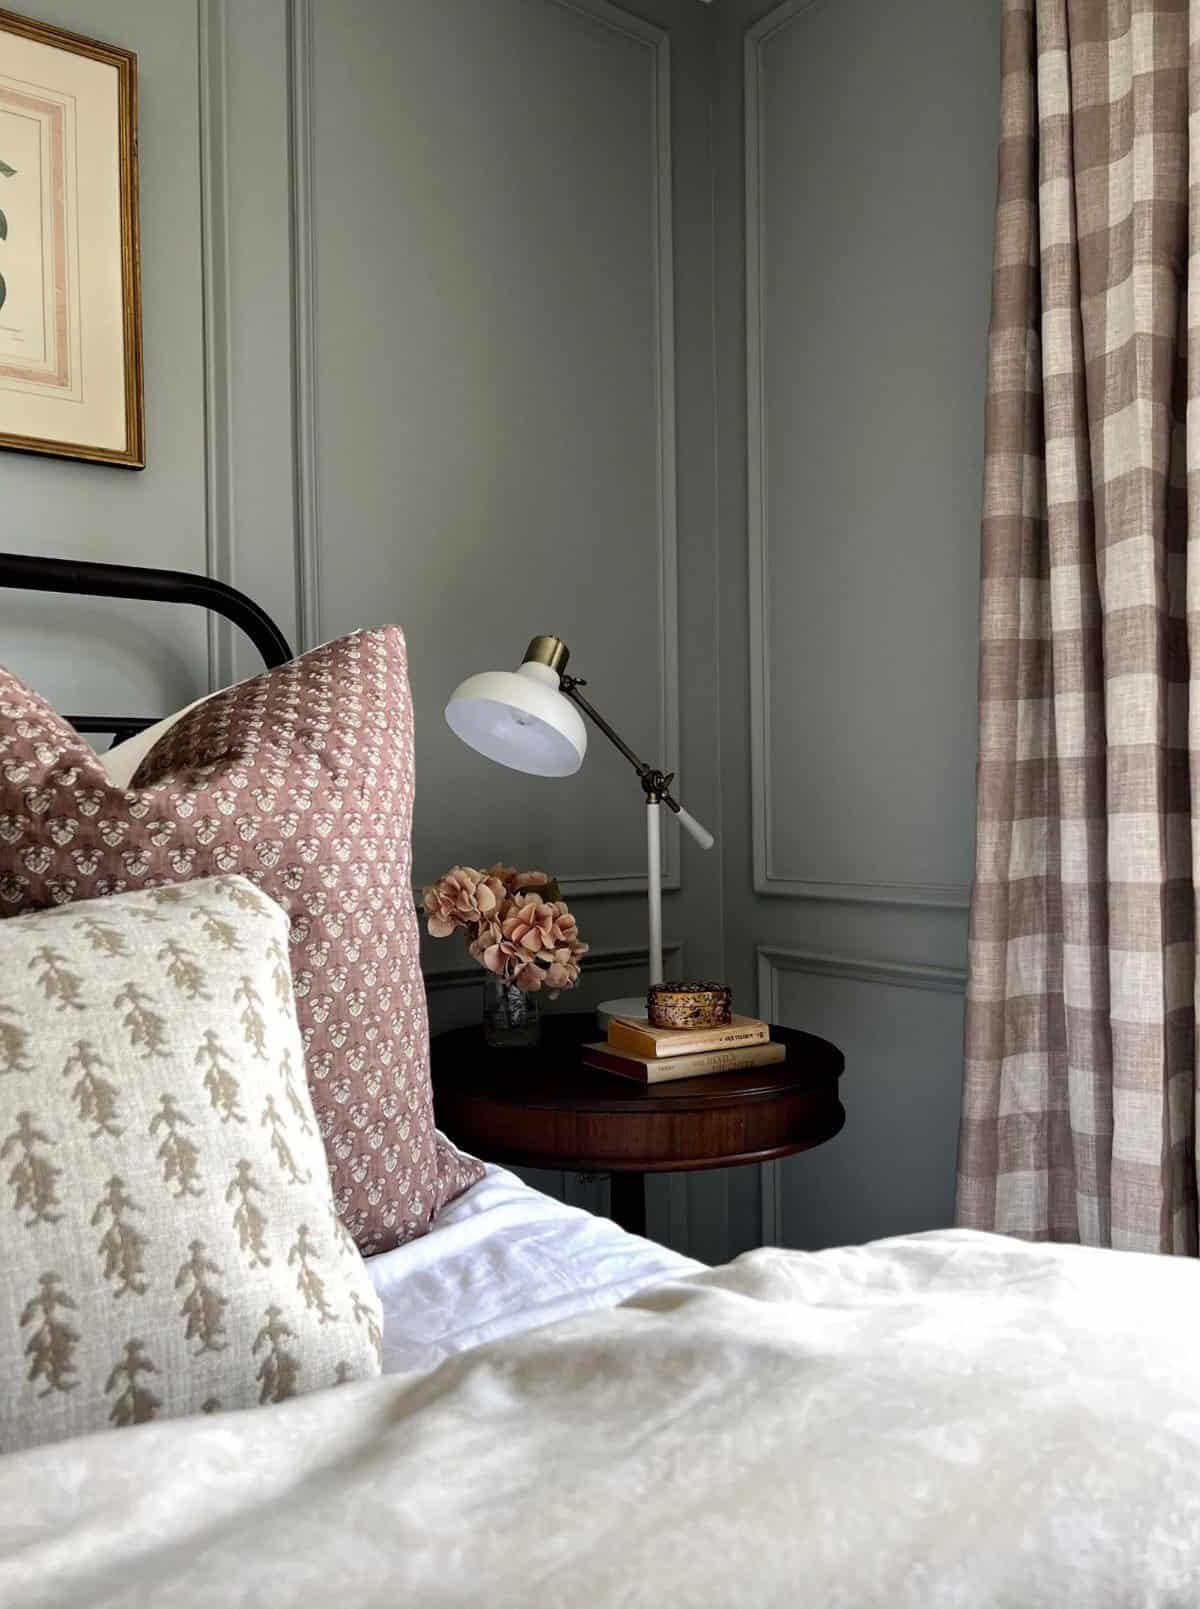
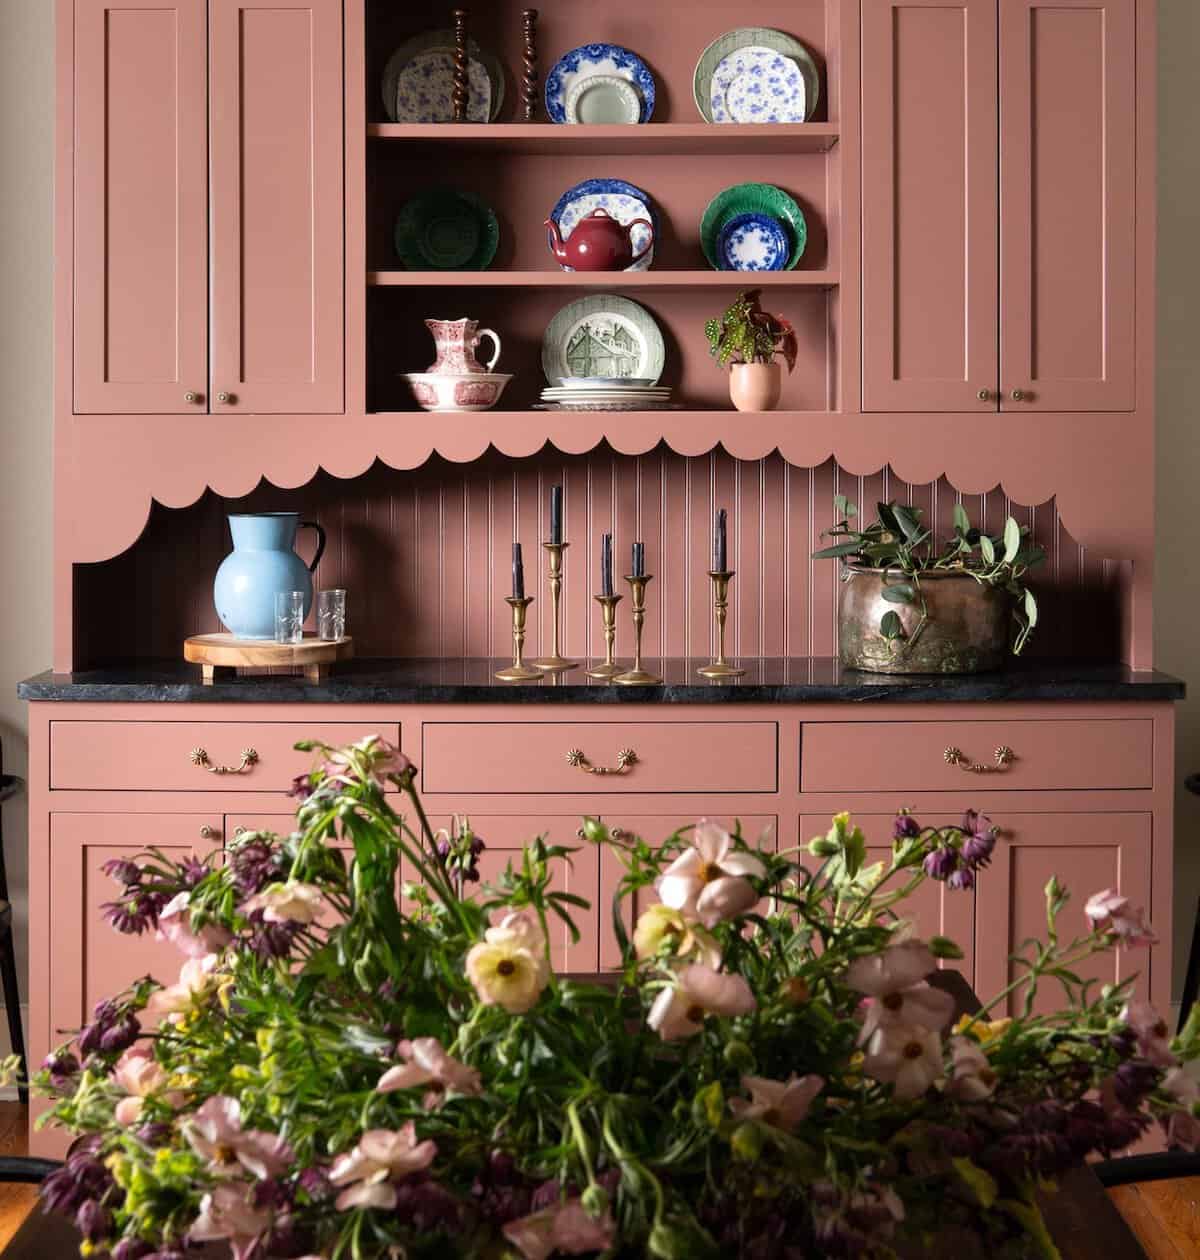
Guest Room Inspo: Oak & Grain Home
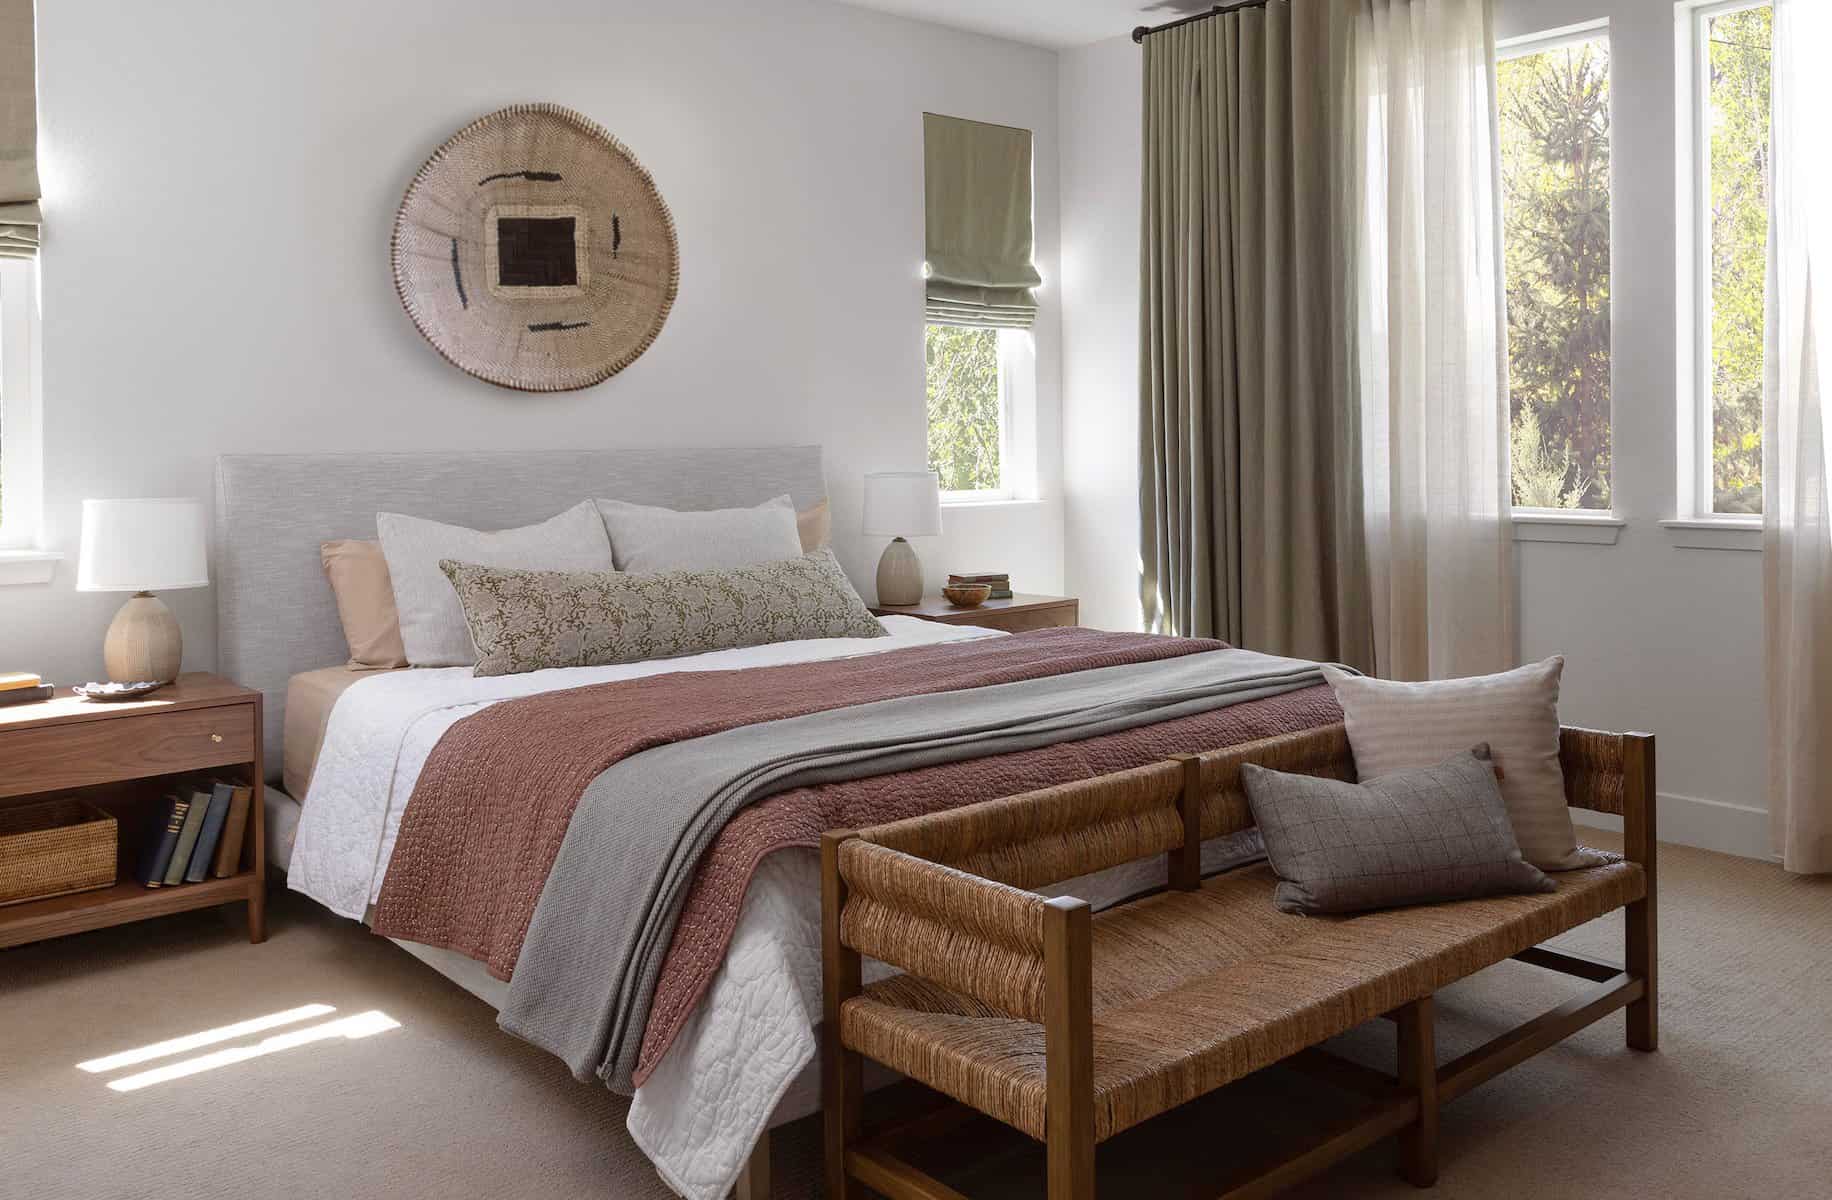
With limited time, I’m focusing on small updates to make the space feel more inviting and comfortable for guests. I plan to move things around in our house and use items I already own to give this room the refresh it deserves. Inspired by the muted berry, grey, and brown color palette in the photo above, I made a quick paint decision (seriously – I debated for less than five minutes) and ran to the store. I’m moving at warped speed to get this completed!
I decided to start with all of the trim work since it is the most labor and time-intensive part. Having updated many doors in my life, I’ve figured out a foolproof formula for painting interior doors that takes less than 30 minutes AND produces professional results. To kick off this quick room refresh, I’m sharing my step-by-step guide for painting interior doors with you. So grab your brushes and let’s get started!
Step 1: Prep & Clean
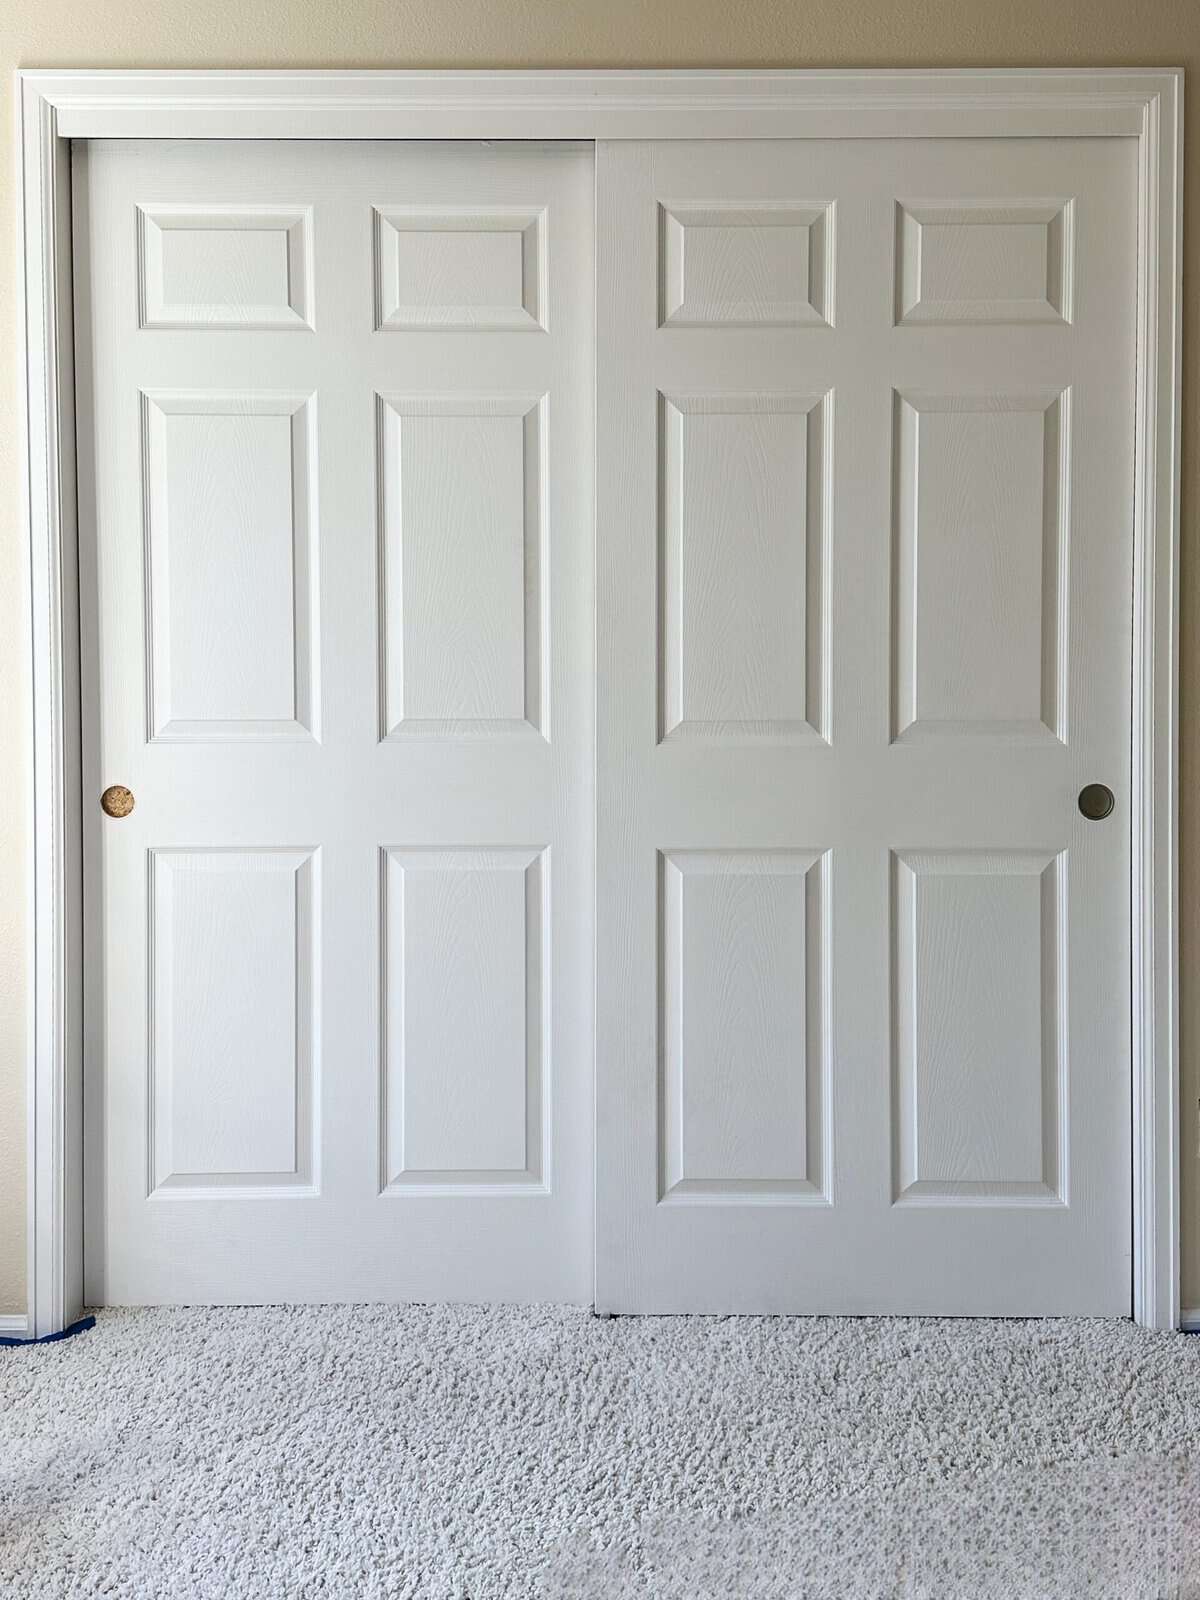
Begin by removing any dust, dirt, or grime from the door. Use a mild detergent mixed with water and a sponge to wipe down the entire door (I like to use a 50:50 mix of water and vinegar). Pay extra attention to the nooks and crannies as these areas tend to accumulate the most dirt. Once clean, let the door dry completely.
Pro Tip!
If you’re painting over an oil-based paint with latex paint, you will need to sand the surface lightly to ensure the paint adheres well. You may also need to prime your door prior to painting. Fortunately, my doors are paint-grade and ready to go – so I was able to skip this step.
Step 2: Remove Hardware
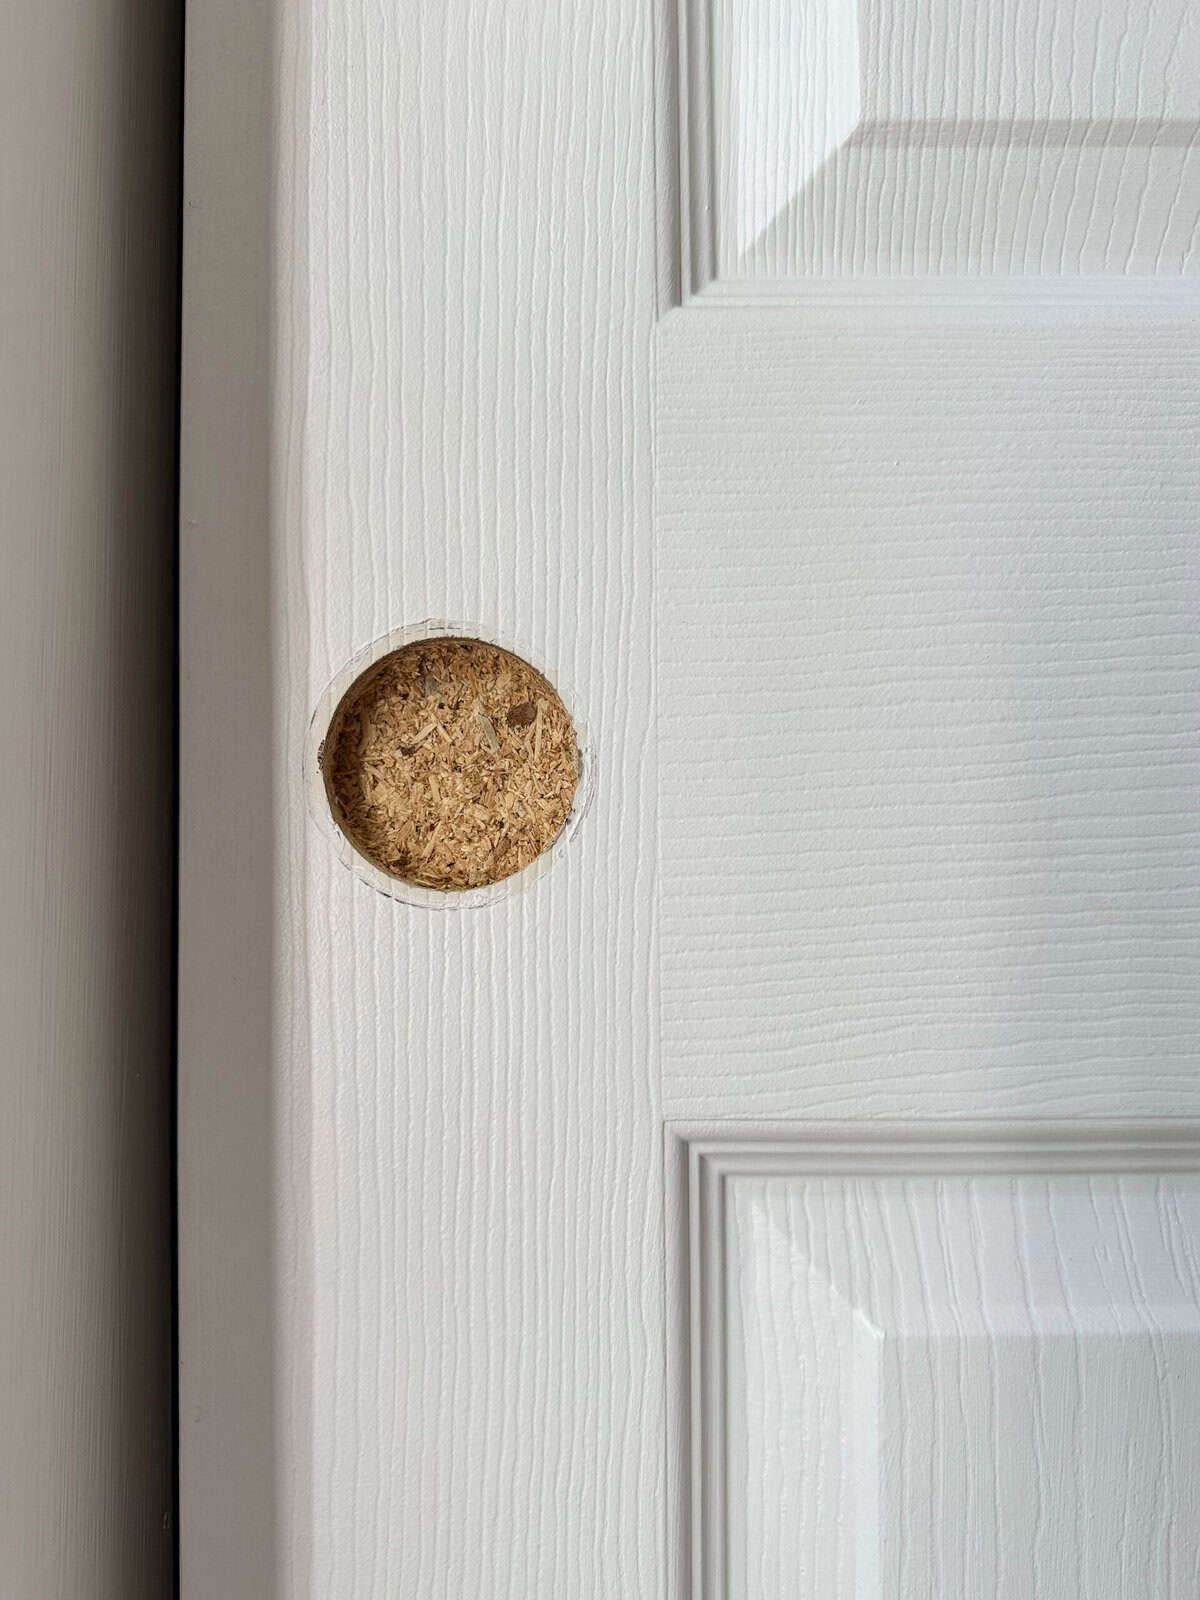
Next, remove all the hardware from the door, including the doorknob, hinges, and any locks. This might seem like a hassle, but trust me, it’s worth it. Painting around hardware can be tricky and often leads to messy results. Place all the removed hardware in a small container or baggie so you don’t lose any screws or small pieces.
Pro Tip!
Label each piece with painters tape if you’re working on multiple doors to avoid confusion when it’s time to reassemble.
Step 3: Paint the Raised Panel
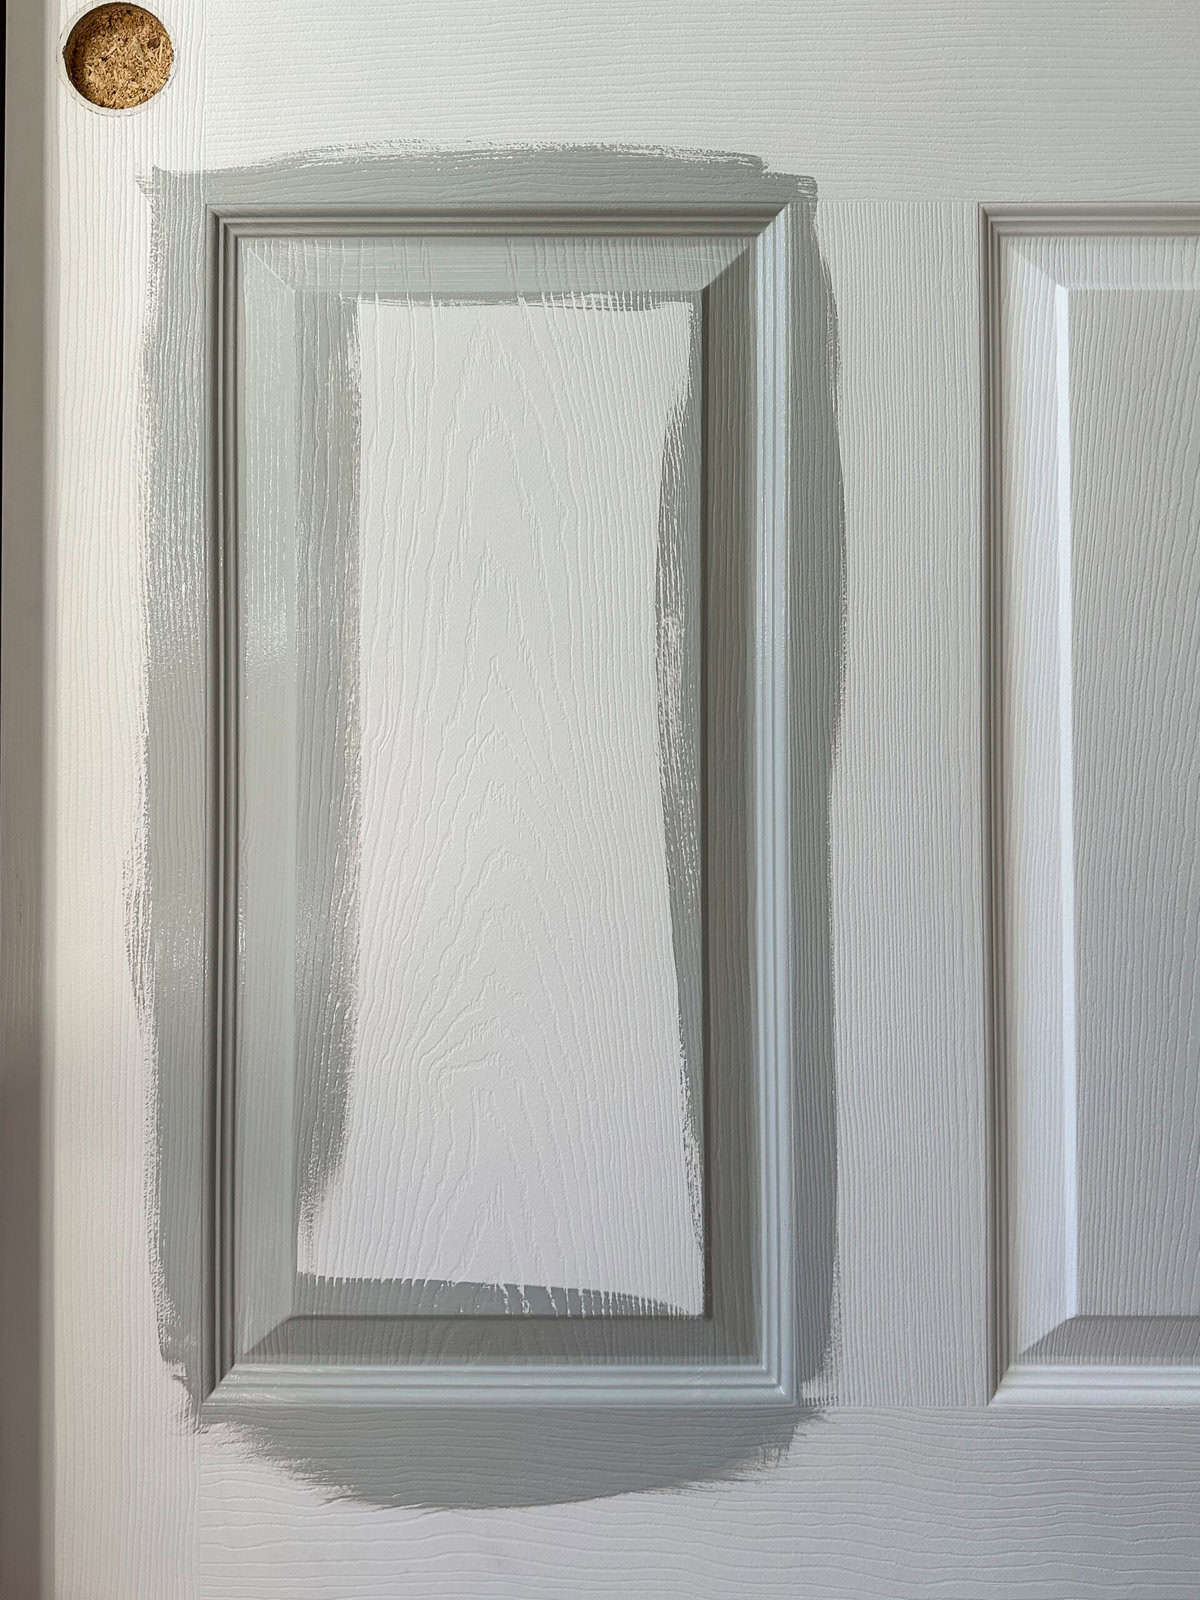
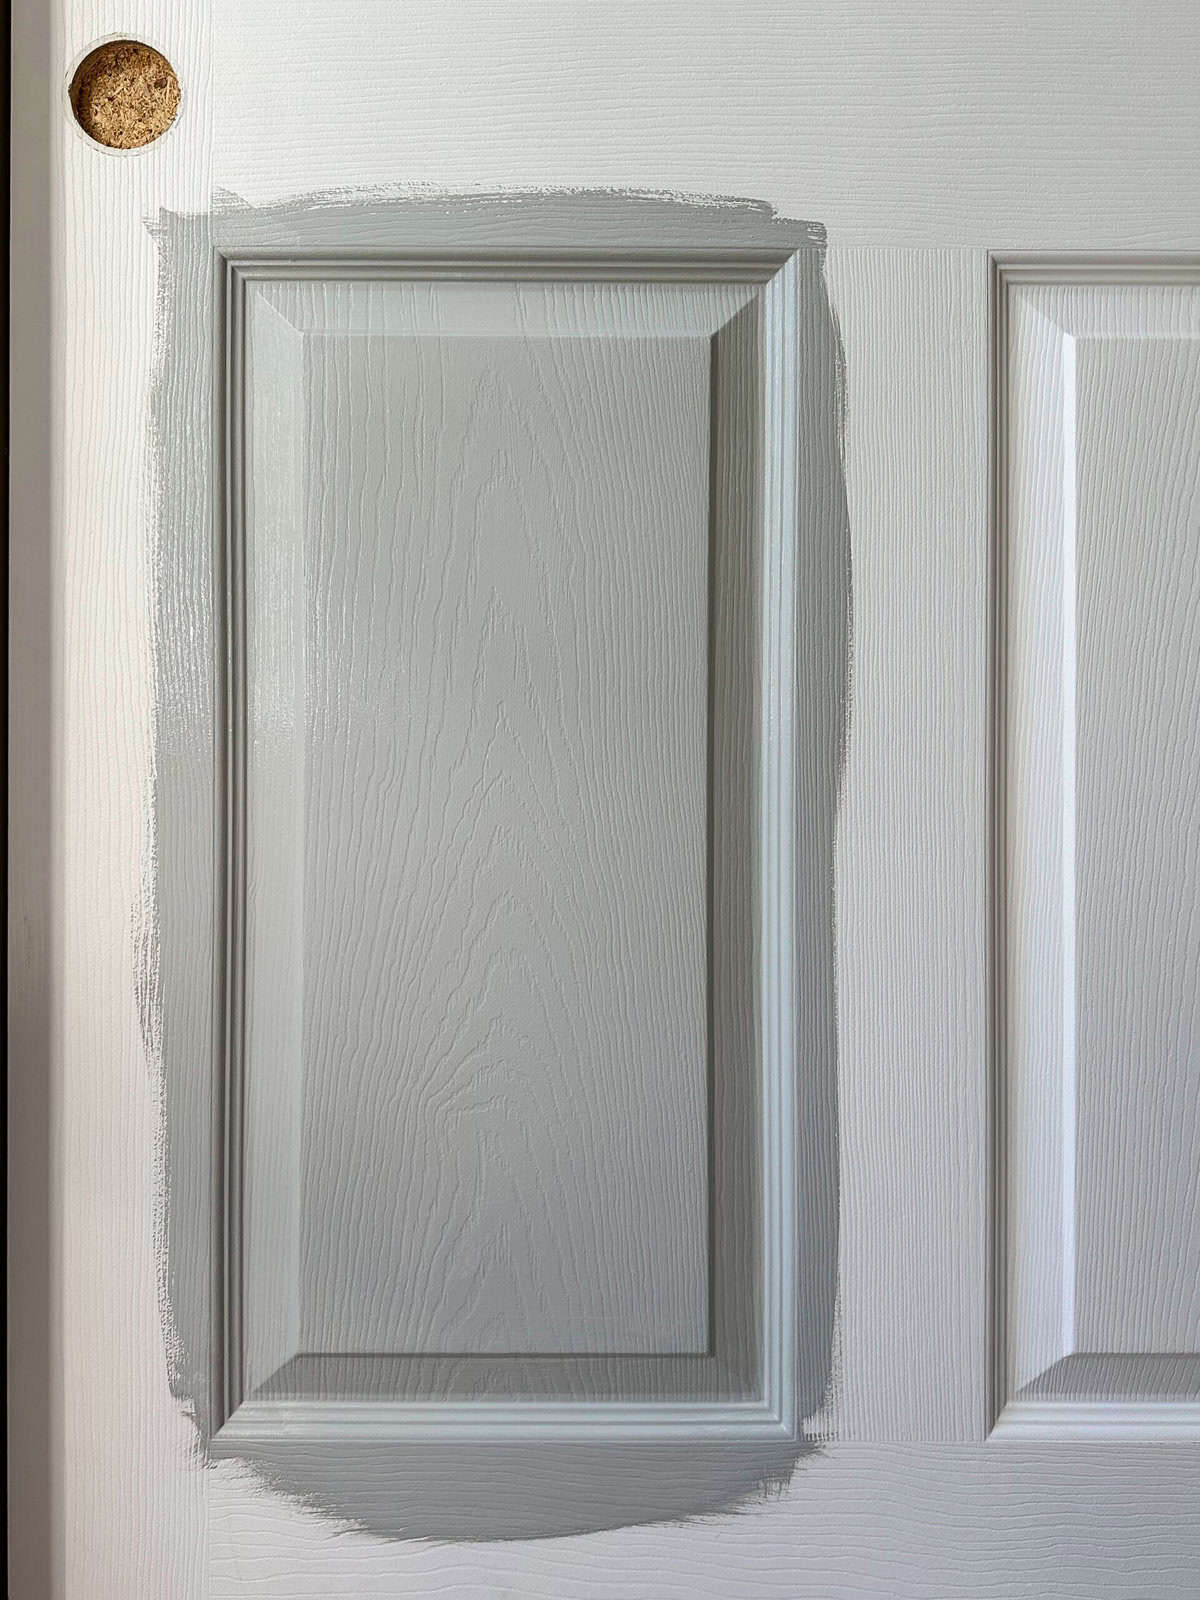
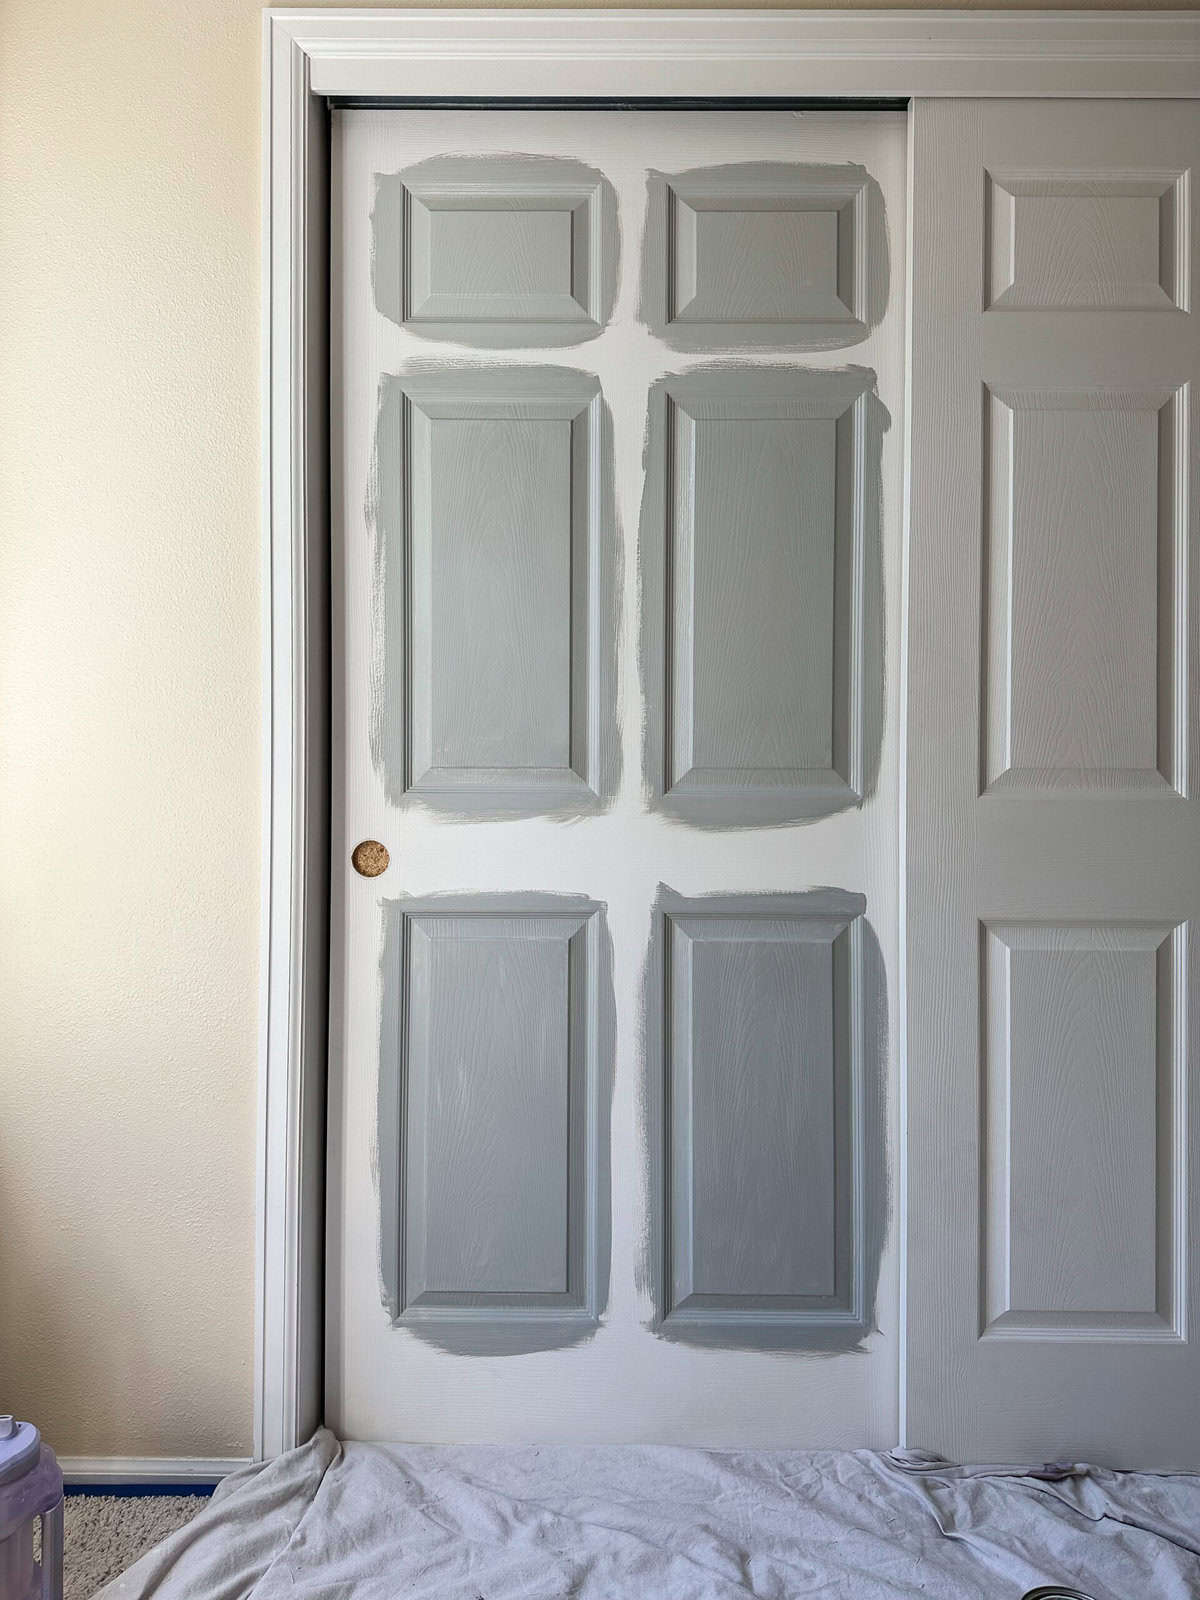
Before you start painting, you will want to decide between using a brush or a roller. The final decision really depends on your door’s style. For our colonial doors with wood grain, a 2″ angled trim brush was perfect. The brush strokes will blend seamlessly with the wood grain to avoid a streaky finish. However, if your doors are flat without raised panels or wood grain, a roller might be the better option for a smooth, even application.
Now for the fun part – painting! Start with the raised panels if your door has them. These areas are typically the most detailed, so it’s best to tackle them first. Apply an even coat of paint to the panels, and take your time to ensure smooth, even coverage. Start on the outside and focus on covering all the grooves of the decorative edges. Then, move onto the center of the panel. Apply paint evenly, and be sure your brush strokes follow the wood grain of the panels.
Pro Tip!
Use long, smooth strokes and avoid overloading your brush with paint to prevent drips and streaks. Keep an eye on all newly painted areas as you go to clean up any edges with drips before the paint has time to dry.
Step 4: Paint Mullions & Rails
When the mullions are done, move onto the rails (these are the horizontal pieces that separate the panels). Typically, the grain will change direction on the rails, so be sure to again pay attention to this direction and follow with your brush strokes.
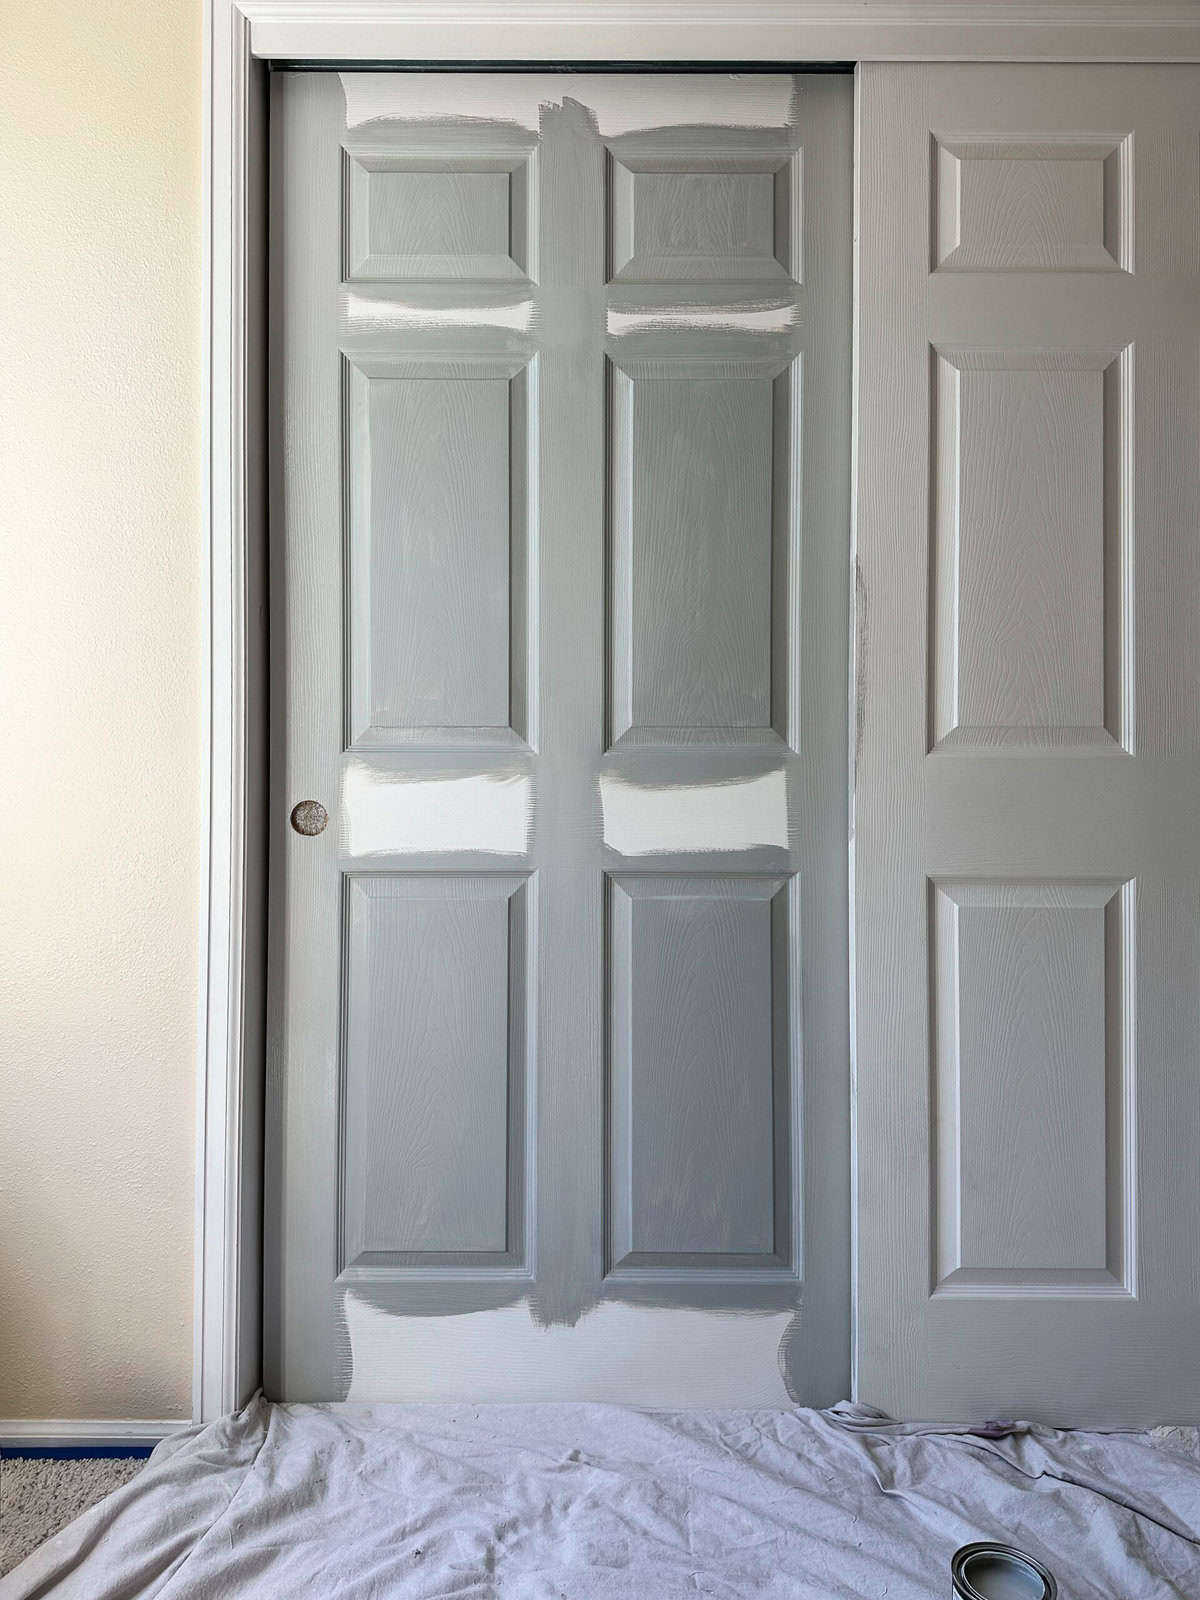
Once the panels are painted, move on to the middle and side mullions. These are the vertical pieces that separate the panels. Again, use your 2″ angled trim paint brush to carefully paint these areas. Work in small sections to maintain a wet edge, which helps prevent lap marks.
Step 5: Repeat Second Coat & Paint the Frame
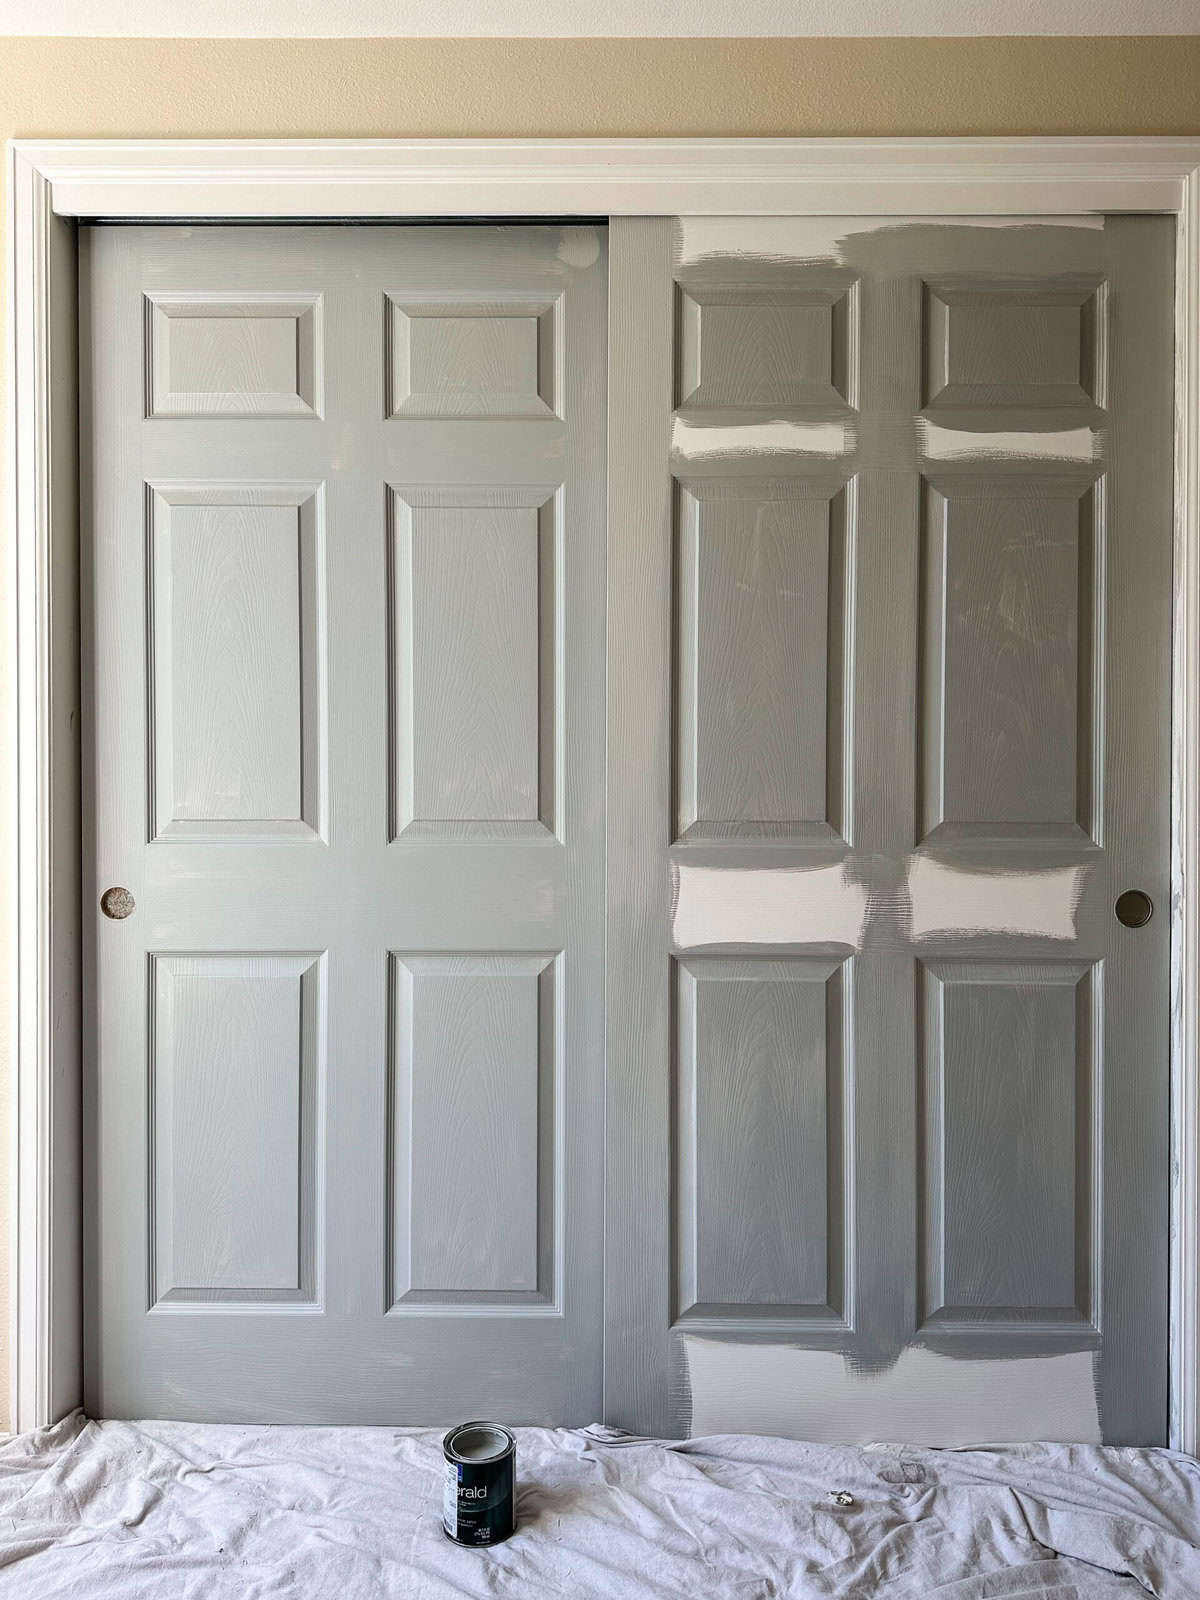
After the first coat of paint has dried (check the paint can for drying times), assess the coverage. Most doors will need at minimum a second coat for a uniform, professional finish. Since I had two doors to paint, I immediately moved onto the second door while the first door was drying and repeated steps 1-4.
Then, while both doors were drying, I turned my attention to the door frame. Using the same angled brush, work in sections to avoid lap marks. Pay special attention to the corners and edges for a crisp finish.
Now that both doors and the frame have their first coat of paint, I started the process all over again to add a second coat. Apply the paint in the same careful manner for a smooth and even surface. Once everything is dry you can begin reattaching the hardware.
Final Thoughts
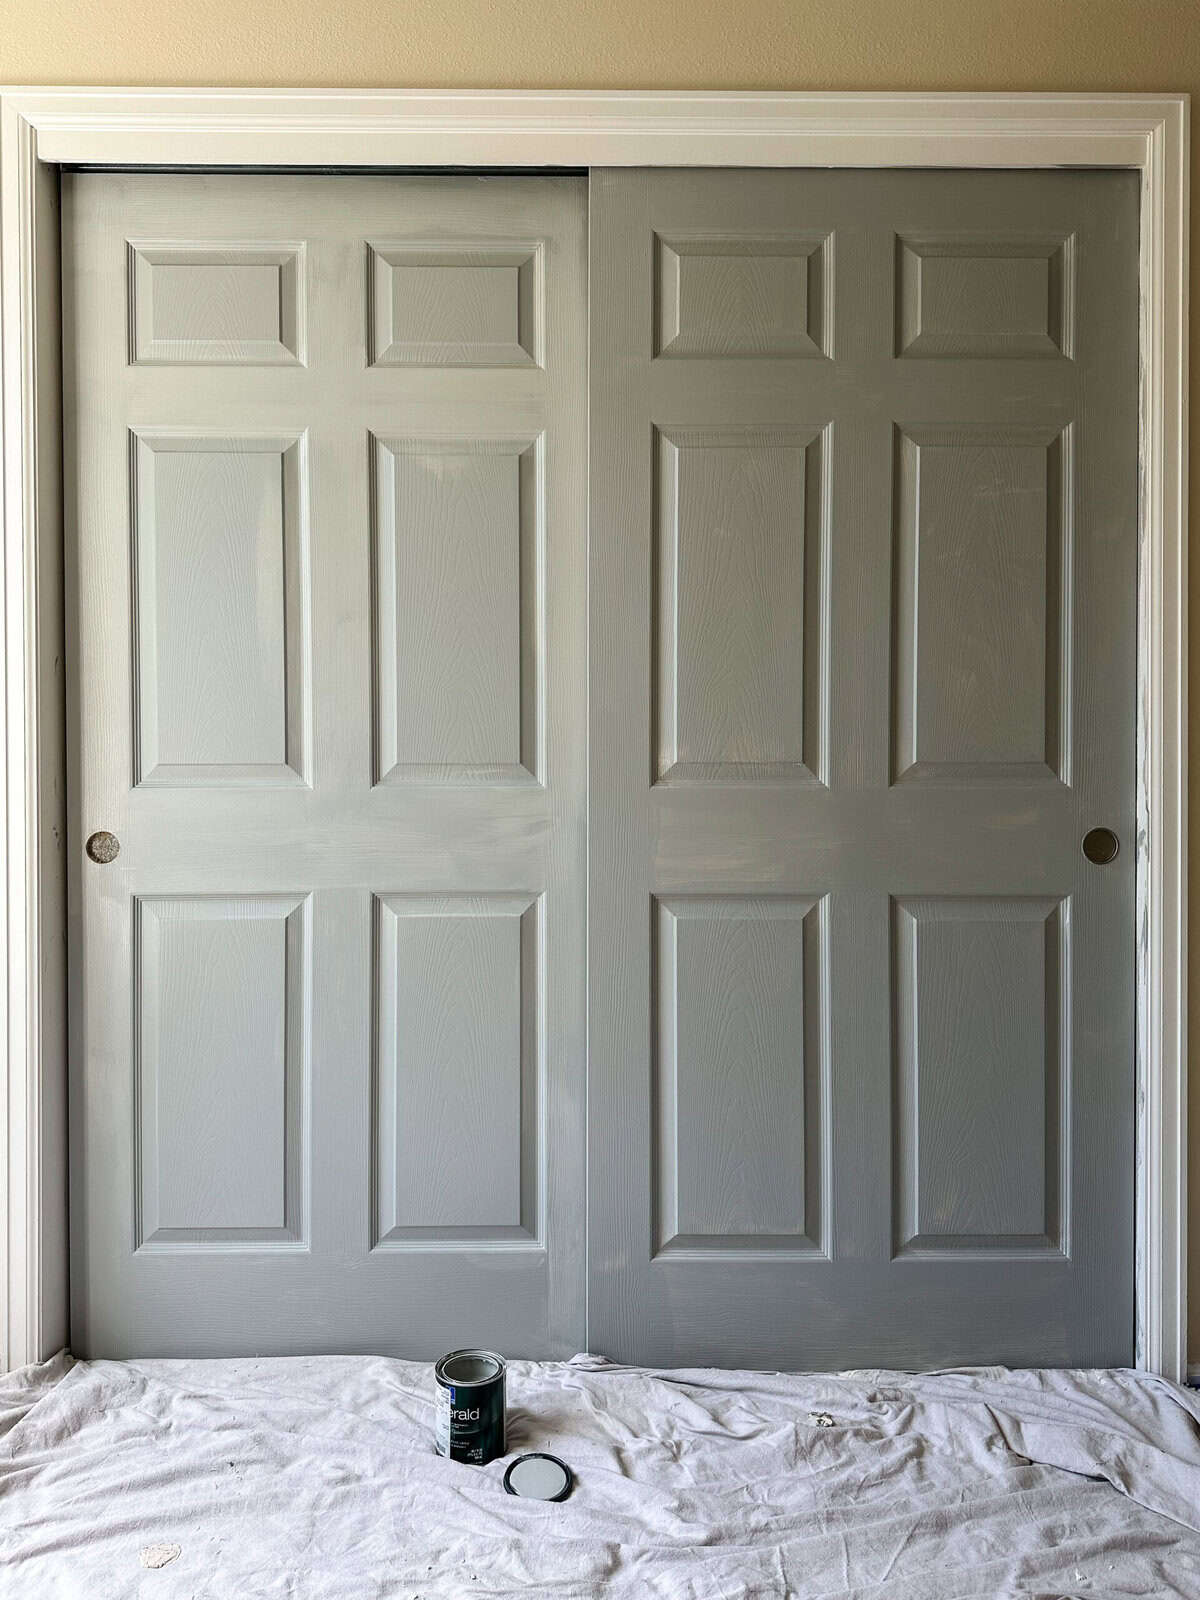
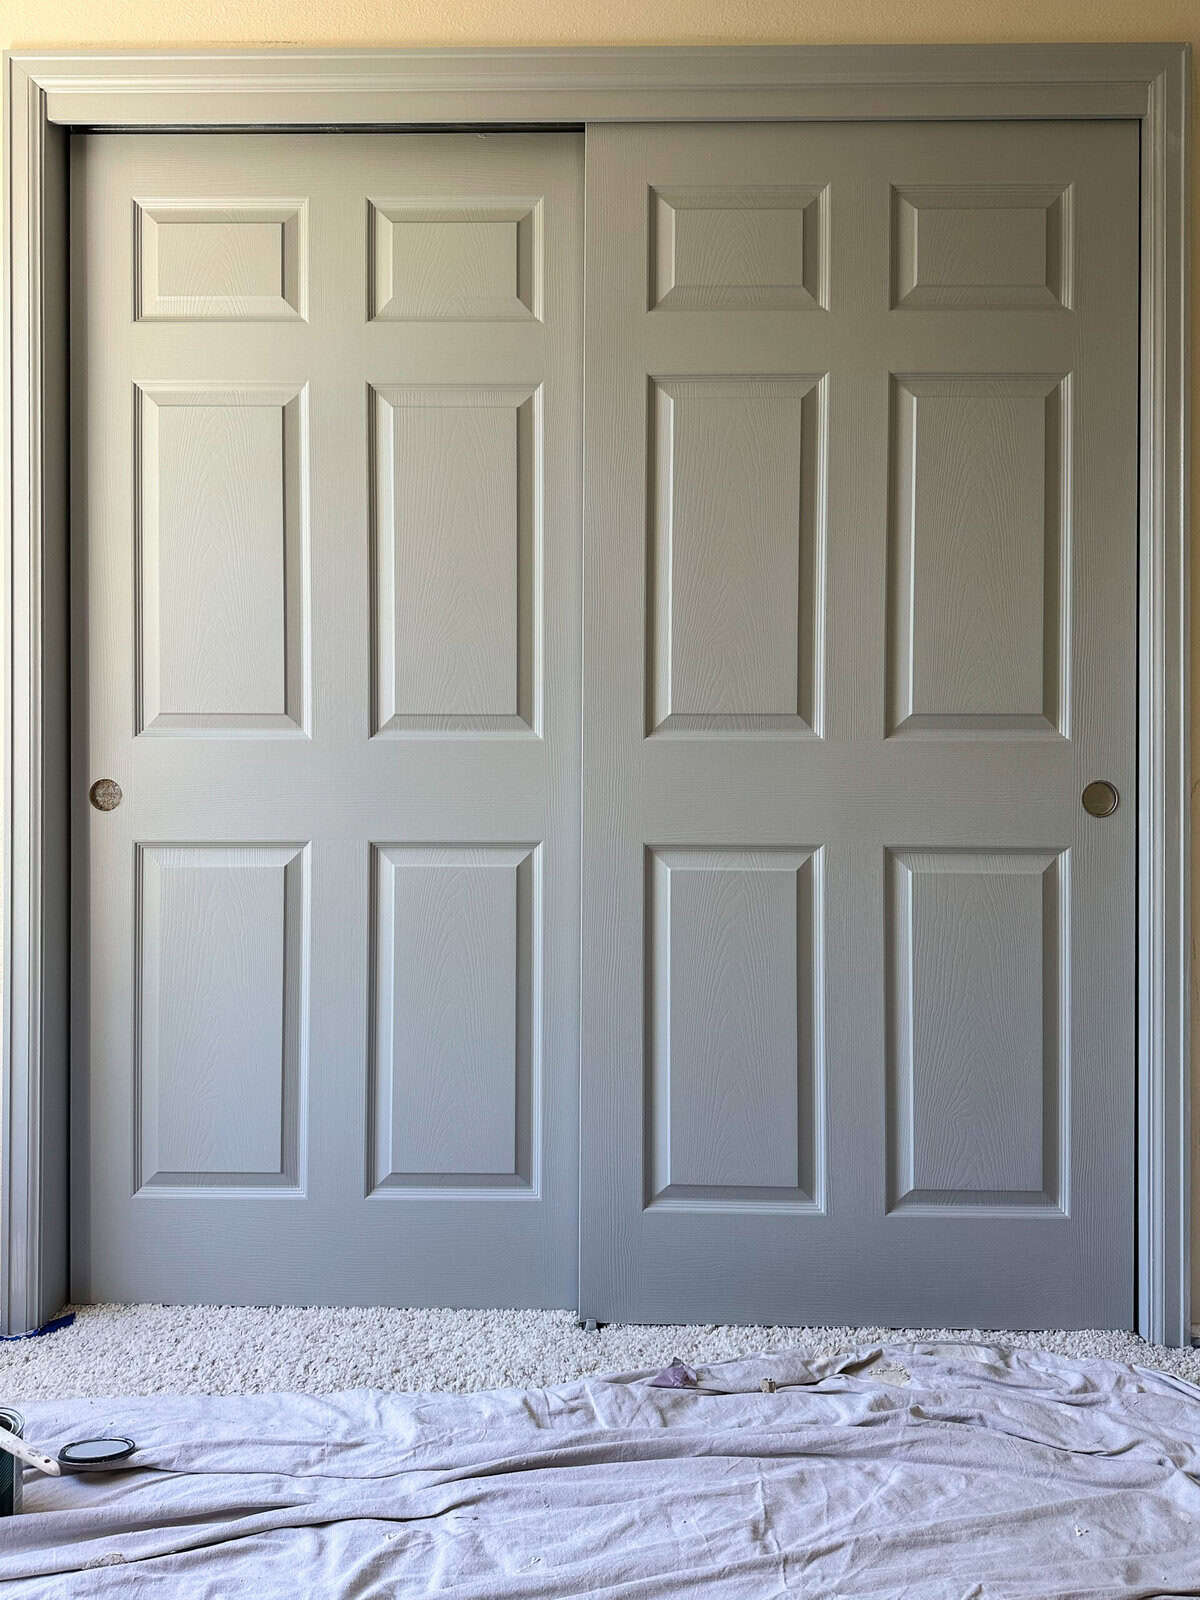
In total, I had four doors to paint in this space, all of which took me about 2 hours to complete. This small change has instantly given the space a more polished look. Painting interior doors might seem daunting, but with this foolproof formula, you’ll achieve professional-looking results every time.
I will be sharing the progress of this quick refresh, so stay tuned! And the next time you’re staring at that outdated door, don’t hesitate to take a risk and give it a fresh coat of paint. Just follow these steps and you’ll be on the way to a room transformation in no time!
+ Show / Hide Comments
Share to: